We made these DIY string Easter eggs at our MOPS meeting last week. I’m not gonna lie. These were a little messy. That probably added to the enjoyment of our group though. Whether you call them yarn Easter eggs or string Easter eggs, these little beauties are actually made with embroidery floss!
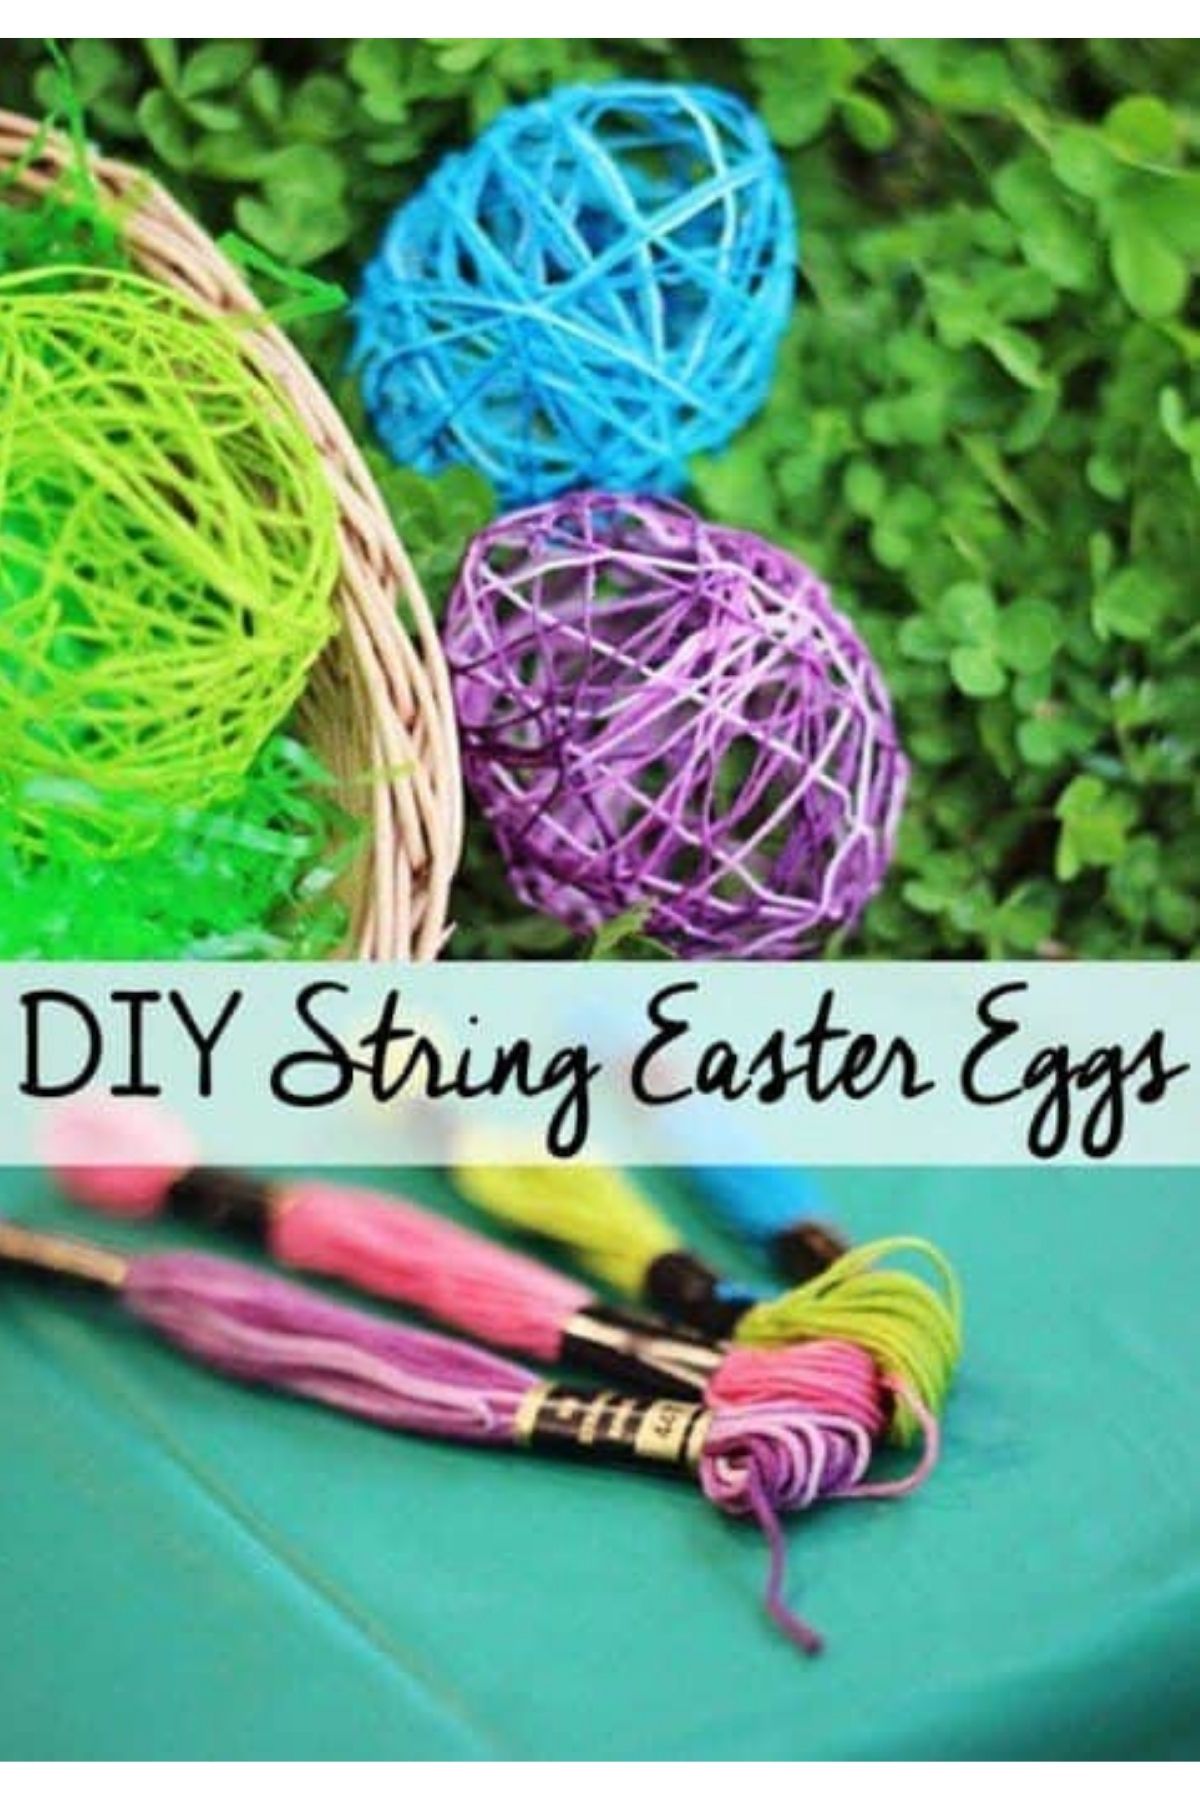
The finished result is absolutely gorgeous. You can decorate your home with these crafty eggs for years to come. If you make enough, try stringing them together for an Easter egg garland!
How to Make String Easter Eggs
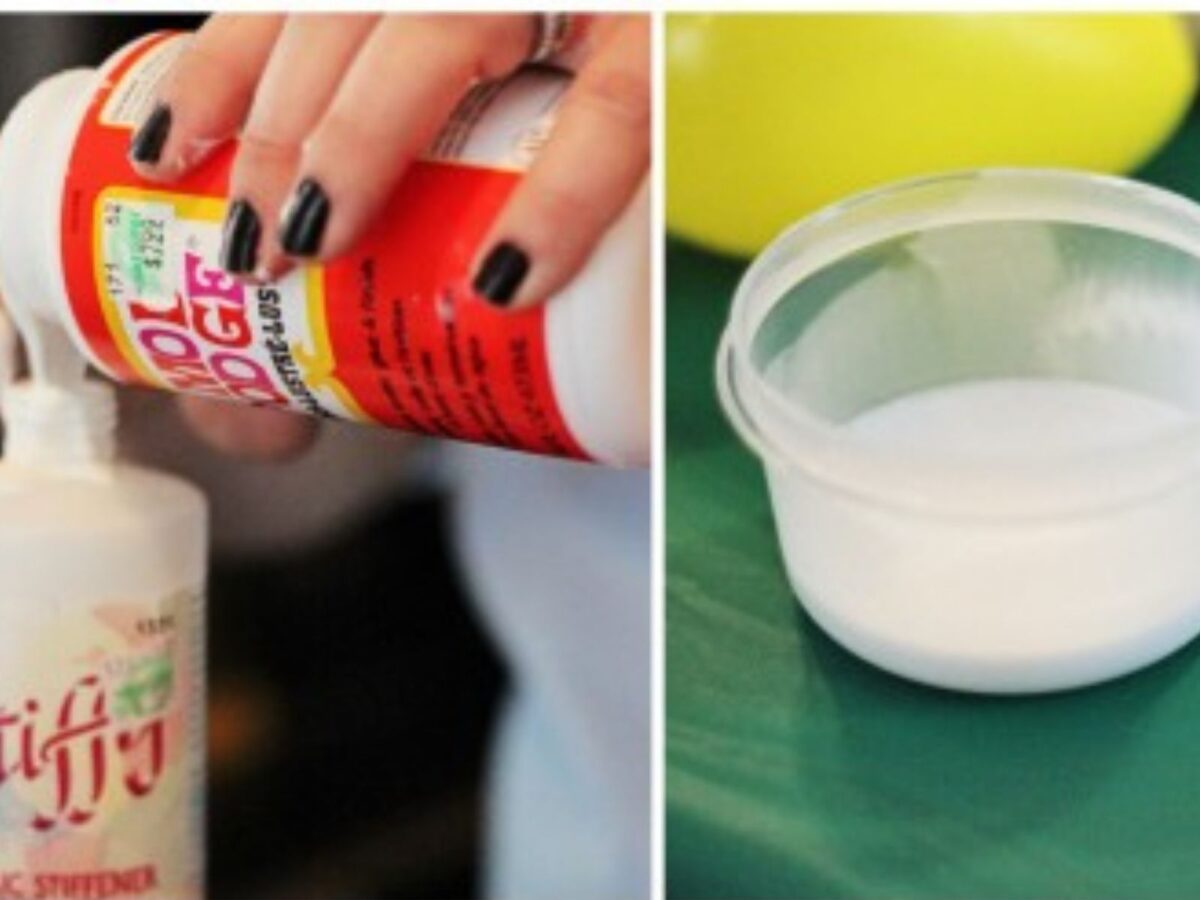
There are a couple of DIY string Easter eggs craft tutorials floating around Pinterest, but I think our craft leader got this one just right with the materials thanks to a little trial and error on her part. The key to success is to get the glue mixture just right.
Supplies
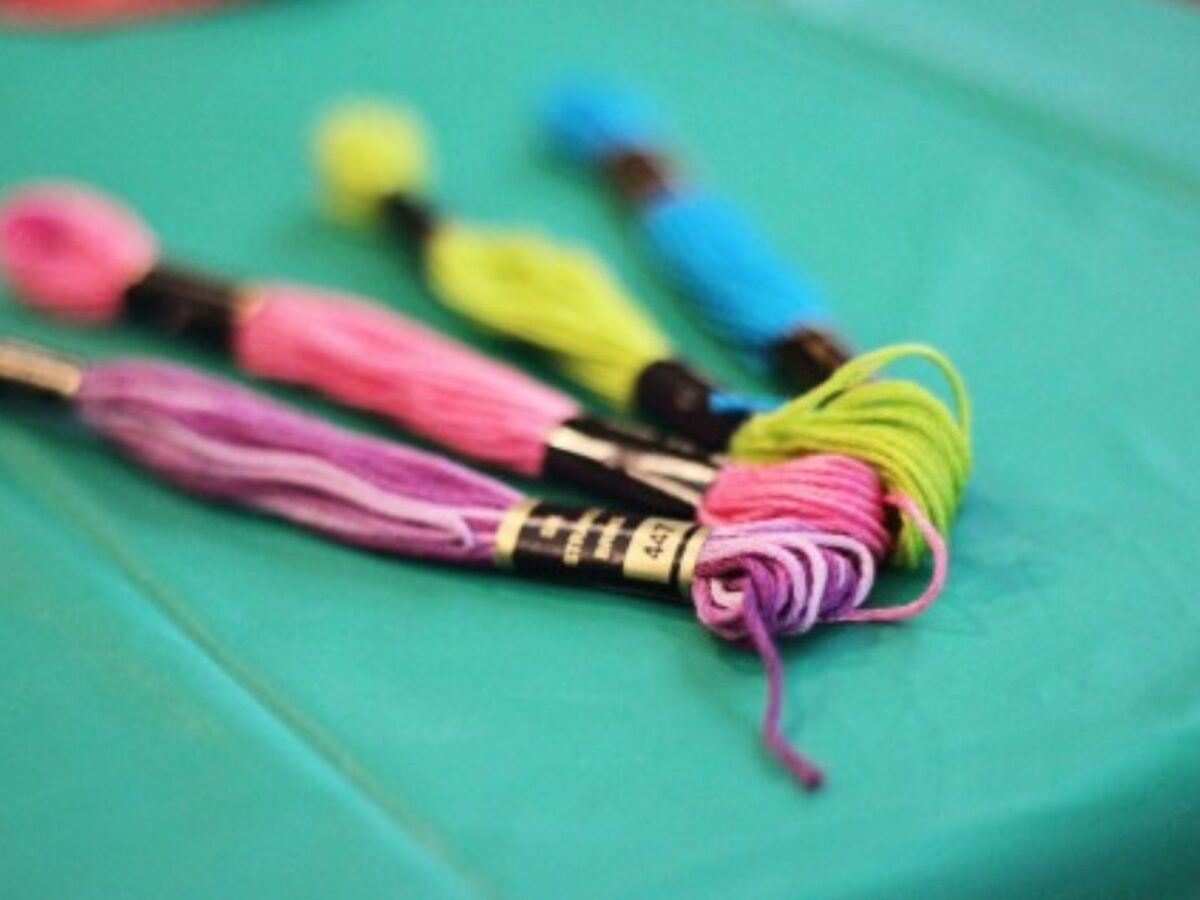
- Embroidery floss
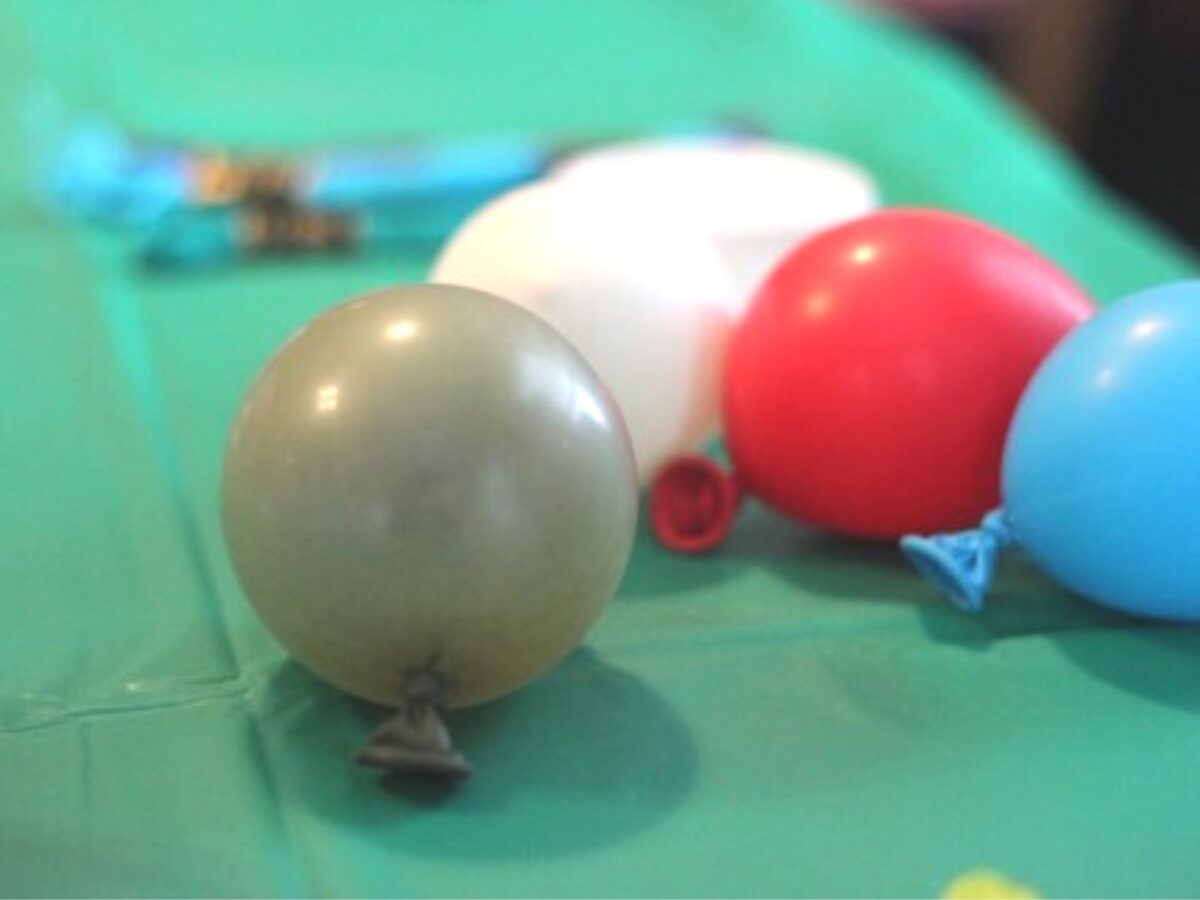
- Latex balloons
- Mod Podge
- Fabric stiffener
Directions
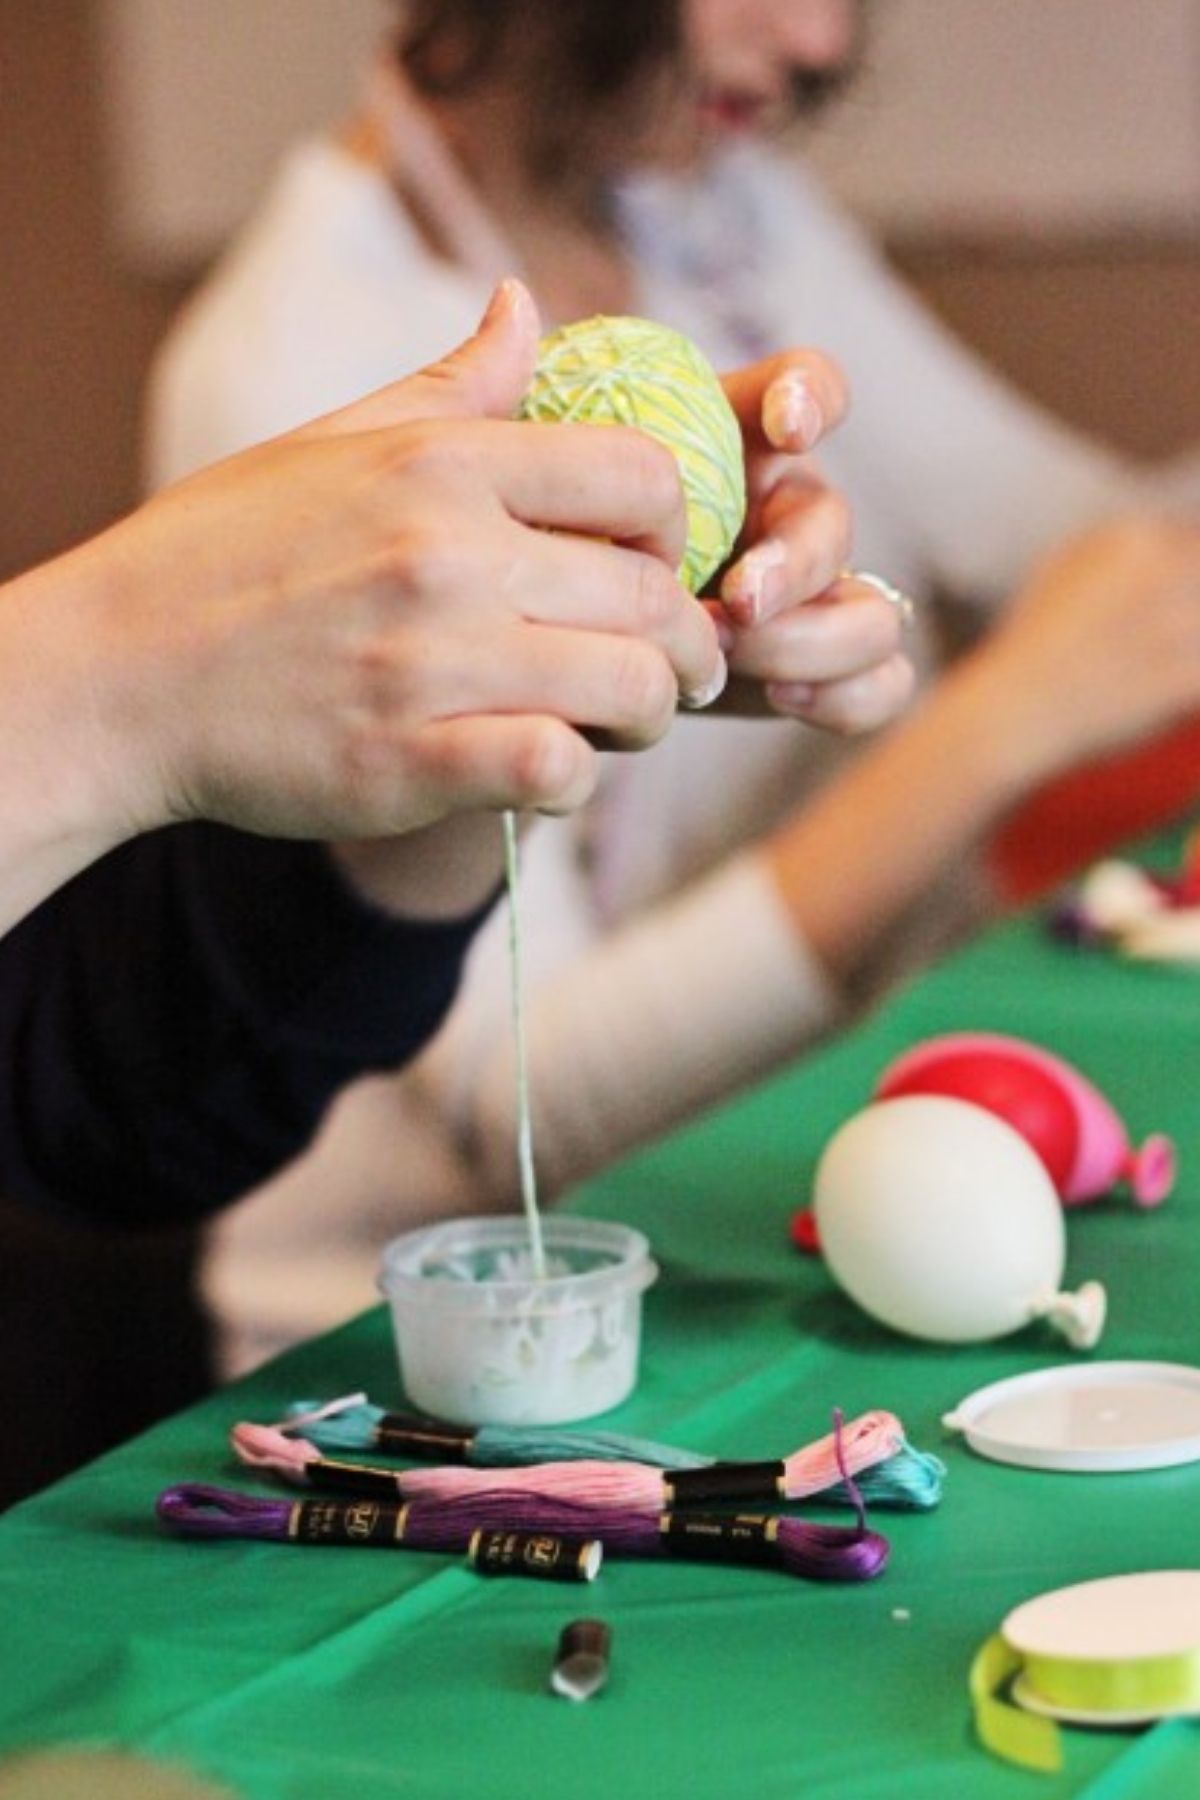
Mix one part Mod Podge with 3 parts fabric stiffener and set aside.
Barely blow a little air into a latex balloon until it resembles the shape of an egg. Tie it off.
Unravel an entire skein of embroidery floss around three of your fingers to keep the tangles away. Be sure to leave an end sticking out where you can see it.
Dip the unwound floss into the fabric stiffener mixture (We used little disposable plastic cups for this) and begin wrapping the floss around the balloon.
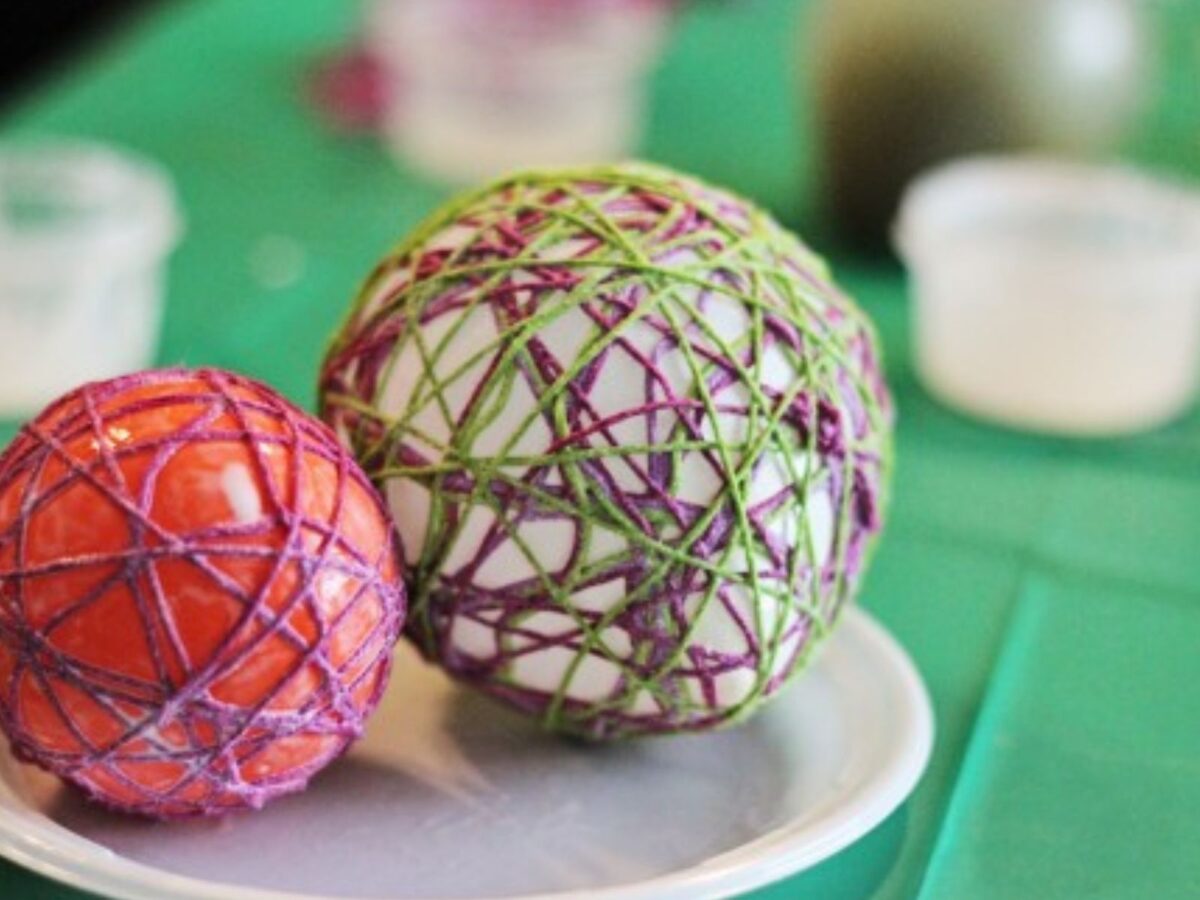
You can use as many skeins on one balloon as you like depending on how “stringy” you want the eggs to look. For all of mine I just used one skein each. The large egg below required three.
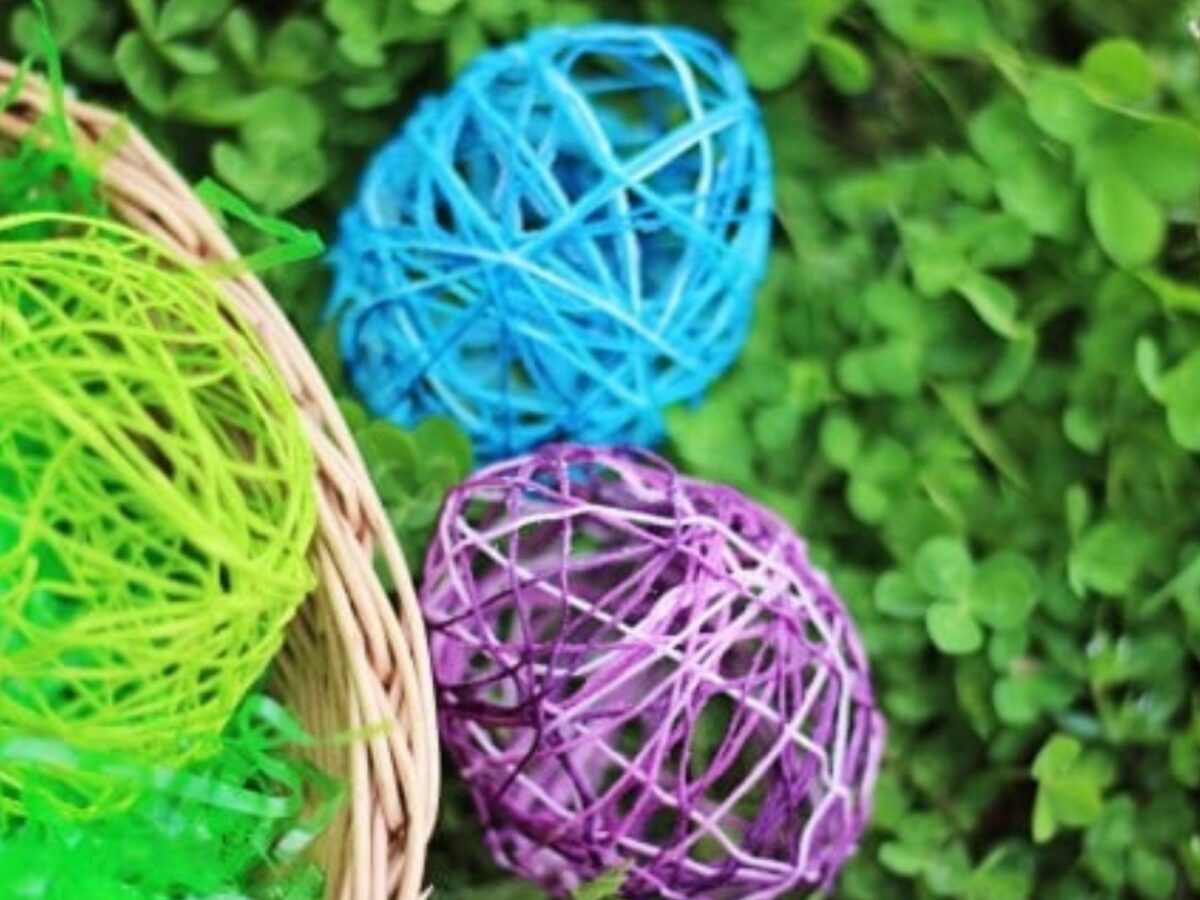
Allow the eggs to dry around 24 hours or until strings are dry to the touch and kind of crispy.
Pop the balloon and enjoy your Easter egg craft! You can display them in a bowl or basket or string them together to make a beautiful garland.
FAQ
No, it doesn’t. For that reason, your best bet is to use cheap, bulk embroidery floss. Save your good DMC and go for a bag of colors that are sold for friendship bracelets, etc.
Don’t be afraid of the fabric stiffener mixture. I know it’s sticky but make sure to use plenty of it.
Each skein of embroidery floss I used was thoroughly, sloppily soaked with the adhesive with the exception of the green egg pictured below.
Notice how I had to place it at the edge of the photo? It’s because it fell apart a little since I didn’t use enough of the mixture.


Sandra Lowery says
Thank u so much. I love the Easter crafts.
Arlene Clawson says
Thank you for your post. I have everything I need except for the fabric stiffened can you use fabric starch instead? It is much more economical than a $9.00 bottle of stiff stuff.
Jenn says
You can try. I only have experience with the particular blend that we used. I know it took the leaders a few tries to get just the right ingredients and consistency. But $9 is pricey! If you try it and it works I’d appreciate you letting us know. Good luck!