Easter is coming up and this is the first year I’ve really decorated for it. I caught spring fever I guess and didn’t look back! These DIY paper mache Easter eggs are a fun way to spruce up your spring or Easter decor with minimal hassle or expense. I think they look amazing on their own, but feel free to paint them if you’re feeling extra crafty (or if you have kids like mine who don’t appreciate anything unless it’s colorful!)
 #eastercrafts” width=”700″ height=”1098″ data-pin-description=”This Easter decorations DIY is a fun Easter craft for kids and adults to make together. Leave your paper mache Easter eggs unpainted for a more understated look, or paint them colorfully with your kids. #easterdecor #eastercrafts”/>
How to Make Paper Mache Easter Eggs
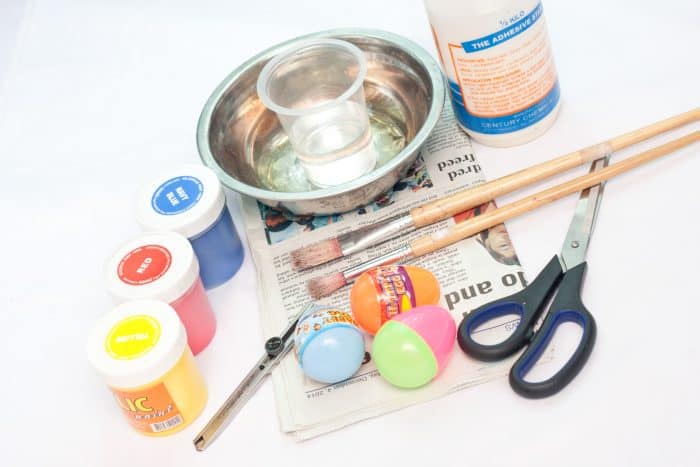
You will need:
- newspaper
- white school glue
- bowl
- water
- paint brushes
- acrylic paints
- utility knife
- plastic Easter egg
- a pair of scissors

Directions:
For 3 paper mache Easter eggs, pour about ¼ cup of white glue into a bowl.

Add water to the same bowl until the ratio of white glue to water is about 3:2

Stir with until thoroughly mixed (the paintbrush you’ll be using anyway is perfect for this)

Use scissors to cut small strips of newspaper and add them to glue mixture

Completely submerge the newspaper strips in the glue/water mixture until it’s completely soaked up. The newspaper strips should be quite soggy.

Completely cover the plastic eggs with the soggy newspaper strips. Continue layering until there is no plastic visible and the egg is layered evenly all over.

Let the eggs dry for a day or two. They will be as hard as a rock once the drying process is complete.

Using a utility knife, carefully cut the mid section of each egg and remove the egg mache from the plastic Easter eggs.

Cut a long strip of newspaper and glue to the seam to seal the paper mache Easter Easter eggs together. Smooth out the sides of the new strip, and let it dry for 5 to 6 hours.*

Paint the eggs with your choice of acrylic paints (optional.) A double coat with dry time in between will work best unless you’re going for a pastel look with the newsprint showing through somewhat.

Add designs as desired

*If the seams left by the newspaper strip added to hold the eggs together bothers you, you have a couple of options
- Leave the plastic eggs inside the paper mache. they are very light and if you don’t need your paper mache Easter eggs to be hollow, it will probably be fine
- Soak the newspaper strips in more glue/water mixture and paper mache the egg seam. This will add another day to your project completion time but if you’re not in a hurry, it will look best.

DIY Paper Mache Easter Eggs
Equipment
- Bowl
- paint brushes
- cutter
- A pair of scissors
Ingredients
- newspaper
- white school glue
- water
- acrylic paints
- plastic Easter eggs
Instructions
- Pour about ¼ cup of white glue into a bowl.
- Add water to the same bowl until the ratio of white glue to water is about 3:2
- Stir with until thoroughly mixed (the paintbrush you'll be using anyway is perfect for this)
- Use scissors to cut small strips of newspaper and add them to glue mixture
- Completely submerge the newspaper strips in the glue/water mixture until it's completely soaked up. The newspaper strips should be quite soggy.
- Completely cover the plastic eggs with the soggy newspaper strips. Continue layering until there is no plastic visible and the egg is layered evenly all over.
- Let the eggs dry for a day or two. They will be as hard as a rock once the drying process is complete.
- Using a utility knife, carefully cut the mid section of each egg and remove the egg mache from the plastic Easter eggs.
- Cut a long strip of newspaper and glue to the seam to seal the paper mache Easter Easter eggs together. Smooth out the sides of the new strip, and let it dry for 5 to 6 hours.
- Paint the eggs with your choice of acrylic paints. A double coat with dry time in between will work best unless you're going for a pastel look with the newsprint showing through somewhat.
- Add designs as desired
Notes
- Leave the plastic eggs inside the paper mache. they are very light and if you don't need your paper mache Easter eggs to be hollow, it will probably be fine
- Soak the newspaper strips in more glue/water mixture and paper mache the egg seam. This will add another day to your project completion time but if you're not in a hurry, it will look best.
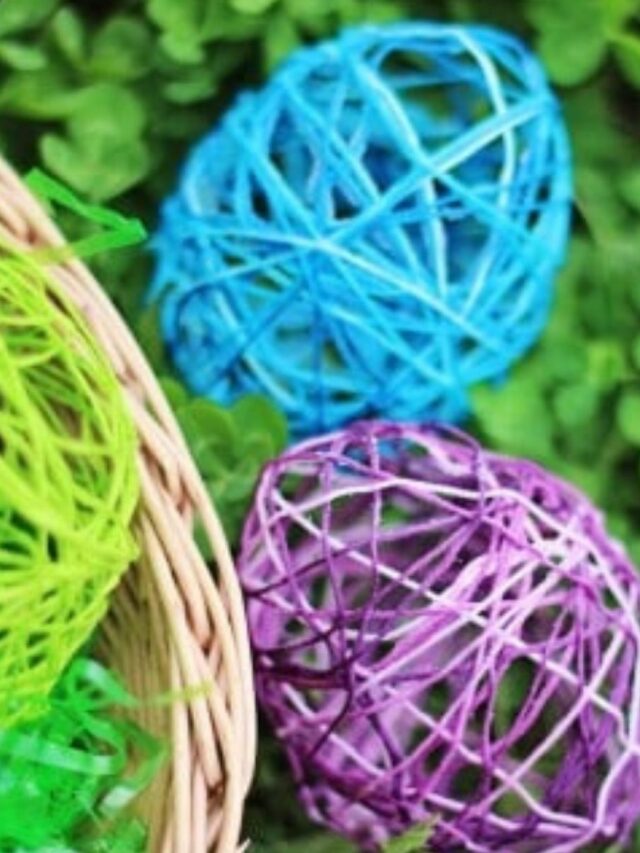
You might also like these DIY string Easter eggs too!


What's on your mind?