If you love to personalize and decorate your planner and want to do so without breaking the bank, try these affordable DIY Planner Accessories! Keep reading to learn how to make a DIY planner cover, planner dashboard, and planner clips.
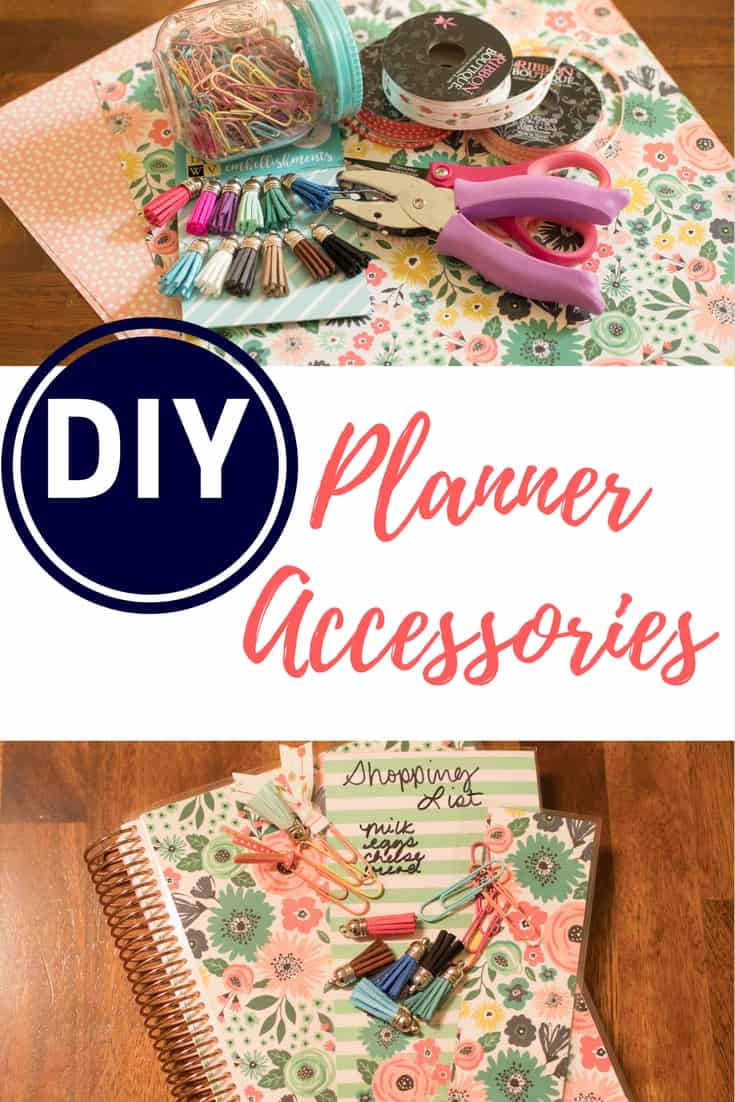
Paper planning has made a serious comeback over the last several years and the planning community has exploded. Paper planning is not only a great way to stay organized, but it has become an outlet for creativity and is considered an art for many paper planner users. There are hundreds of shops dedicated solely to creating planner accessories and decorations. Shopping for planner accessories can get very pricey for the dedicated planner girl. Save yourself a few bucks and personalize your planner with these DIY Planner Accessories!

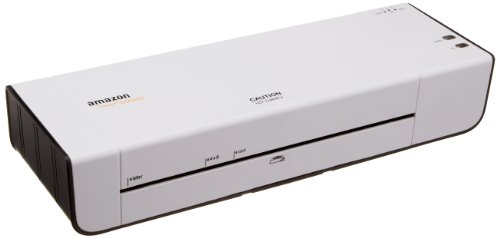
Changing your planner cover is one of the easiest ways to personalize your planner. Try this DIY planner cover using scrapbook paper, a laminator, and a hole punch.
AmazonBasics Thermal Laminator

DIY Planner Cover
Directions:
Step 1: Measure the width and length of your original planner cover.
Step 2: Using your measurements, cut a new planner cover out of scrapbook paper or a printed image. Personally, I love to use scrapbook paper for this. There are thousands of affordable scrapbook paper options and there is no doubt that you will be able to find something perfect for you!
Step 3: Laminate your decorative paper. Be sure to leave space around the edges for hole punching. Trim any excess lamination.
Step 4: Secure your new planner cover to your old planner cover to use as a guide for hole punching.

Step 5: Punch holes using a small hole punch. After hole punching is complete, use scissors to make small cuts from the outer edge of the planner into the hole.
Step 6: Attach your new cover and enjoy!

DIY Planner Cover
Equipment
- Hole punch
- Laminator
- Scissors
Ingredients
- Scrapbook Paper
Instructions
- Measure the width and length of your original planner cover.
- Using your measurements, cut a new planner cover out of scrapbook paper or a printed image.
- Laminate your decorative paper. Be sure to leave space around the edges for hole punching. Trim any excess lamination.
- Secure your new planner cover to your old planner cover to use as a guide for hole punching.
- Punch holes using a small hole punch. After hole punching is complete, use scissors to make small cuts from the outer edge of the planner into the hole.
- Attach your new cover and enjoy!
DIY Planner Clips
Another simple and functional accessory to add to your planner are these DIY planner clips! They are so simple to make and extremely inexpensive. You probably have paper clips lying around your house and ribbon can be purchased at most stores for a low cost.

Directions:
Step 1: Place the ribbon over the top of the paper clip.

Step 2: Bring the ribbon around the back of the paper clip and loop it through the front.

Step 3: Pull the ribbon towards the top of the paper clip and tighten. Depending on the texture of the ribbon, you may need to add a bit of super glue to secure it in place.

Another option for this DIY is to use tassels. You can create your own using string, but I personally love these tassels that can be picked up in the craft or sewing section. These tassels can easily be attached to a paper clip and switched out at any time to match your planner cover. Bonus tip: These tassels can also be attached to your planner coil as a cute planner charm!

DIY Planner Clips
Equipment
- Glue Gun
Ingredients
- Ribbon
- Paperclips
Instructions
- Place the ribbon over the top of the paper clip.
- Bring the ribbon around the back of the paper clip and loop it through the front.
- Pull the ribbon towards the top of the paper clip and tighten. Depending on the texture of the ribbon, you may need to add a bit of glue to secure it in place.
Notes
Some of my favorite DIY Planner Accessories are these simple page markers and snap in lists for to-dos, groceries, or thoughts. The process for making these is similar to making your planner cover but even easier! Use the scraps from your DIY Planner Cover for a cohesive look.
DIY Planner Dashboard
Directions:
Step 1: Cut out strips of scrapbook paper that can be used for bookmarking or as a snap-in list.
Step 2: Laminate and trim excess lamination.
Step 3: Punch holes, using your planner cover as a guide.
Step 4: Snap-in these custom pieces into your personalized planner!


DIY Planner Dashboard
Equipment
- Laminator
- Hole punch
Ingredients
- Scrapbook paper
Instructions
- Cut out strips of scrapbook paper that can be used for bookmarking or as a snap-in list.
- Laminate and trim excess lamination.
- Punch holes, using your planner cover as a guide.
- Snap-in these custom pieces into your personalized planner!
These DIY Planner Accessories are so much fun to create and budget friendly. You can easily and affordably change up your planner style by using different scrapbook paper, paper clips, and ribbon. Now that your planner is beautiful you can get to planning!

Need some free printable stickers for your planner? Enjoy these free hydrate planner stickers to keep track of your H20 intake!


What's on your mind?