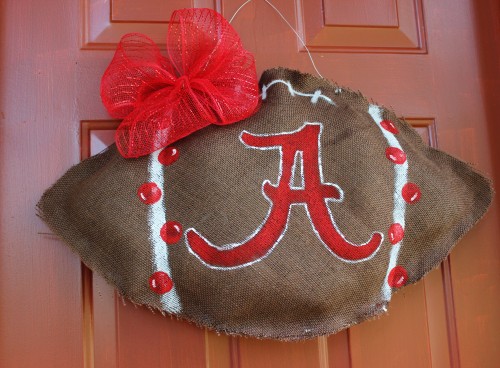
Another ladies craft night and another fantastic project! This DIY Burlap Door Hanger is gracing my front door as we speak.
Roll Tide! (or War Eagle, Go Blue, etc. if you prefer ;))
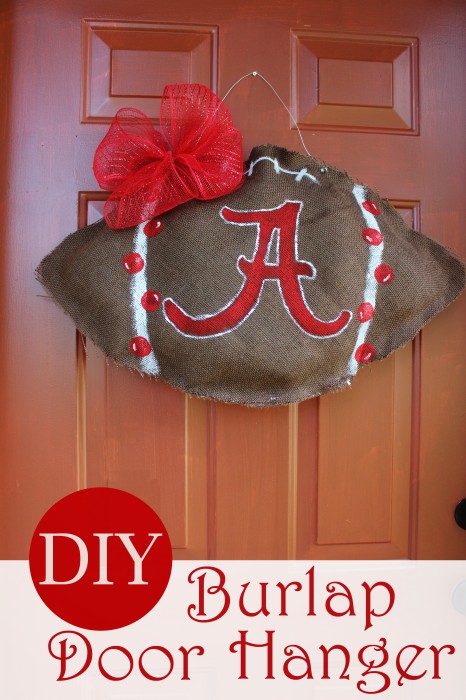
DIY Burlap Door Hanger
You will need
¾ yard brown burlap
Craft glue like Aleene’s Original
Scissors
Chalk or a fabric pencil
Clothespins or clips
Acrylic paint
Artists brushes (foam brushes don’t work well)
Picture hanging wire (Dollar Tree!)
Wired ribbon for optional bow
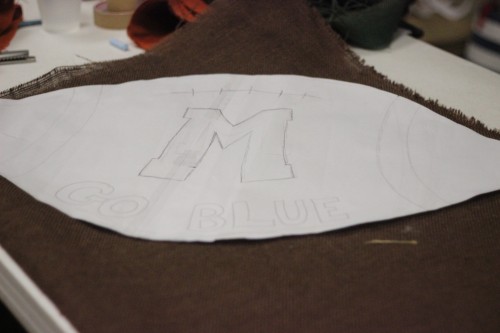
Step 1 – Create a football-shaped pattern by free-handing onto paper. Taping sheets of printer paper together works! This pattern is about 23″ wide.
Step 2 – Fold burlap in half and lay pattern on top.
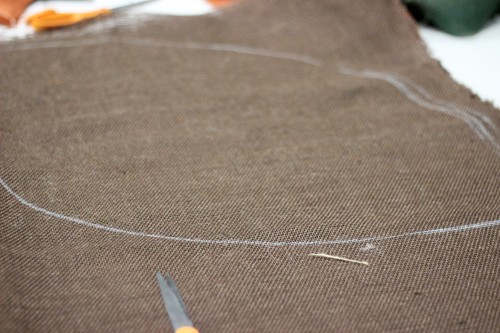
Step 3 – Use chalk to trace the outline onto the folded burlap. Cut along chalk line. You now have two pieces of burlap shaped like footballs.
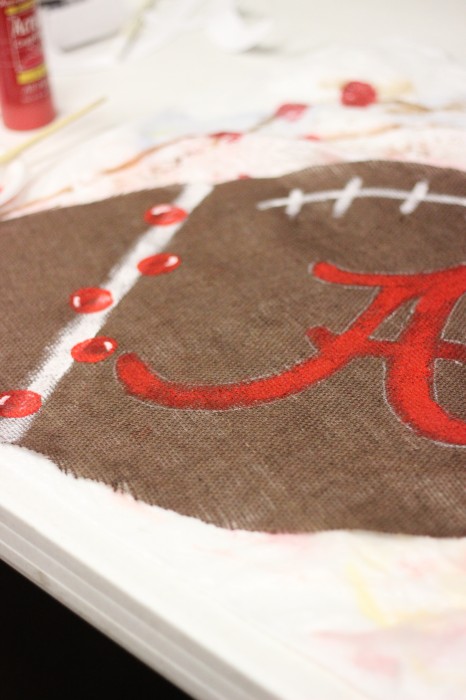
Step 4 – Break out the paint! Lay down a garbage bag so you don’t mess up your surface and paint stripes and stitching onto one of your pieces. You can stamp dots, bubbles, or other colorful embellishments too if you like.
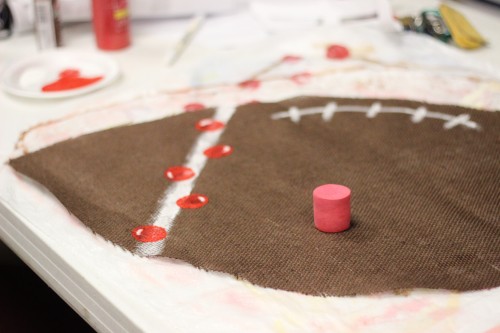
If you want your team’s logo, just print it off the internet and cut out the picture to use as a template. Chalk around it just like you did for the football itself and paint inside the lines.
Set aside to dry.
Step 5 – Once the paint is completely dry (depends on how much paint you used. Mine was dry within 30 minutes) it’s time to glue your two footballs together. Yay for no-sew, right? You can squeeze the tacky glue straight onto the “seams” or paint the glue on with an old brush.

Add a clothespin or clip periodically as you go around the edges
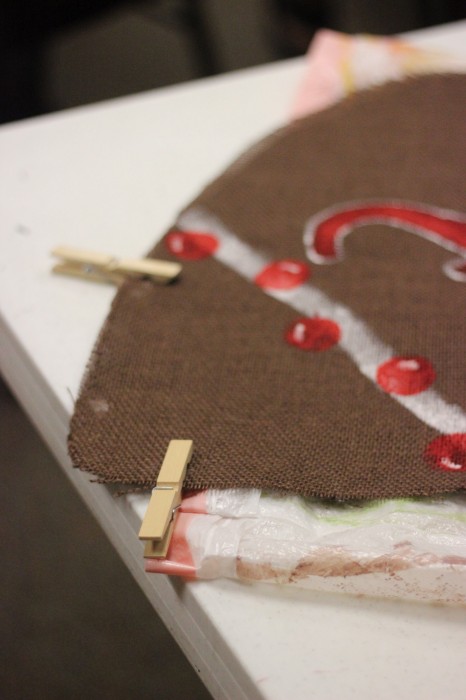
Important! Leave about a 9 inch gap so you can easily stuff your football!
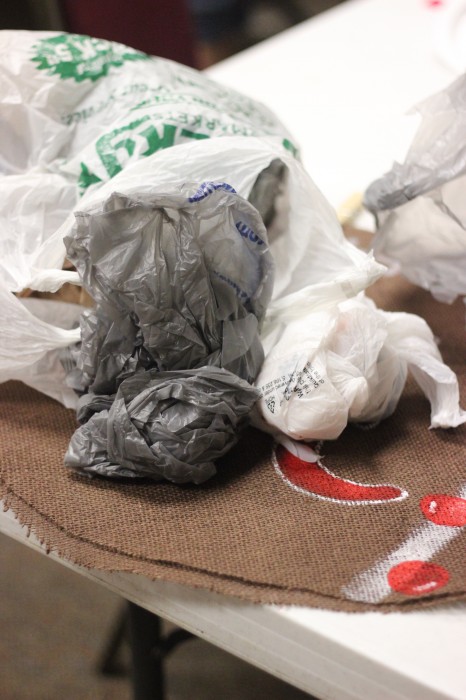
Step 6 – Stuff your burlap door hanger. I used plastic bags since this is going on my front door and plastic isn’t affected by Southern summer humidity. Someone else used newspaper which works too for an indoor door hanger.
Step 7 – After your burlap door hanger is stuffed to your liking, glue the remaining 6-9 inches. You’ll need a lot more clothespins this time around since your stuffed football will be bulging a little. Allow to dry completely.
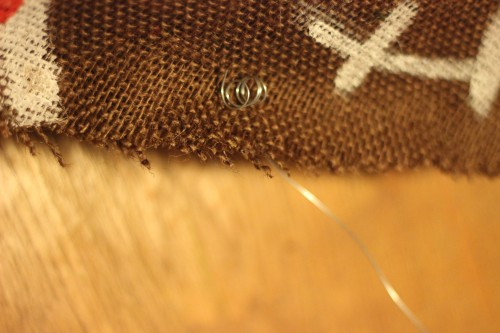
Step 8 – Cut 12″ of wire and insert each end into the top edge of the football from back to front. Wrap the pointy ends around a pen or a pencil a few times then slide it off. This is what secures the wire and keeps it from slipping through. Nifty!
Optional Step 9 – Make a pretty bow for your burlap door hanger. Here’s a great instructional video on how to make a bow from wired ribbon.
Now your DIY Burlap Door Hanger is ready to hang!
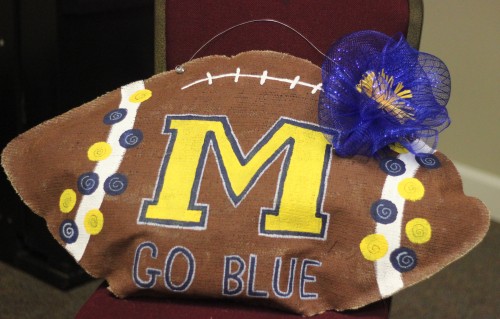
Here’s a Michigan one that my friend Diane made. If your burlap isn’t the right color brown, you can paint it! It will require a lot of acrylic paint and cause the door hanger to have a stiff look instead of a pillowy one (which some people actually prefer.)
What team will be on your DIY Burlap Door Hanger?


What's on your mind?