Ladies Craft Night at our church got pretty in-depth compared to our usual scope of practice, so if you’re looking for a free handmade tote bag pattern for an easy DIY tote bag you’re in luck!
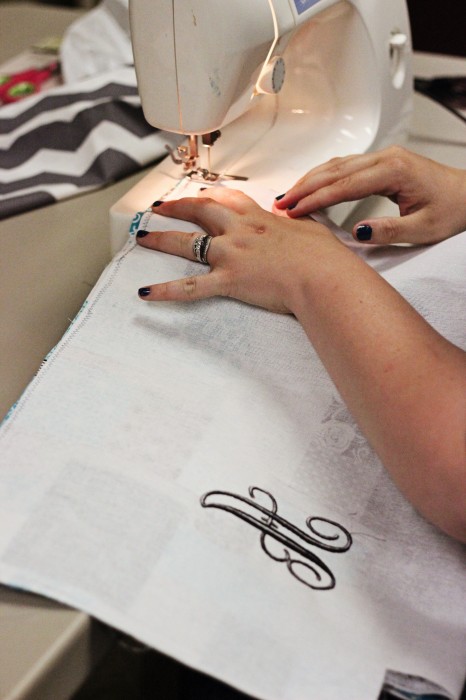
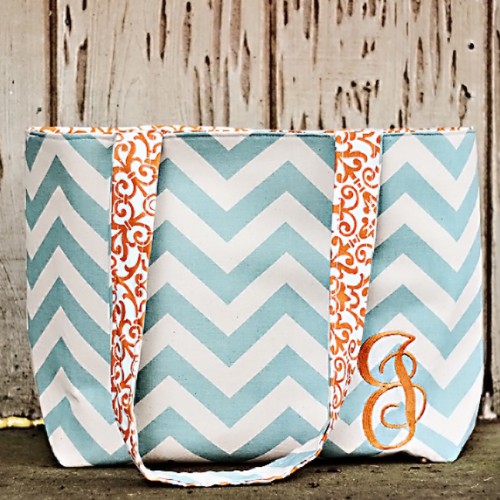
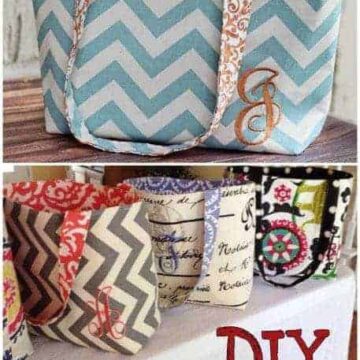
Thanks to a very talented member and her crazy-cool embroidery machine, we made our own monogram tote bags from her original handmade tote bag pattern. I’m actually not sure which category this easy tote bag pattern falls into: tote bag, handbag, or purse so I’ll probably refer to it as all three at some point. Here’s how I made and easy DIY tote bag and you can too!
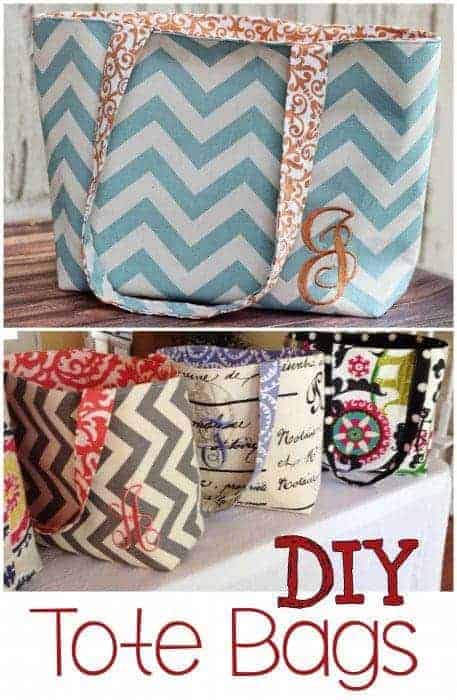
Easy DIY Tote Bag
You will need:
¾ yard duck fabric
¾ yard duck fabric in a coordinating color
¾ yard heavy interfacing
All-purpose thread
Rotary cutter and mat
3″ wide ruler
Scissors
Sewing machine
Ironing board and iron
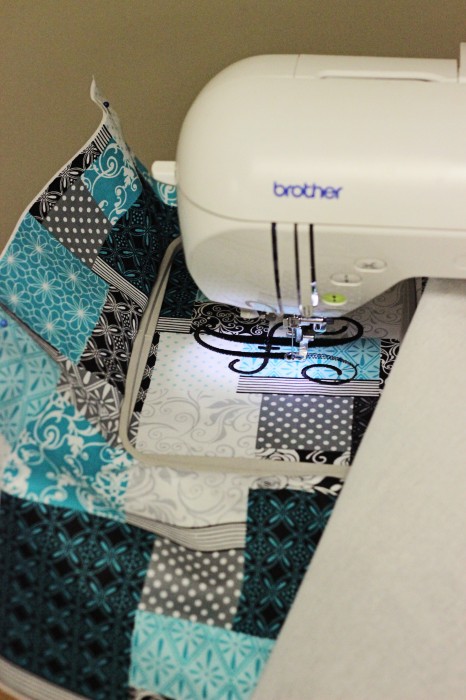
Embroidery machine (optional) ** if you have a Brother PE-700 go ahead and monogram your initial on the outer fabric. I don’t and have no idea how it’s done, but I am grateful to Rachel for doing it for me.
Handmade Tote Bag Pattern
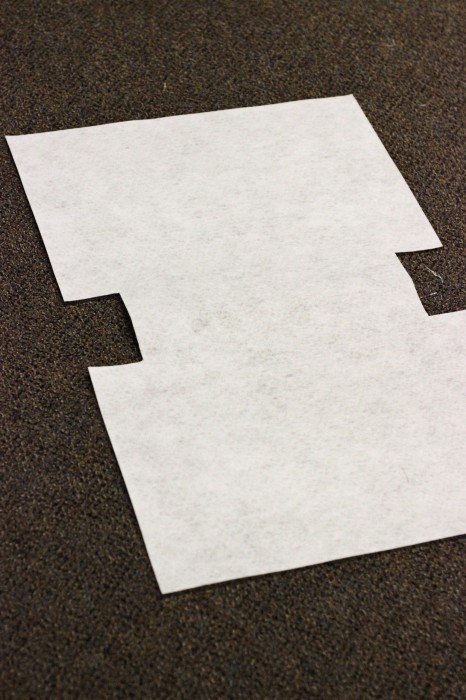
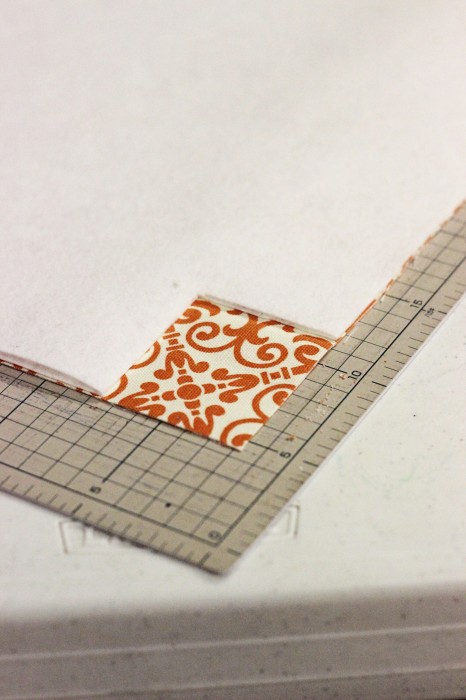
Step 1 – To make and easy tote bag pattern, fold the heavy interfacing in half and cut a pattern like the one pictured below. The dimensions are 14″ high and 19″ wide.

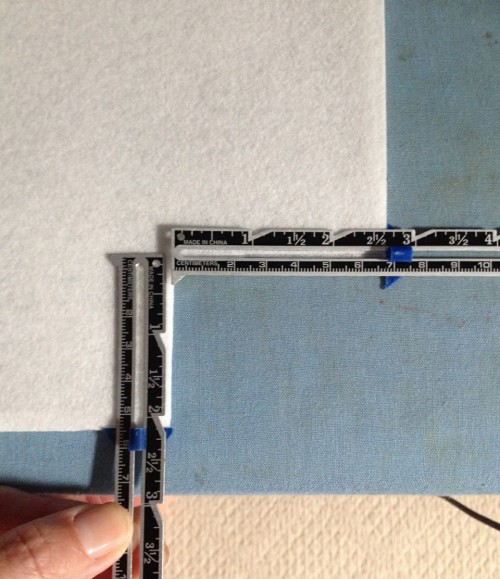
There are two rectangular notches cut in the top corners that measure 2 ½″ by 2″ (picture below)
This is what it should look like unfolded
Step 2 – Using the interfacing as a your handmade tote bag pattern, cut each ½ yard piece of duck into the same shape. Use a mat, rotary cutter and ruler to do this making sure to salvage as much fabric as possible since you’ll need the leftovers for straps
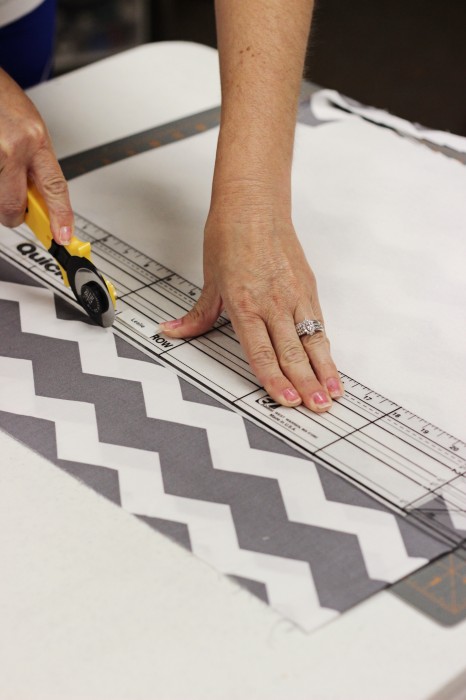
And it’s easier to cut the two notches with scissors
Now you should have a piece of interfacing and two pieces of fabric, all cut into the same shape.
Step 3 – Choose which fabric you want to use as your bag liner (There are some DIY tote bag ideas at the bottom of this post to give you some fabric combination ideas.) Fold so that the right sides are together and topstitch both sides. Press seams open.
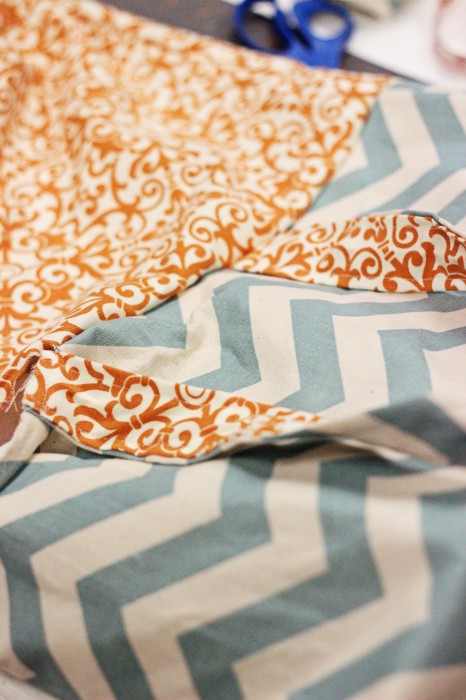
Step 4 – This is so hard to describe! Align the seams that you just stitched, right sides together at the rectangular openings. This forms a little “mouth” and will be the corners of your bag lining. See photo below
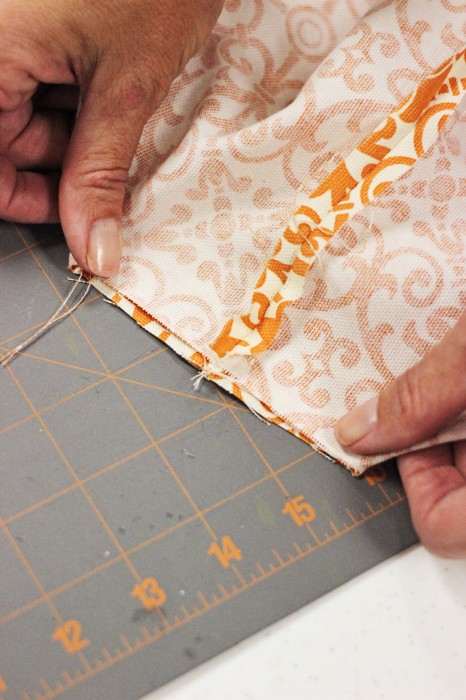
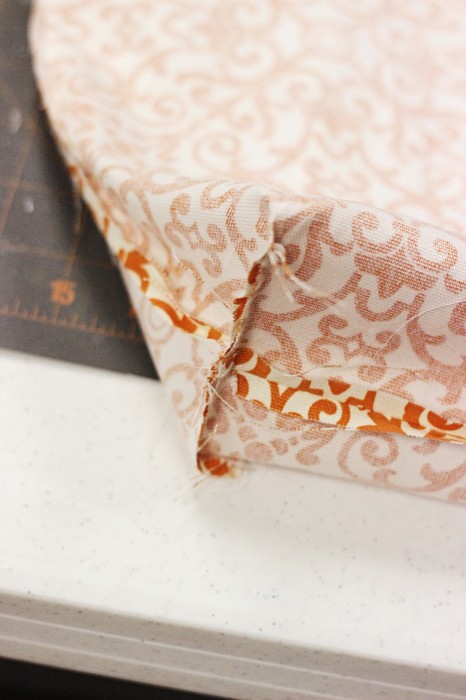
Stitch this closed and repeat on the other side of the bag liner. Press the seams open. See? Corners.
Step 5 – Stitch the fabric you’ve chosen for the outside of the bag to the interfacing by topstitching all along the edges except for the rim of the bag. You want the interfacing and the outside fabric to function as one piece. You can use a wide zig-zag stitch around the rim of the outer bag/interface piece to make it easier to topstitch later. Optional but does make it more manageable when you get to that stage.
Step 6 – Repeat steps 3 and 4 with this piece. Viola! It’s starting to look like a tote bag.

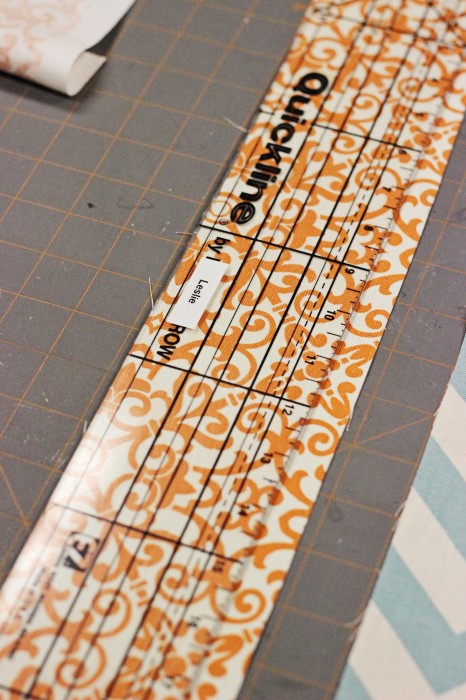
Step 7– Time for straps! Using a 3″ ruler and mat for straight edges, use the rotary cutter to cut a strip of fabric #1 into a 3″ wide strip (the exact size of the ruler) that is 58″-60″ long. Do the same with fabric #2. If your fabric isn’t long enough, cut another 3″ wide strip and sew them together to get the length you need.
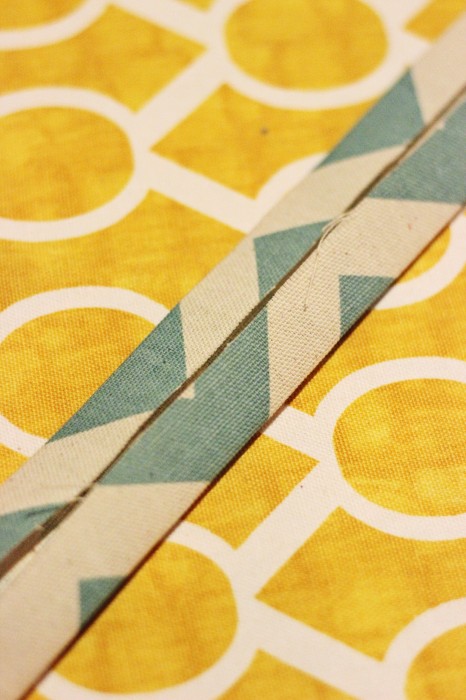
Step 8 – Iron each strip in half horizontally so there’s a crease down the middle all the way down the strips
Unfold then iron each edge into the middle crease you just made so that both strips look like this
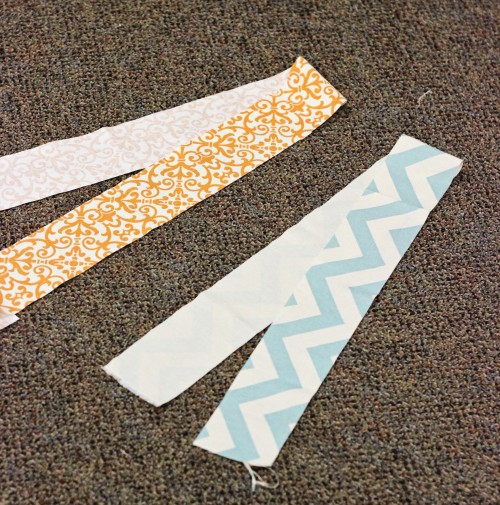
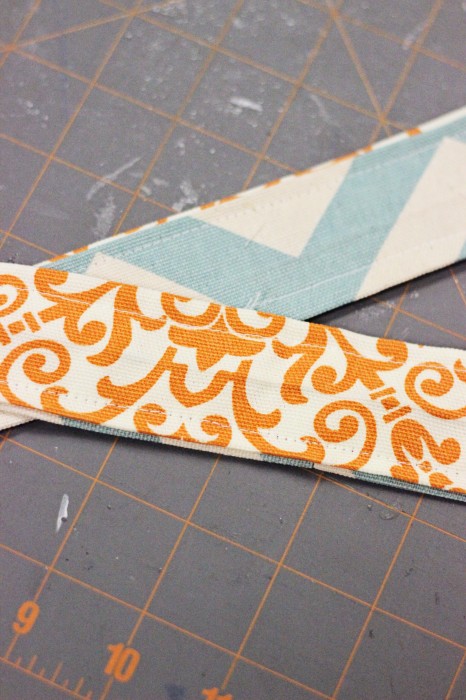
Step 9 – Place both strips wrong side together and topstitch down both sides. Cut this strip in half. Your straps are finished!
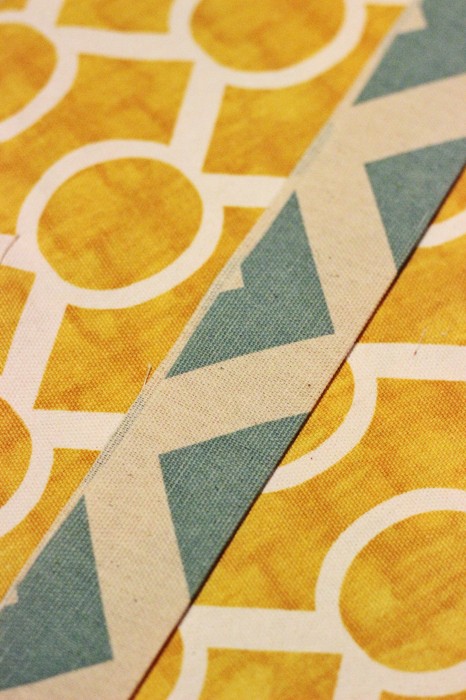
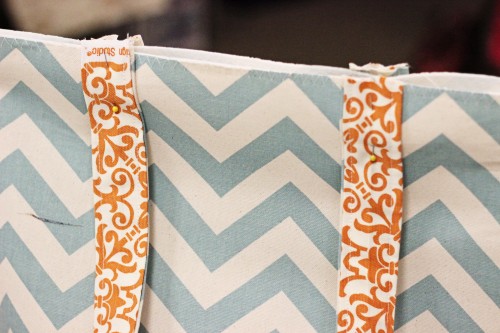
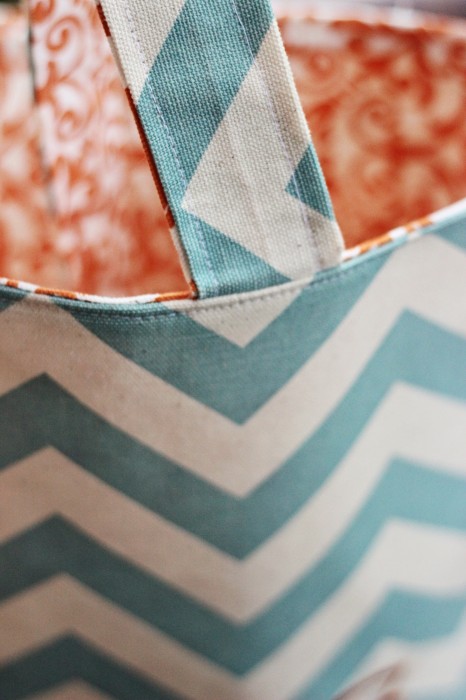
Step 10 – Measure 5″ from the edge of the outer bag/interfacing and pin the raw edge of one strap into place. Matching pattern to pattern (so I placed the blue chevron of the strap against the blue chevon of the bag) and lining up the strap edge with the bag edge. Repeat measuring 5″ from the other side

Repeat on the opposite side of the bag until straps are pinned in four places. Sew straps in place as close to the edge of the bag as possible.
Step 11 – Place outer shell inside sewed liner (opposite sides together). Match up seams and pin together. Pin where the straps are too to make it easier. Stitch around the edge leaving 5″ -6″ open.

Step 12 – Turn the liner right side out using the 5″-6″ opening you left
And stuff the liner in the bag where it belongs
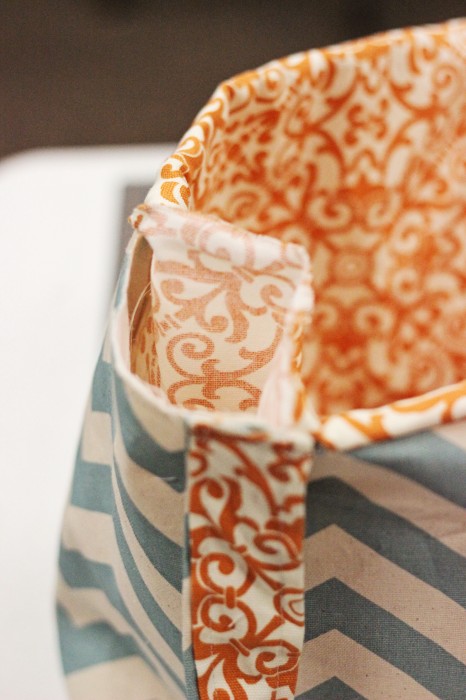
Step 13 – Iron the rim of the bag flat (you’ll have to manhandle the open portion before pinning to look like the rest of the rim) then topstitch the entire rim as close to the edge as possible. Make sure you are stitching on the correct side of your easy DIY tote bag handles too. The chevron side in my case.
Run an iron over the finished product so it looks pretty and enjoy your new handmade tote bag!
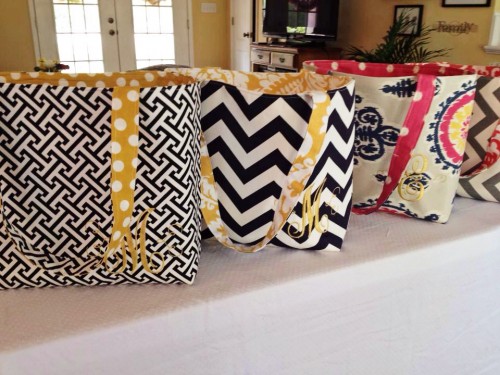
DIY Tote Bag Ideas
Here are a few more DIY tote bag ideas using the same handmade tote bag pattern, but different fabric combinations

DIY Tote Bag
Equipment
- Rotary cutter and mat
- 3" wide ruler
- Scissors
- Sewing machine
- Ironing board and iron
- Embroidery machine (optional)
Ingredients
- ¾ yard duck fabric
- ¾ yard duck fabric in a coordinating color
- ¾ yard heavy interfacing
- All-purpose thread
Instructions
- Fold the heavy interfacing in half and cut a pattern like the one pictured in the post. The dimensions are 14" high and 19" wide. There are two rectangular notches cut in the top corners that measure 2 ½" by 2" (see pictures)
- Using the interfacing as your handmade tote bag pattern, cut each ½ yard piece of duck into the same shape. Use a mat, rotary cutter and ruler to do this making sure to salvage as much fabric as possible since you'll need the leftovers for straps
- Choose which fabric you want to use as your bag liner Fold so that the right sides are together and topstitch both sides. Press seams open.
- Align the seams that you just stitched, right sides together at the rectangular openings. This forms a little "mouth" and will be the corners of your bag lining. (see photos)
- Stitch this closed and repeat on the other side of the bag liner to make corners. Press the seams open.
- Stitch the fabric you've chosen for the outside of the bag to the interfacing by topstitching all along the edges except for the rim of the bag. You want the interfacing and the outside fabric to function as one piece. You can use a wide zig-zag stitch around the rim of the outer bag/interface piece to make it easier to topstitch later. Optional but does make it more manageable when you get to that stage.
- Repeat steps 3 and 4 with the outer bag piece.
- Using a 3" ruler and mat for straight edges, use the rotary cutter to cut a strip of fabric #1 into a 3" wide strip (the exact size of the ruler) that is 58"-60" long. Do the same with fabric #2. If your fabric isn't long enough, cut another 3" wide strip and sew them together to get the length you need.
- Iron each strip in half horizontally so there's a crease down the middle all the way down the strips. Unfold then iron each edge into the middle crease you just made so that both strips look like the photo.
- Place both strips wrong side together and topstitch down both sides. Cut this strip in half. Your straps are finished!
- Measure 5" from the edge of the outer bag/interfacing and pin the raw edge of one strap into place. Matching pattern to pattern and lining up the strap edge with the bag edge. Repeat measuring 5" from the other side. Repeat on the opposite side of the bag until straps are pinned in four places. Sew straps in place as close to the edge of the bag as possible.
- Place outer shell inside sewed liner (opposite sides together). Match up seams and pin together. Pin where the straps are too to make it easier. Stitch around the edge leaving 5" -6" open.
- Turn the liner right side out using the 5"-6" opening you left and stuff the liner in the bag where it belongs.
- Iron the rim of the bag flat (you'll have to manhandle the open portion before pinning to look like the rest of the rim) then topstitch the entire rim as close to the edge as possible. Make sure you are stitching on the correct side of your easy DIY tote bag handles too. Run an iron over the finished product so it looks pretty and enjoy your new handmade tote bag!
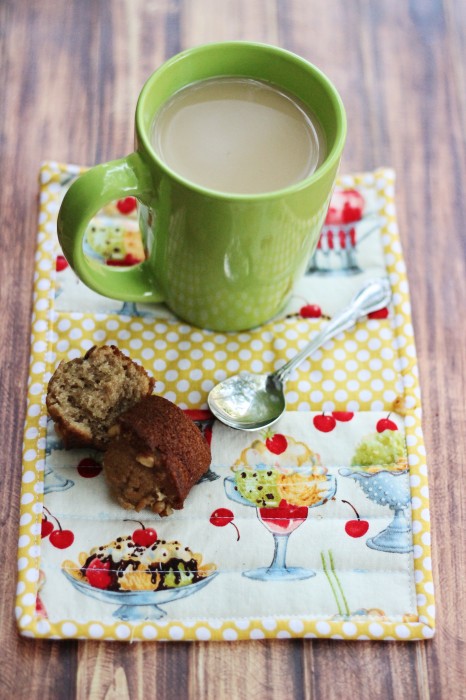
If you enjoyed this handmade tote bag pattern, check out my Mug Rug tutorial. Mug rugs are a combination of a coaster and a place for snacks. Super cute gift idea!


Jolene says
Thank you so much for this tutorial! I made myself a new tote 🙂 I even added an extra layer outside for POCKETS! I love some pockets. It turned out so cute. THANKS AGAIN!!!
Jenn says
Pockets! Way to step it up a notch. Love it. Thanks for coming back to comment! <3