This bird nest necklace DIY makes an adorable gift for Mother’s Day or a baby shower gift.
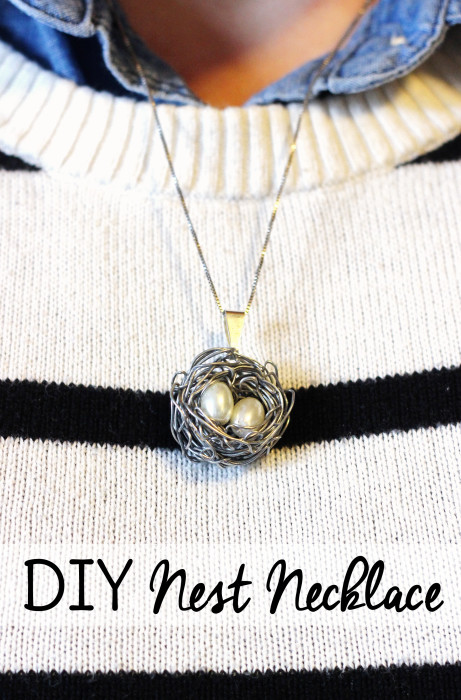
DIY Bird Nest Necklace
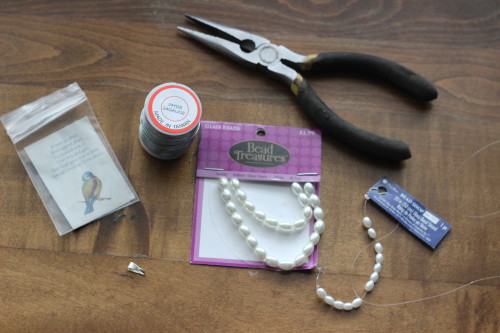
You will need
- 24-Gauge Silver Wire
- 6x8mm beads – for a nest with 1-3 beads
or
Smaller beads – (These are not labeled with their exact size. They are just slightly smaller than the 6x8mm beads and you’ll need them for a nest with 4-5 eggs in it)* - Needlenose pliers
- A pendant holder
*5 eggs per nest really is the limit. Any more than that and the nest starts looking odd and by the time you add wire around all the bulk, you’d wind up with a giant eagle’s nest. I love a statement piece as much as the next person, but it’s not the best look for this project. I once gifted this bird nest necklace to a lady with 10 children and wound up just making her two nests of 5 eggs that she could wear on one chain separated by a bead. She happened to have 5 boys and 5 girls so it worked out kind of neat.
Step 1 – Cut approximately 2 yards of wire from the spool. The exact amount you’ll need depends on how many eggs are in your nest. A nest with a single egg will require more wire than a nest with 5 eggs. Better to cut too much than not enough. The stuff is cheap. Err on the side of caution.
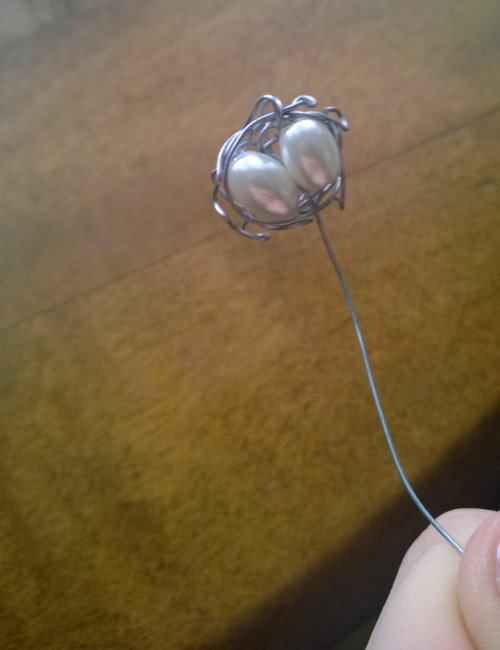
Step 2 – Thread the desired number of beads onto one end of the wire and fold. This is how the eggs will look in the nest so now is the time to arrange them just like you like them. Leave at least a 2″ tail
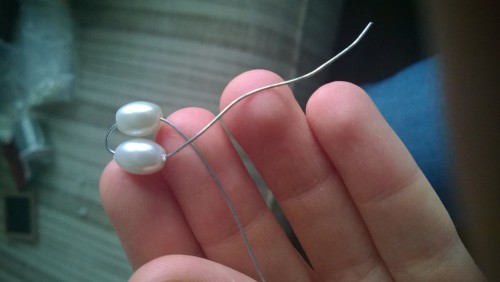
Step 3 – Twist the tail with the main body of the wire
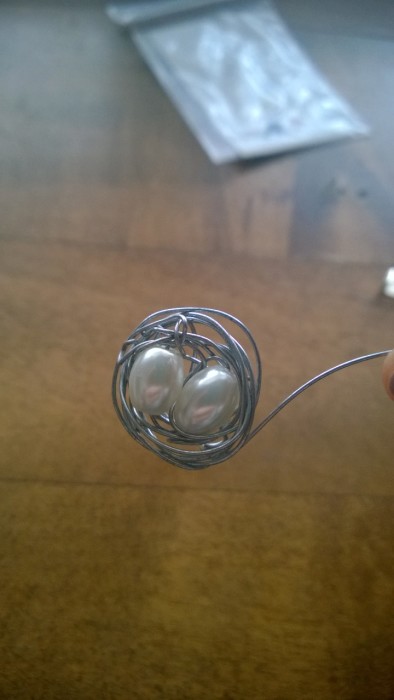
Step 4 – Begin encircling the beads with the wire, twisty part and all.
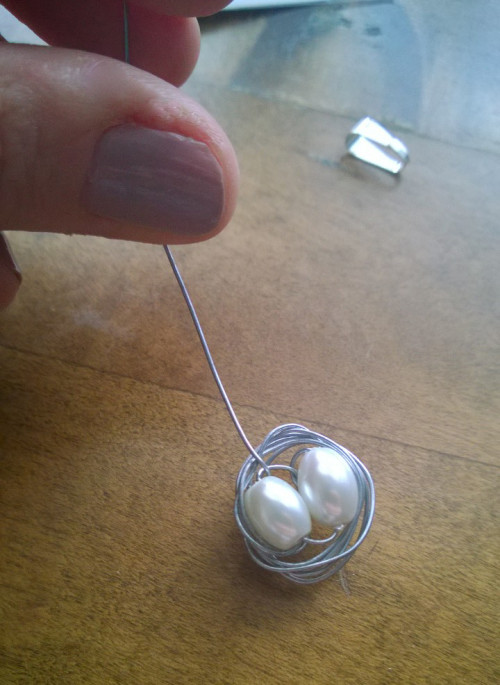
Step 5 – After going around the beads a few times, you’ll notice that it’s hard to keep the wire tightly wrapped. At this point, you need to bring the end of the wire through the center of the nest and around the edge to secure it. I do this two times on opposite sides of the nest to make sure it won’t slip.
Step 6 – Use needle-nosed pliers to twist and turn the wire.
Step 7 – Repeat steps 3-5 until the nest is the desired size. Be sure to wrap more toward the back so that the view of the beads isn’t obstructed by the wire. You want the eggs to rest in there, not get lost.
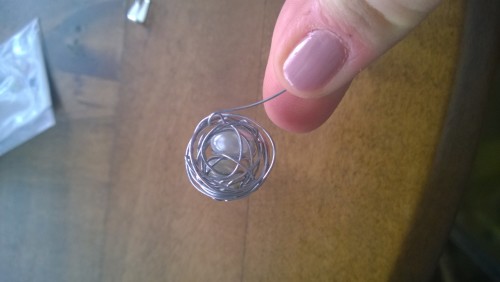
As you work this way, wrapping more toward the back of the nest and securing the wire after every 4-5 trips around the nest, the backside will start to get some coverage.
And the eggs will be easily seen from the front of the bird nest necklace.
Be sure to twist the backside of the nest with your pliers as you work. You can move the wire around and give it coverage and dimension.
Step 8 – When the nest is the desired size, clip any excess wire and weave the end throughout the nest. Just a couple of twists, turns, and tucks will ensure the recipient doesn’t get stuck with wire while she’s wearing her bird nest necklace.
Step 9 – Your nest is almost complete!
You just need to add a pendant holder so the nest can be worn on a chain. The kind I use can easily be clipped on the finished product. Just pick a section of nest wire to loop it on so that it lies flat and the eggs are centered when hanging. You might need to use the pliers to move a piece of wire to just the right spot.
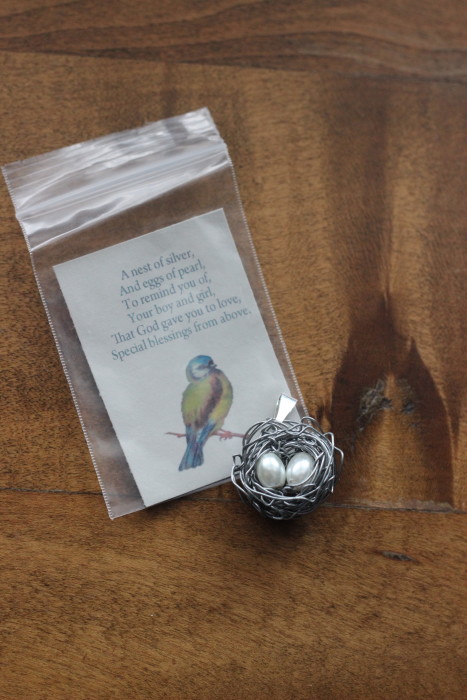
It’s ready to place on a chain!
My mom wrote a poem to go with the nests that you are welcome to use if you are giving it as a gift. Print it out and trim it to 3″x 4″ and it will fit in a little jewelry bag with the nest. Change up the wording to match the sex of the child(ren)











What's on your mind?