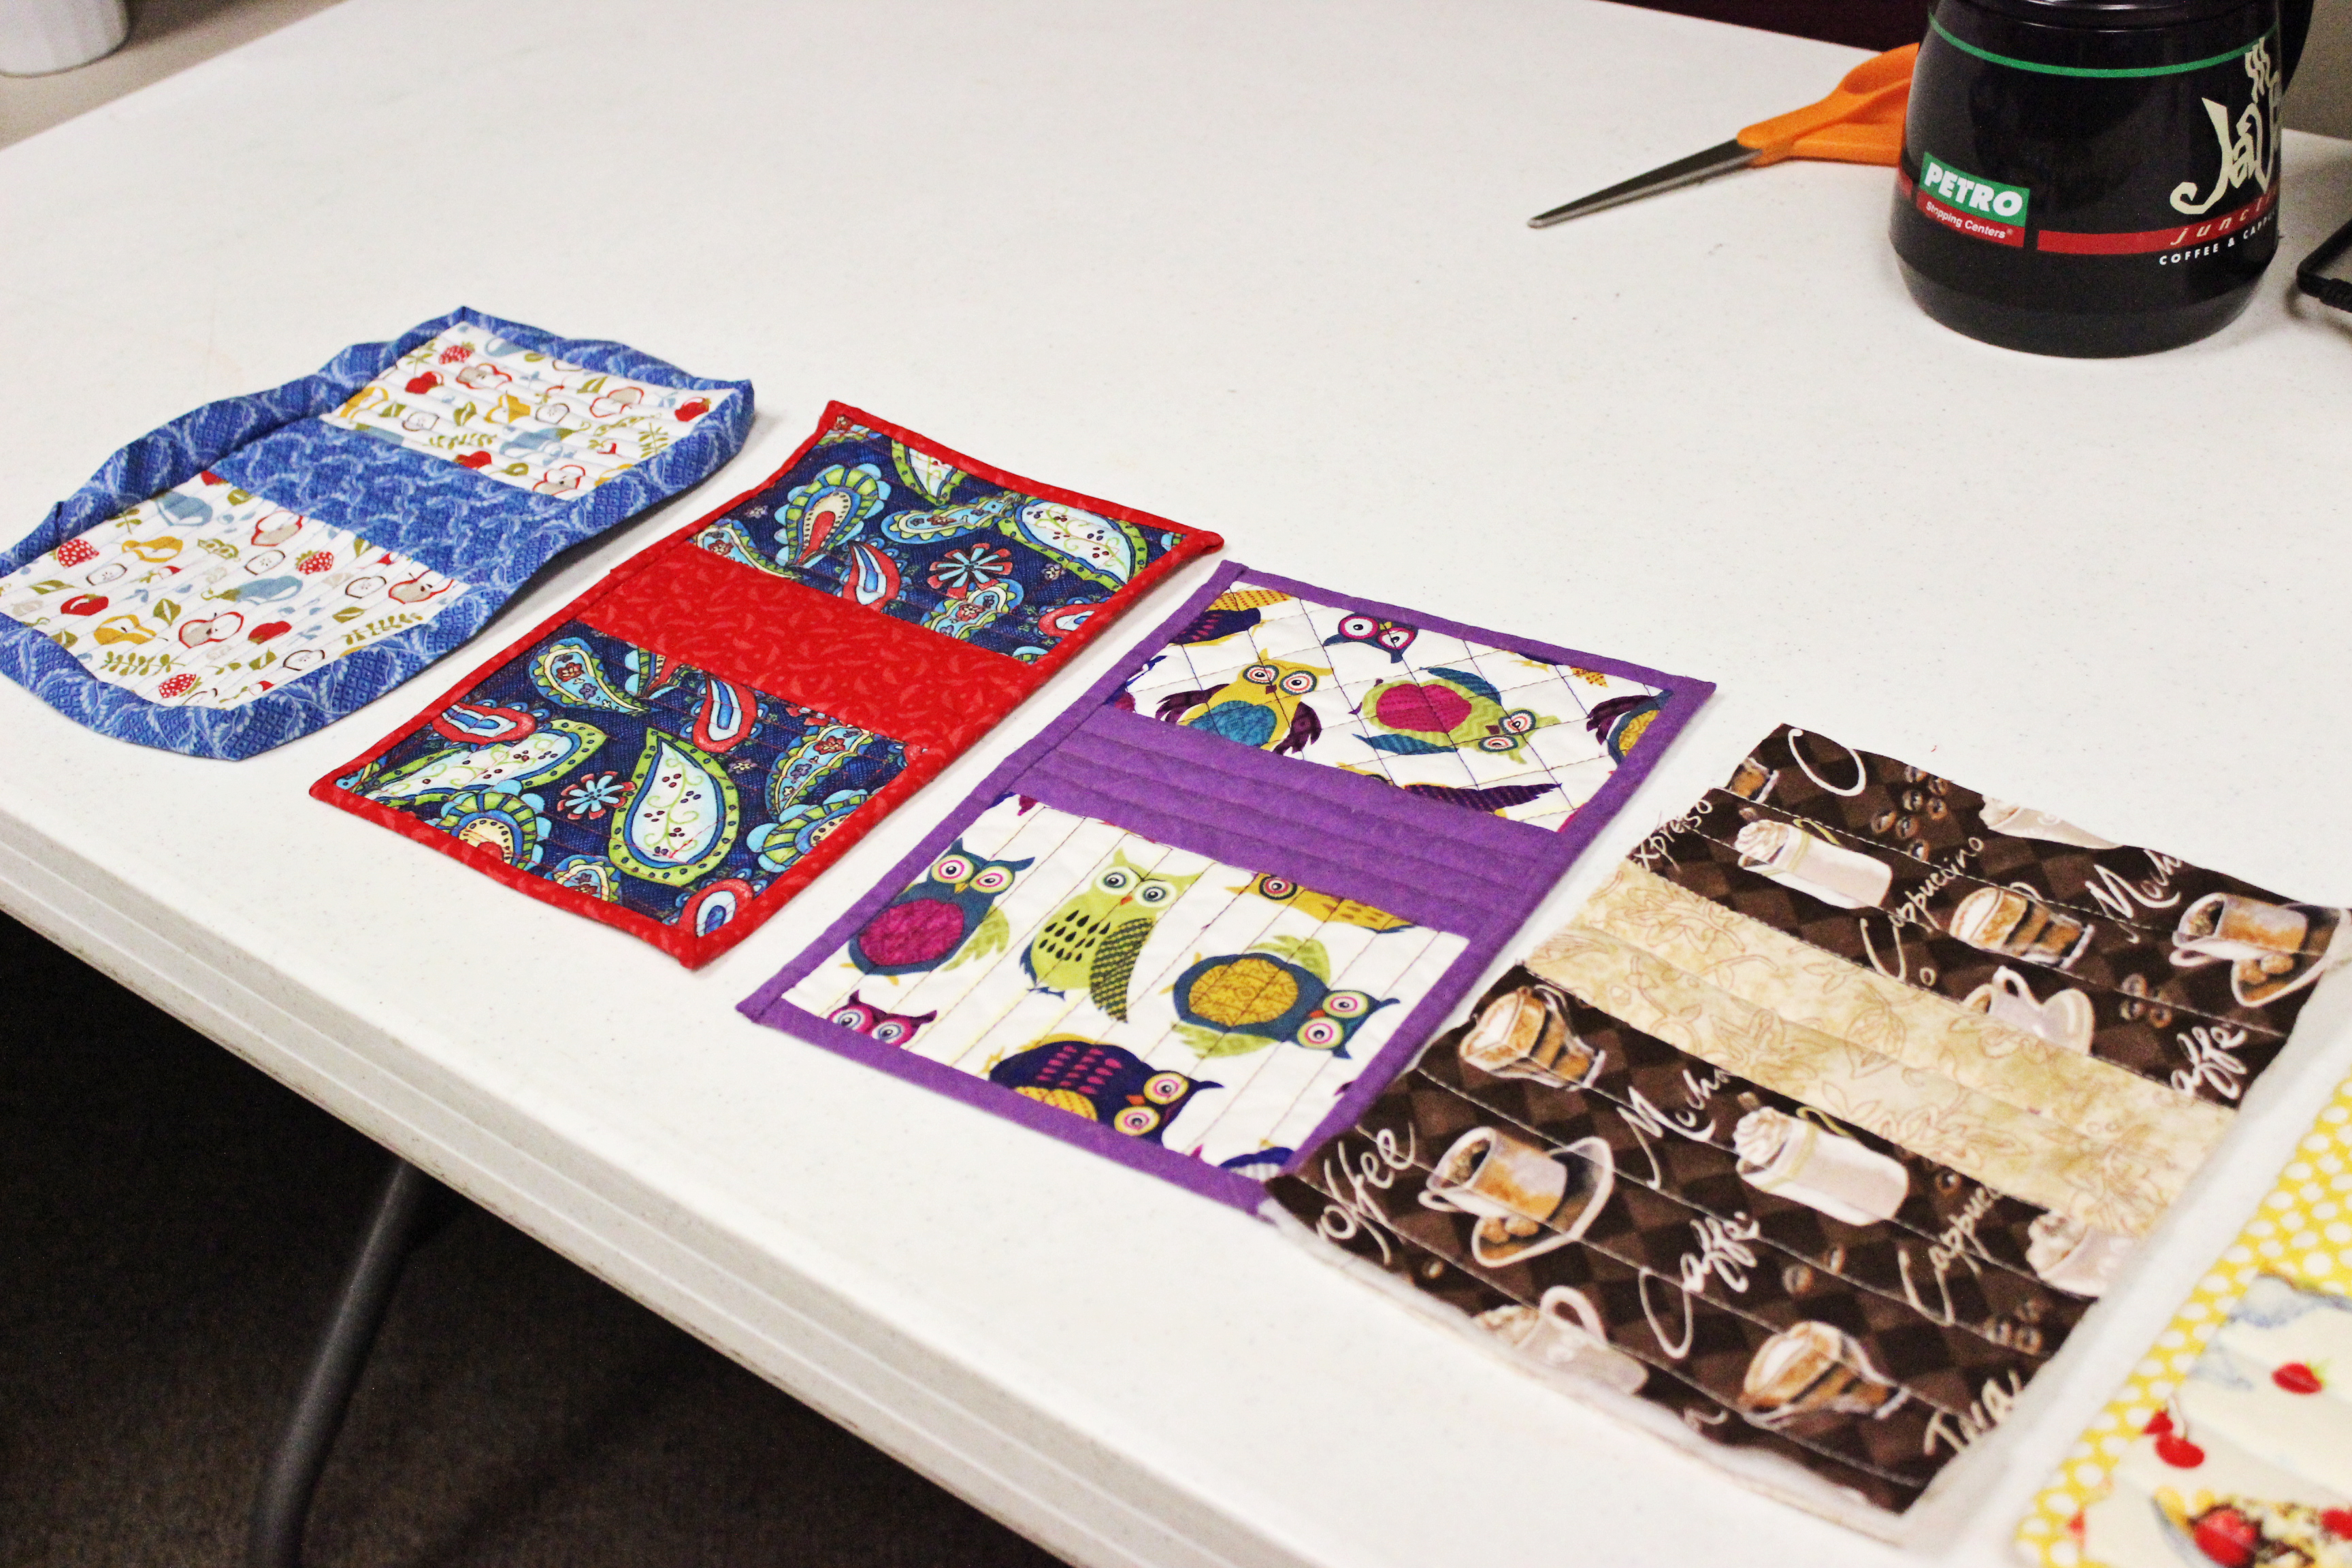
Craft night was another success thanks to a group of ladies who are talented and patient. Explaining sewing to me is like trying to explain how the internet works to someone from 1850. Yet, I came home with a beautiful Quilted Mug Rug that I made (mostly) all by myself! Here’s how you can make a mug rug too.

DIY Mug Rug
You will need
¼ yard 100% cotton fabric
¼ yard 100% cotton fabric in a contrasting pattern
Quilt batting
Rotary cutter and mat
Sewing Machine
Needle and thread
Ironing board and iron
Step 1 – Wash, dry and iron fabric. Cut off selvage.
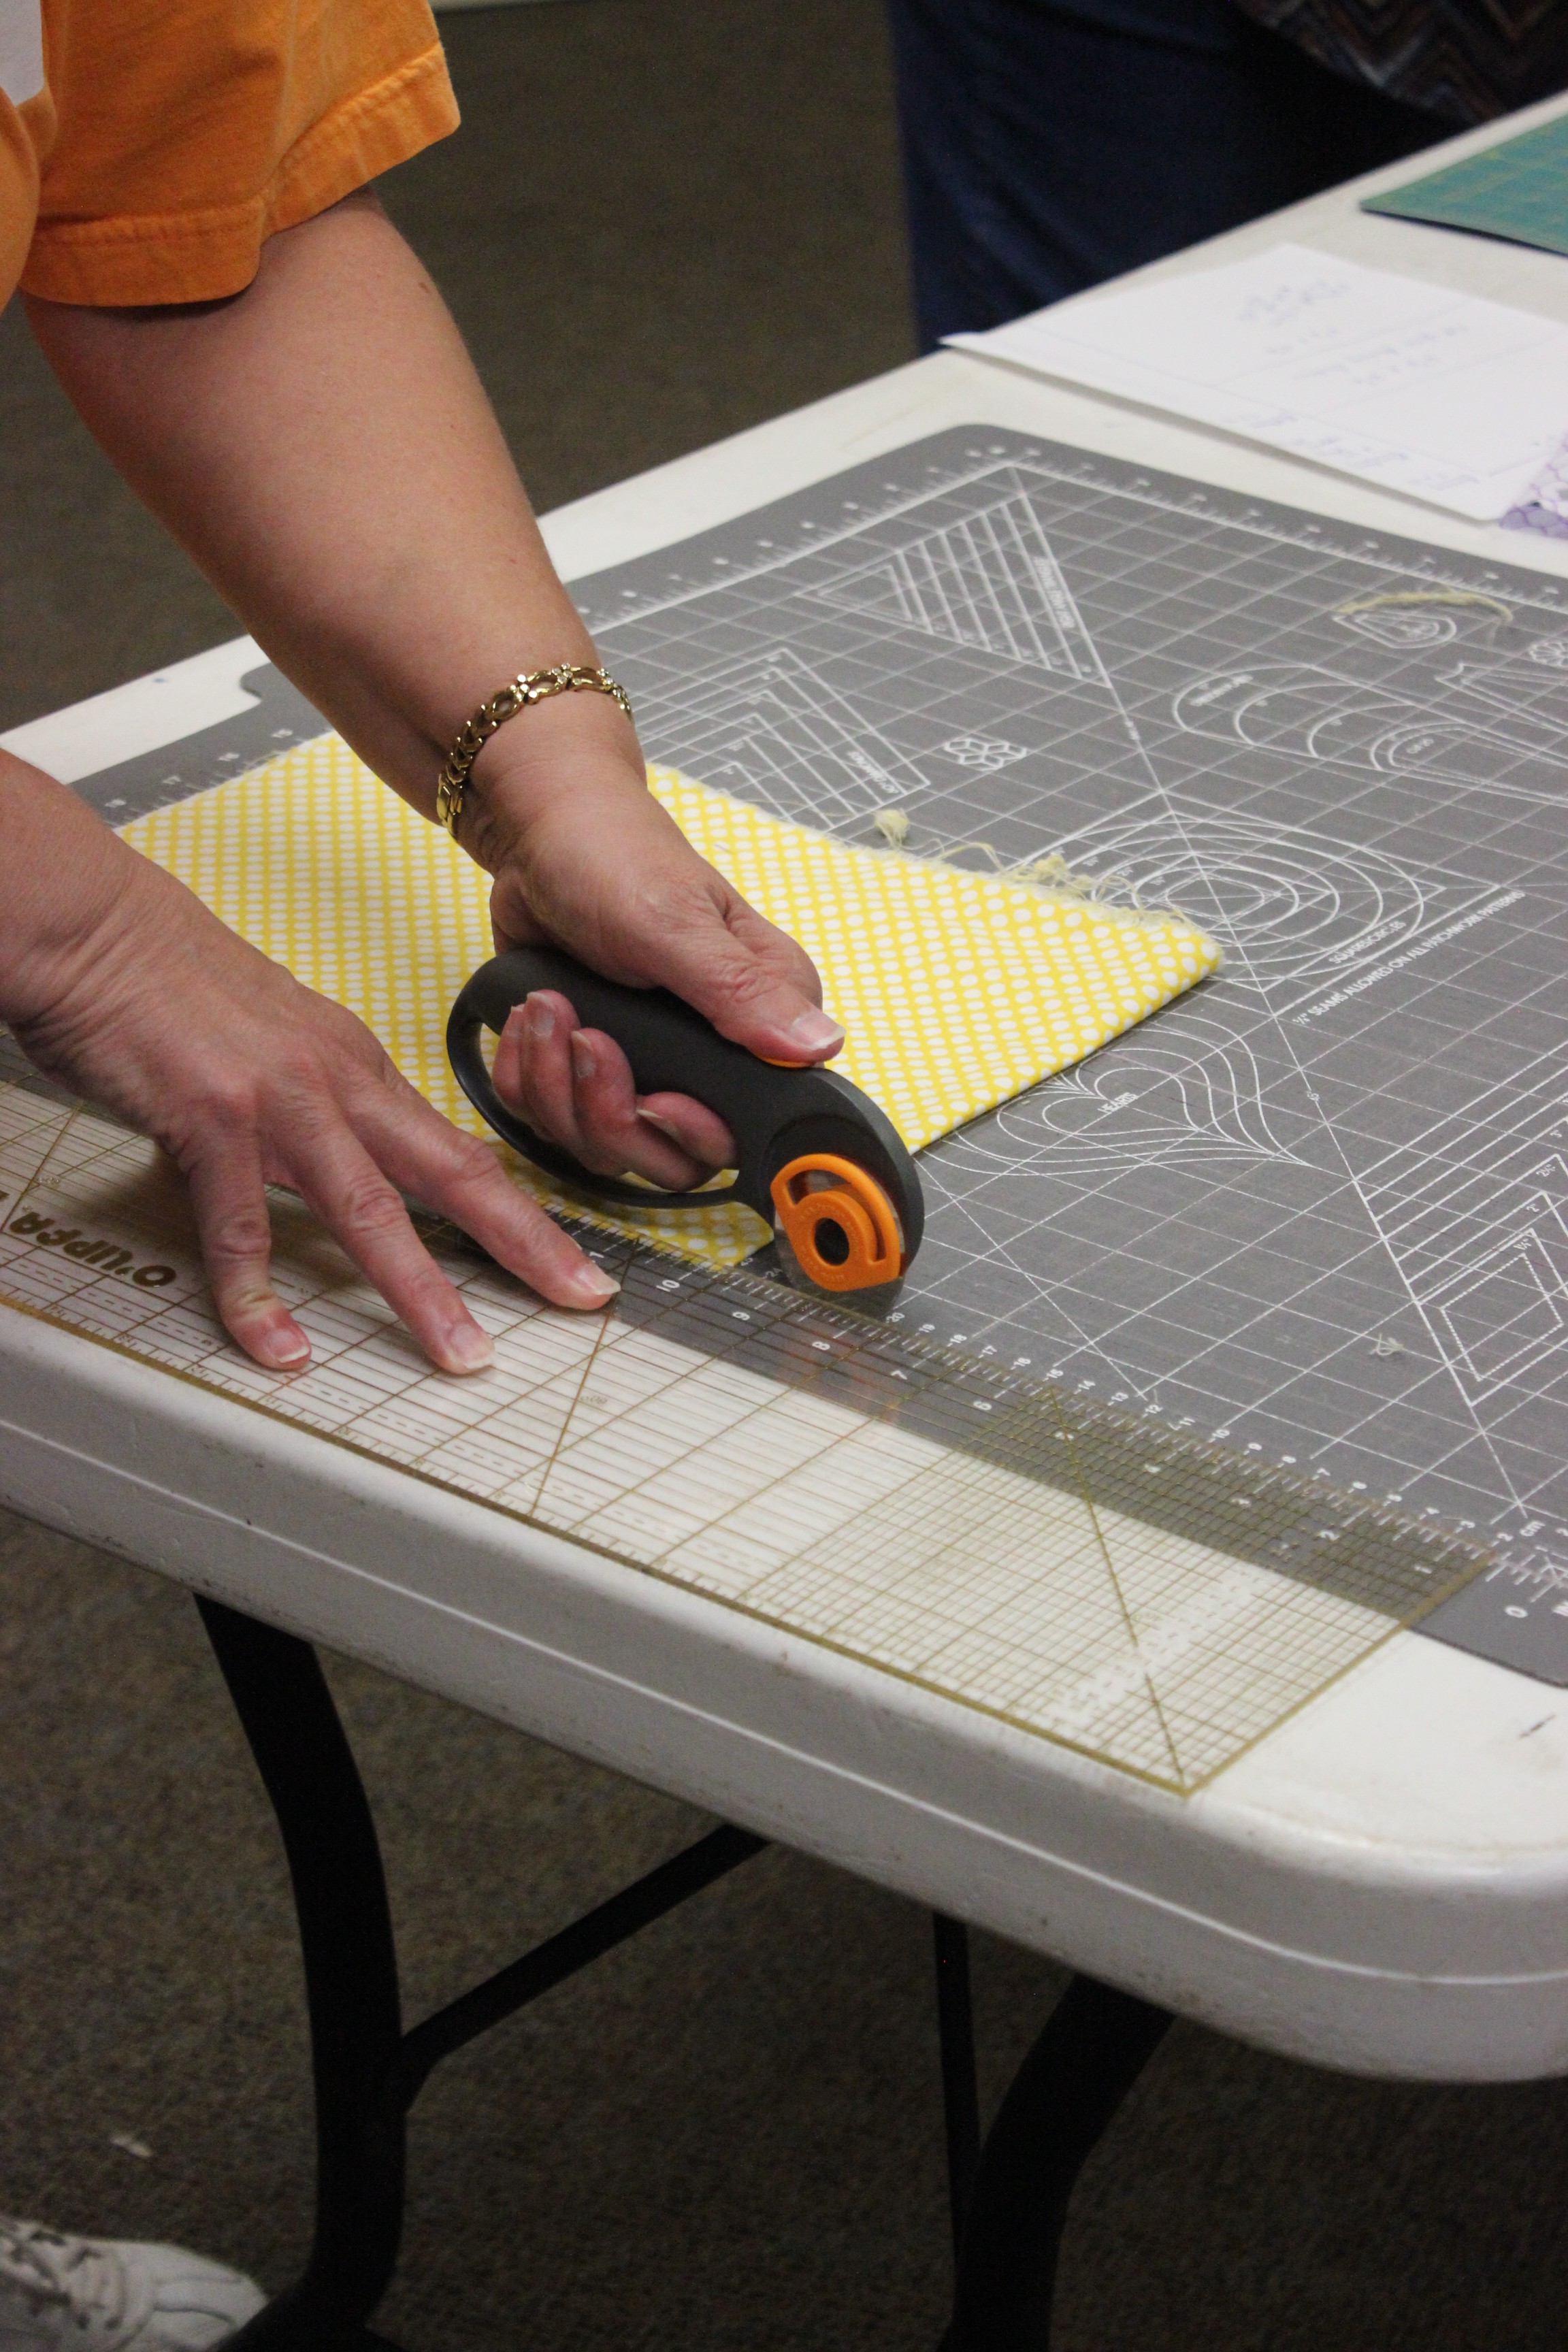 Step 2 – Choose which fabric you want to use as the lining and binding. I chose yellow polka dots. Cut pieces in the following dimensions:
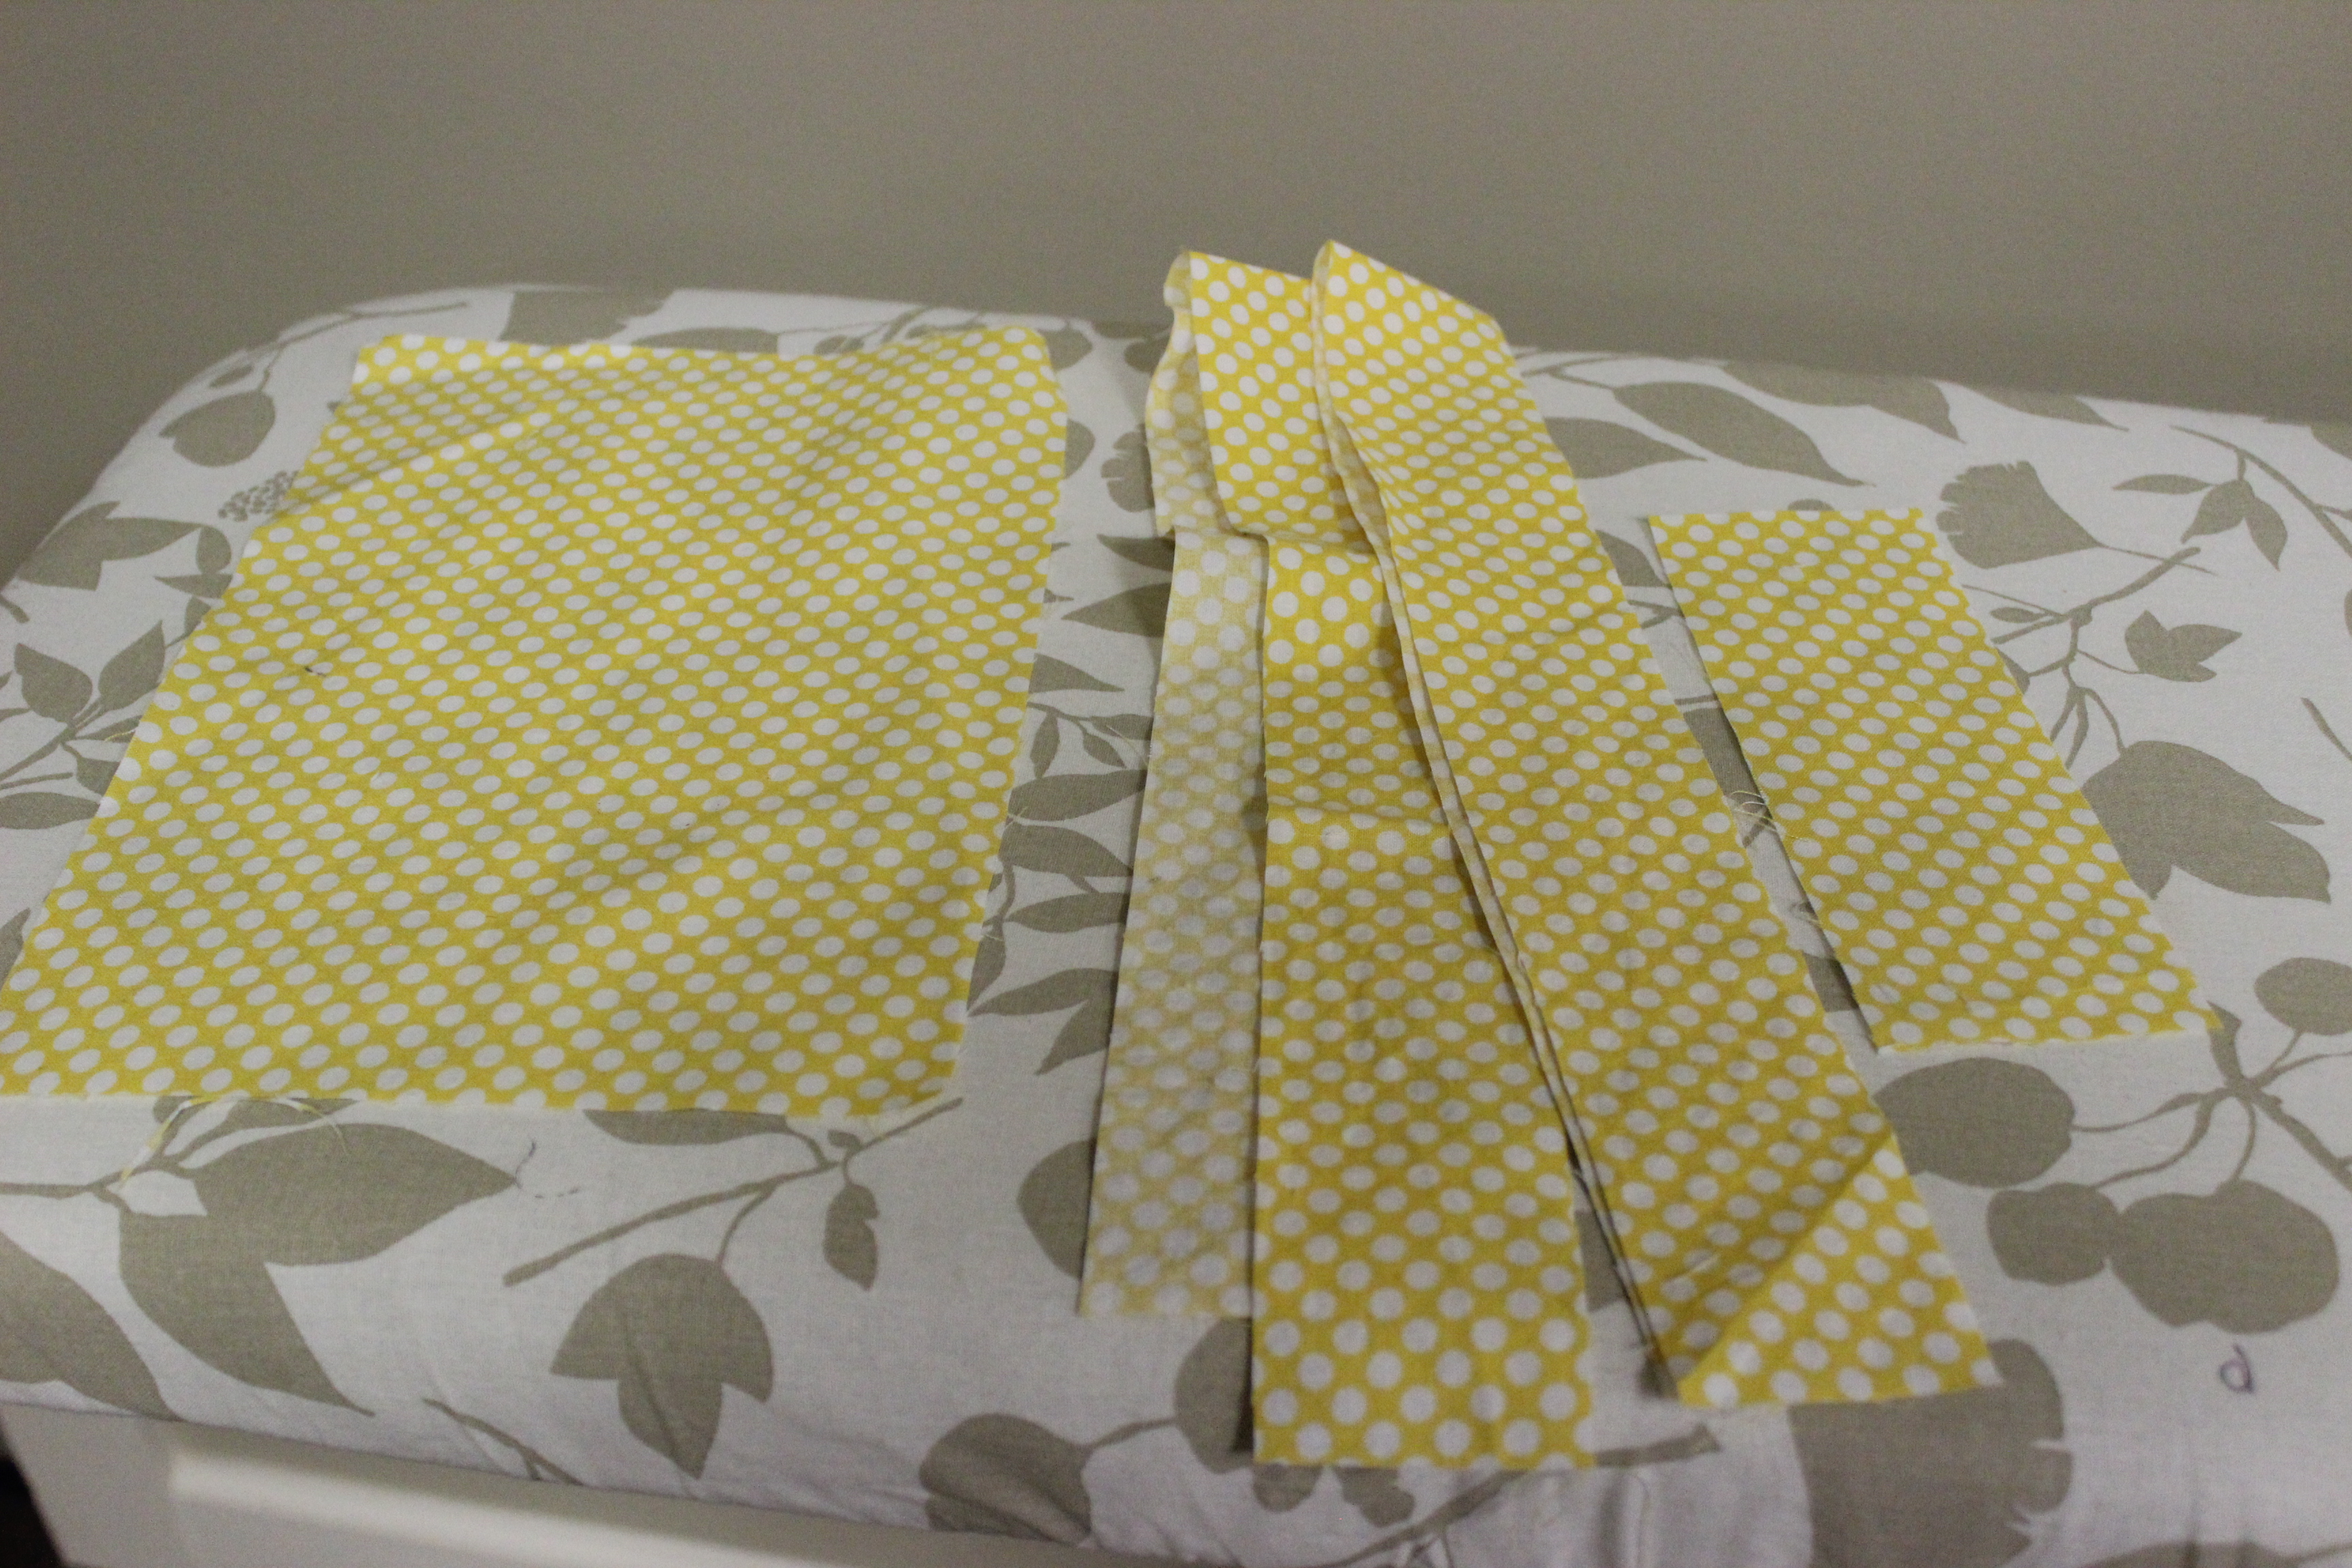
- 7″ x 10″ (for the back)
- 6 ½″ x 2 ½″ (accent strip on the top)
- 2″ strip approximately 24″ long (binding)
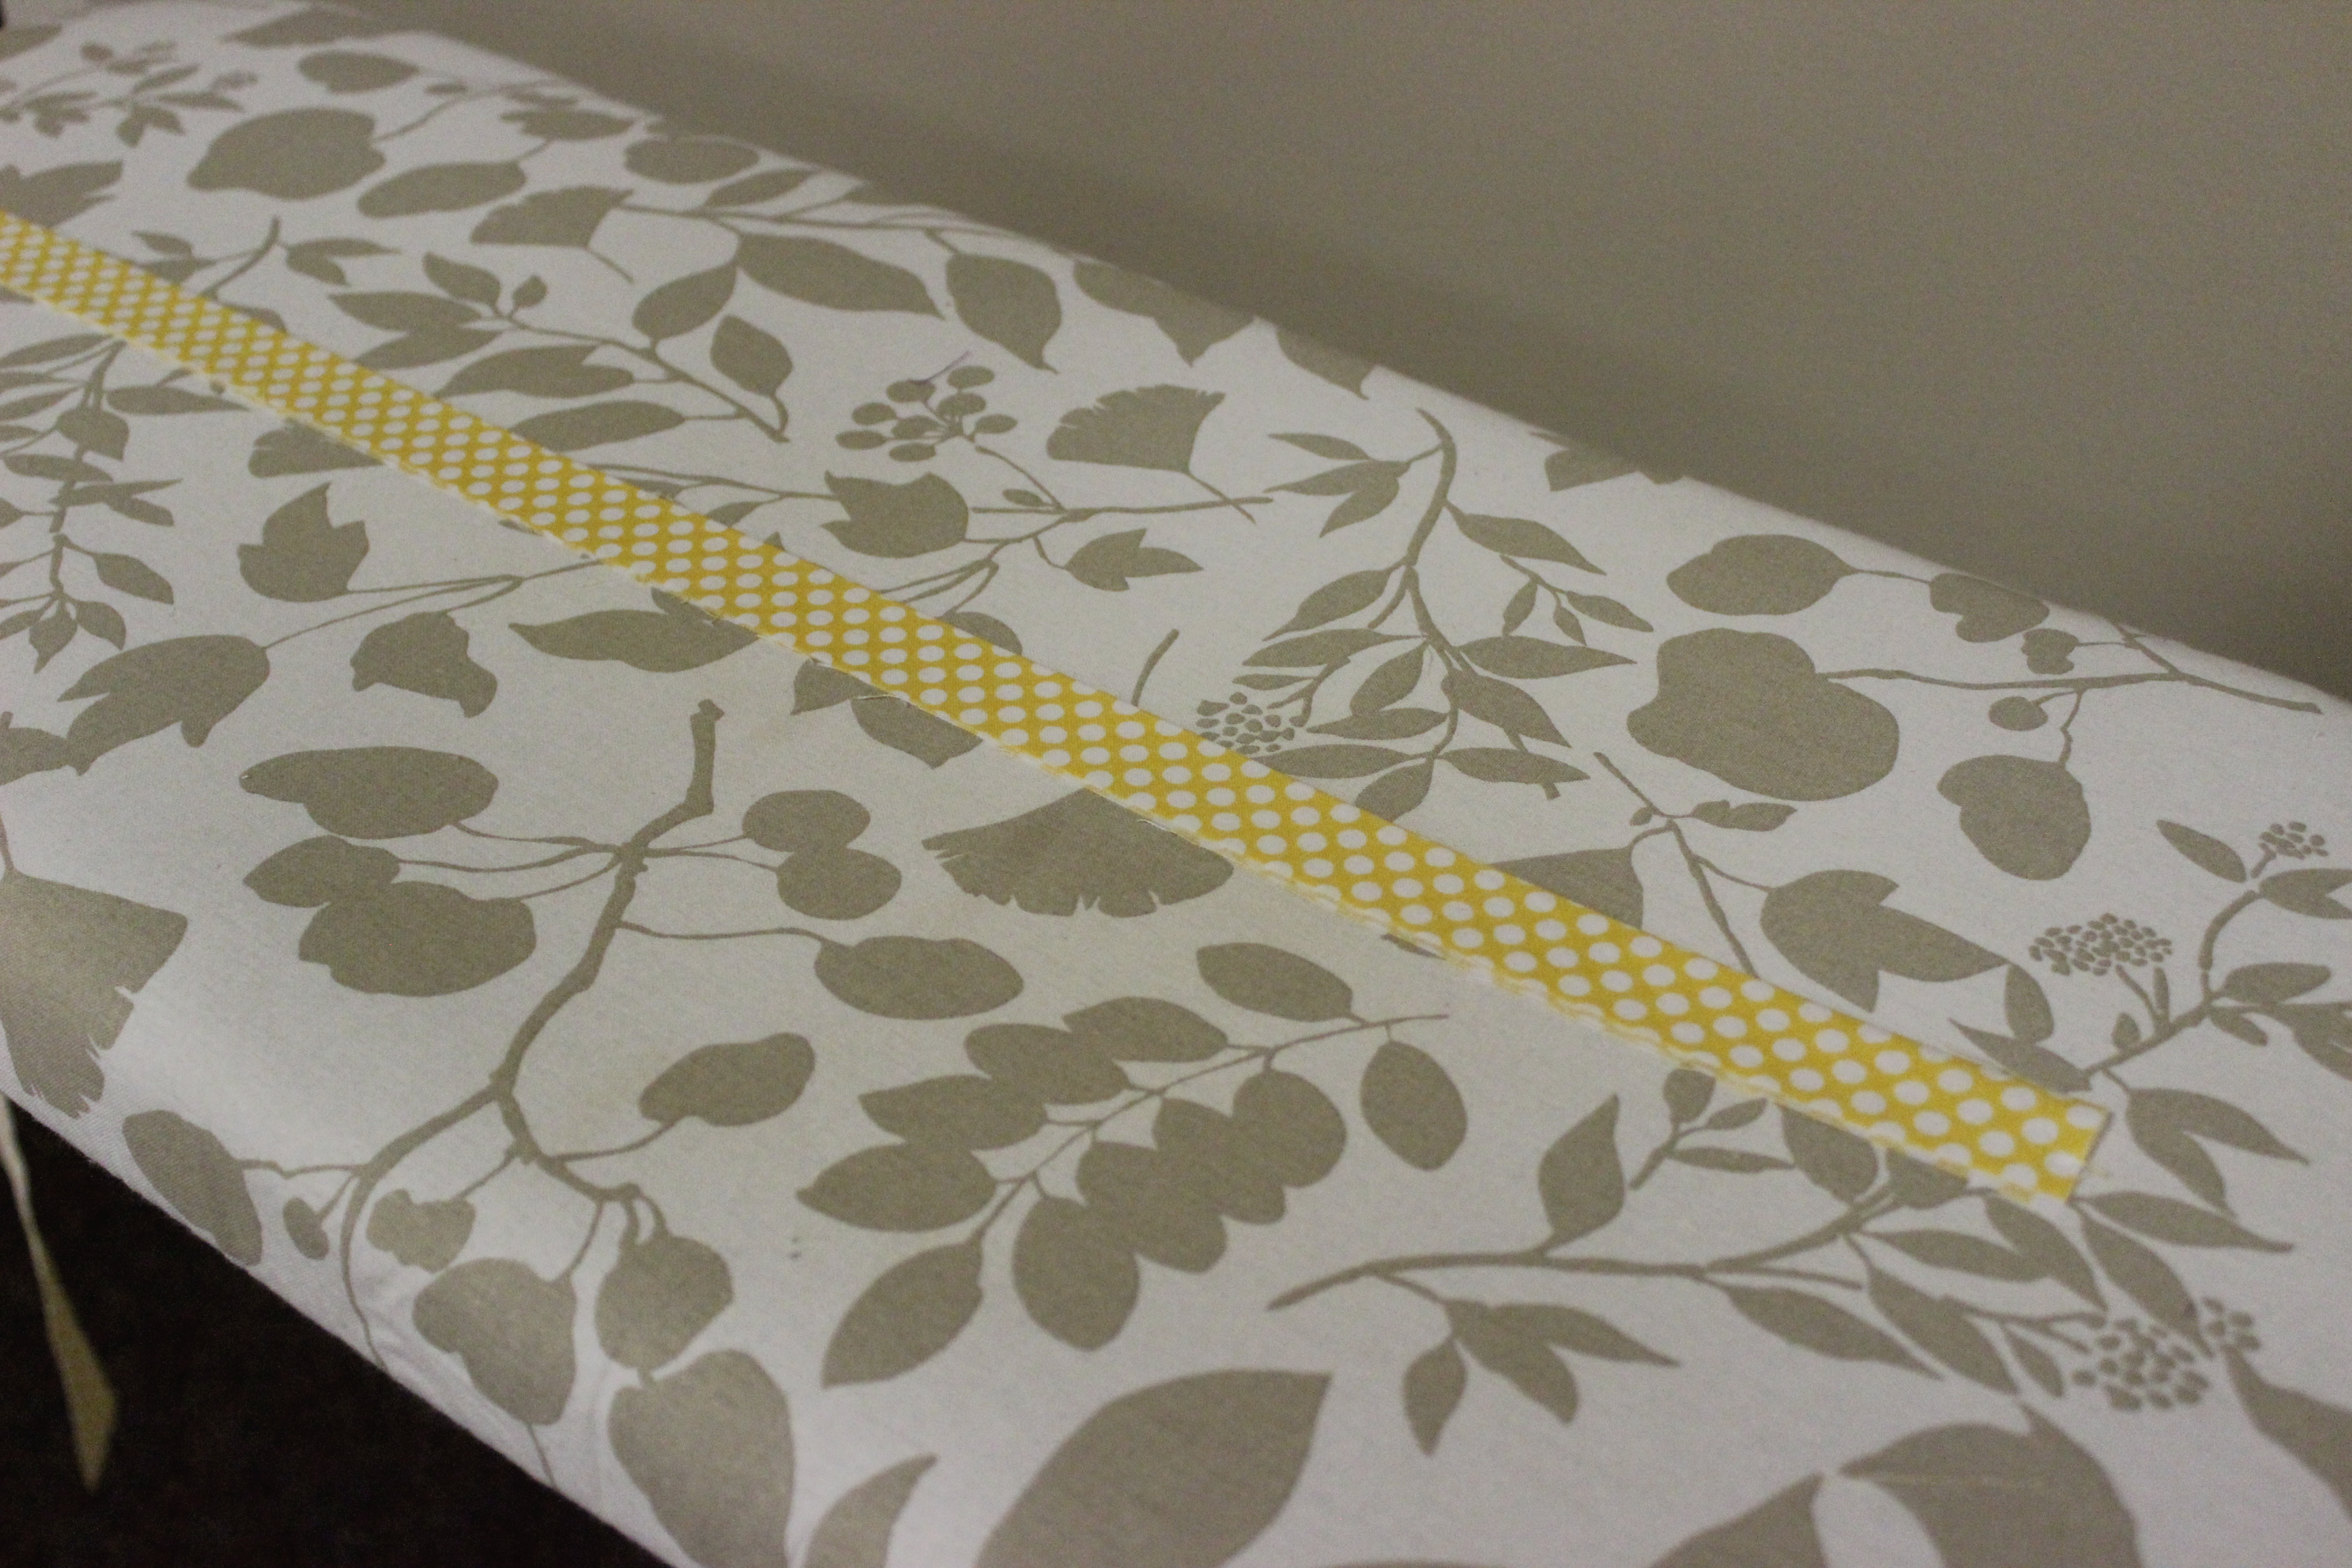
My ¼ yard piece of fabric wasn’t long enough to create a strip of 24″ so I had to sew two pieces together to get the length. Lay two pieces right sides together as pictured below
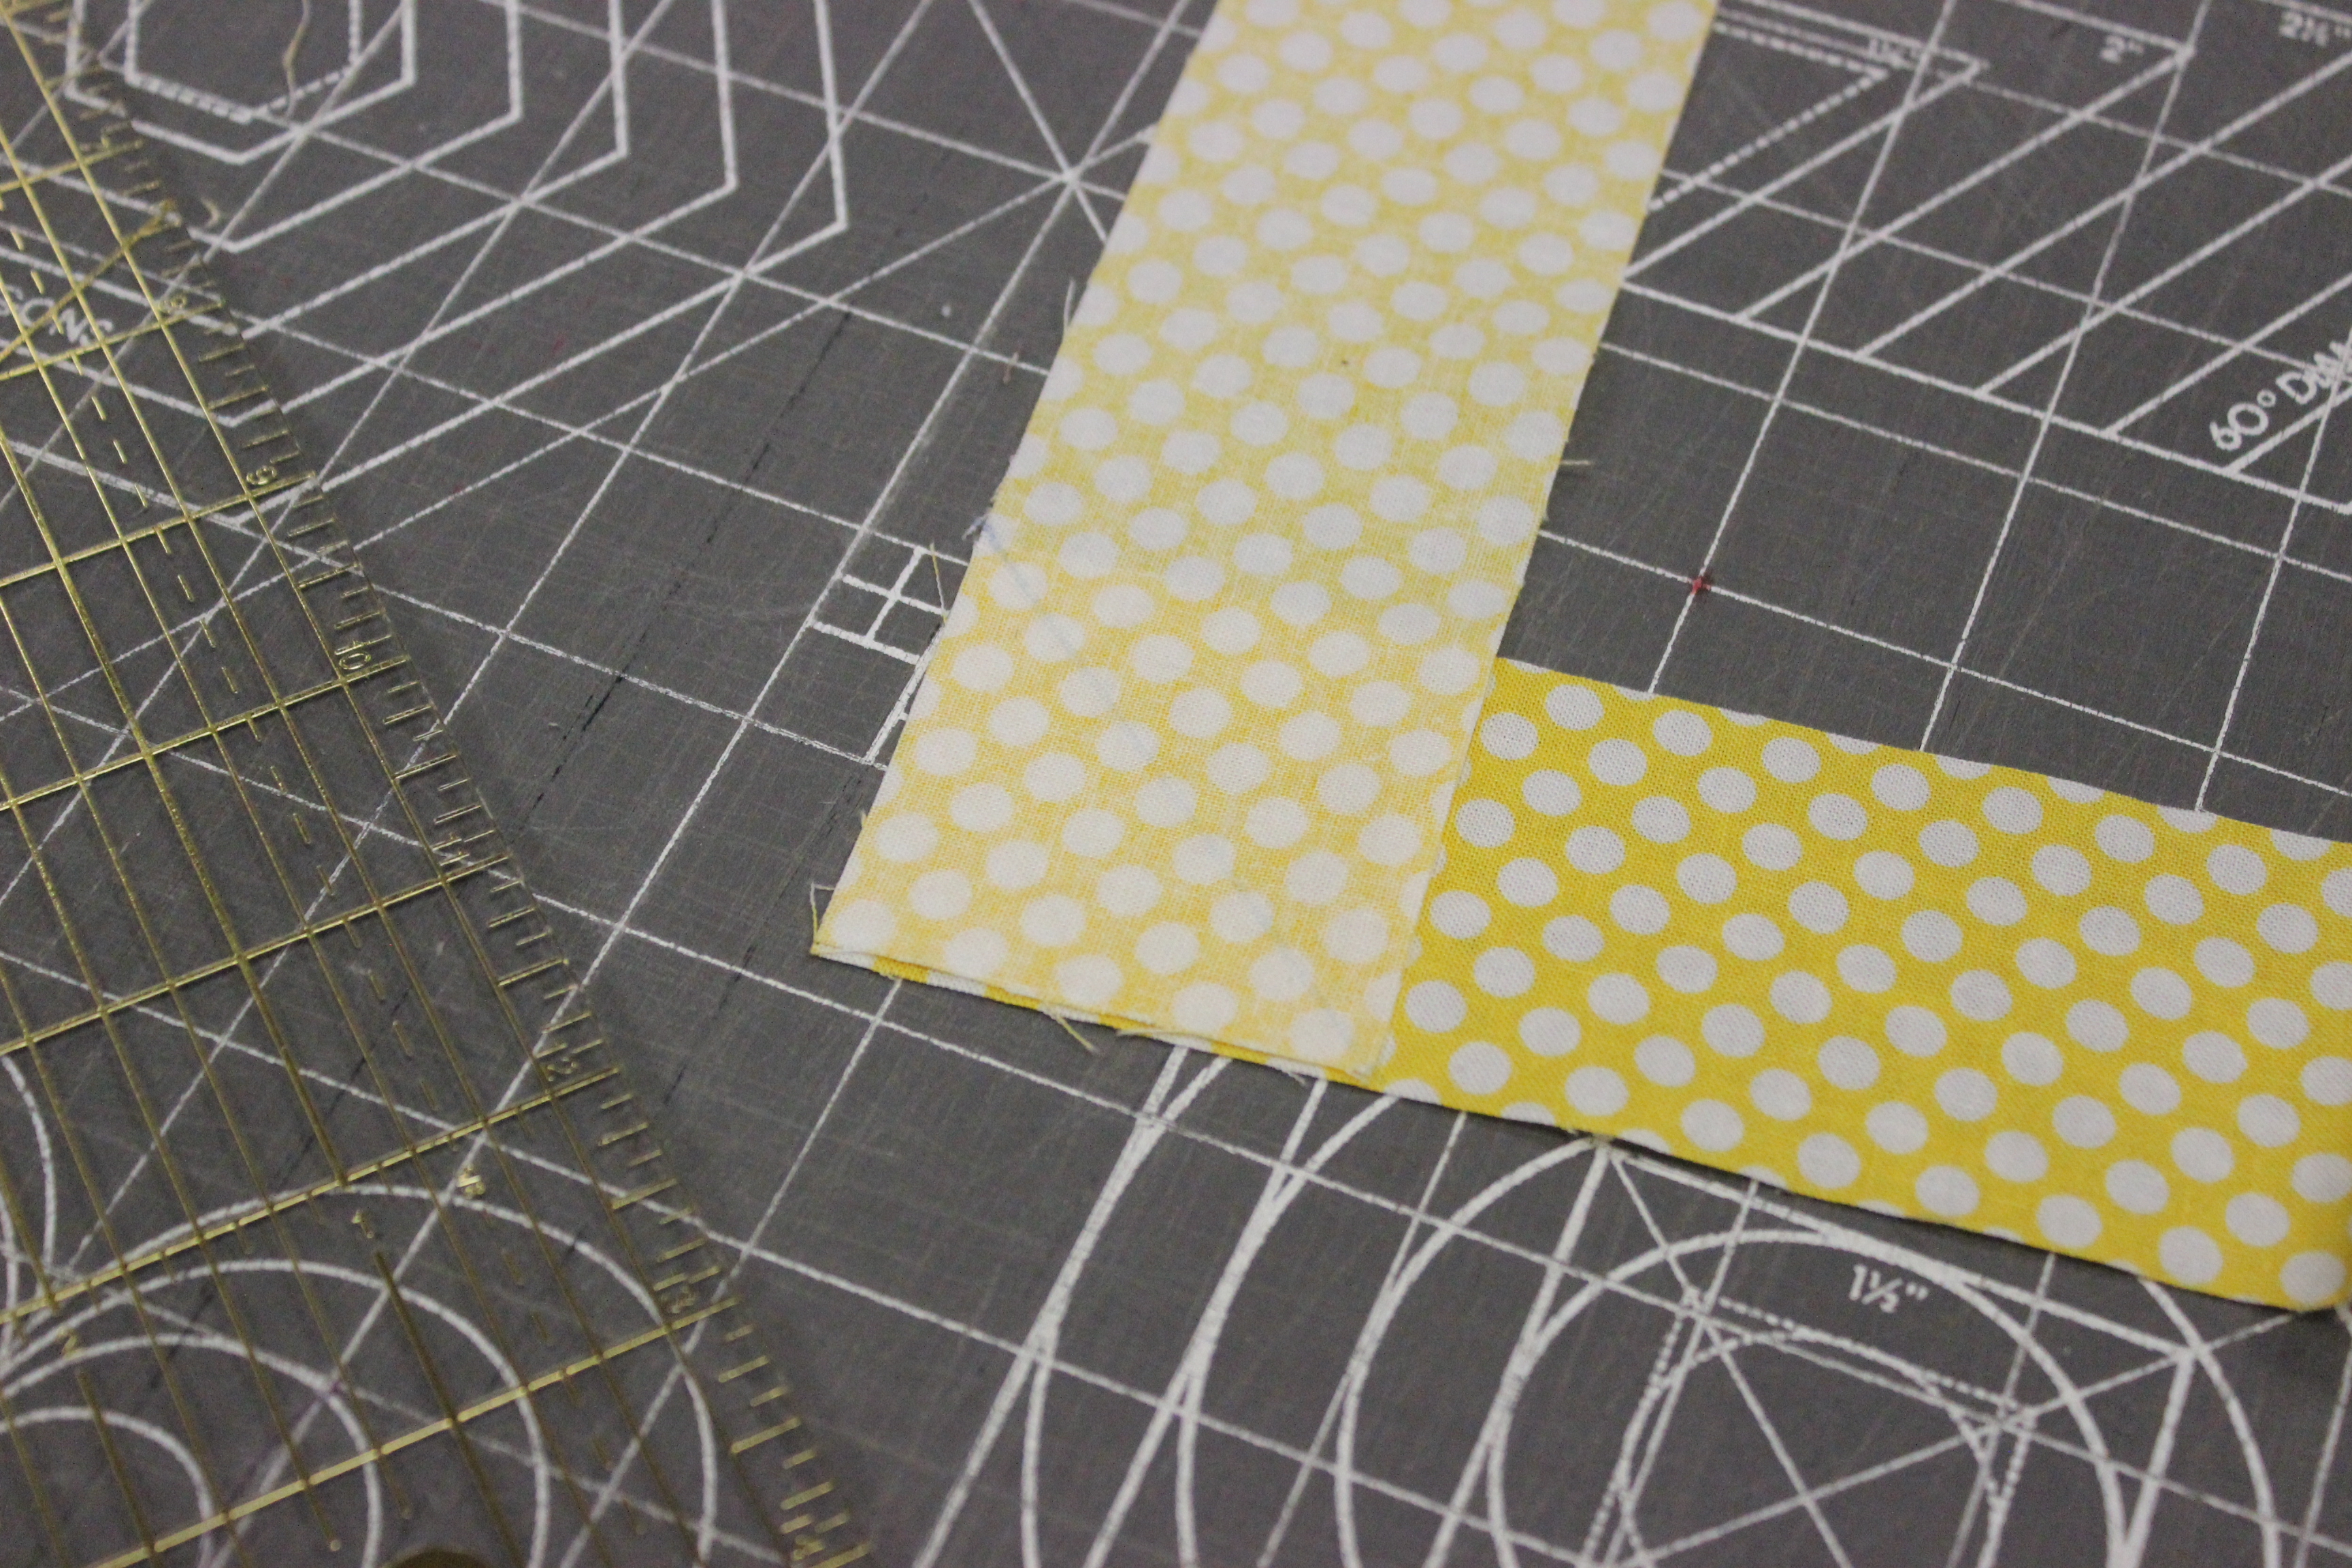
Sew a straight line diagonally (I marked it first because because…yeah.)
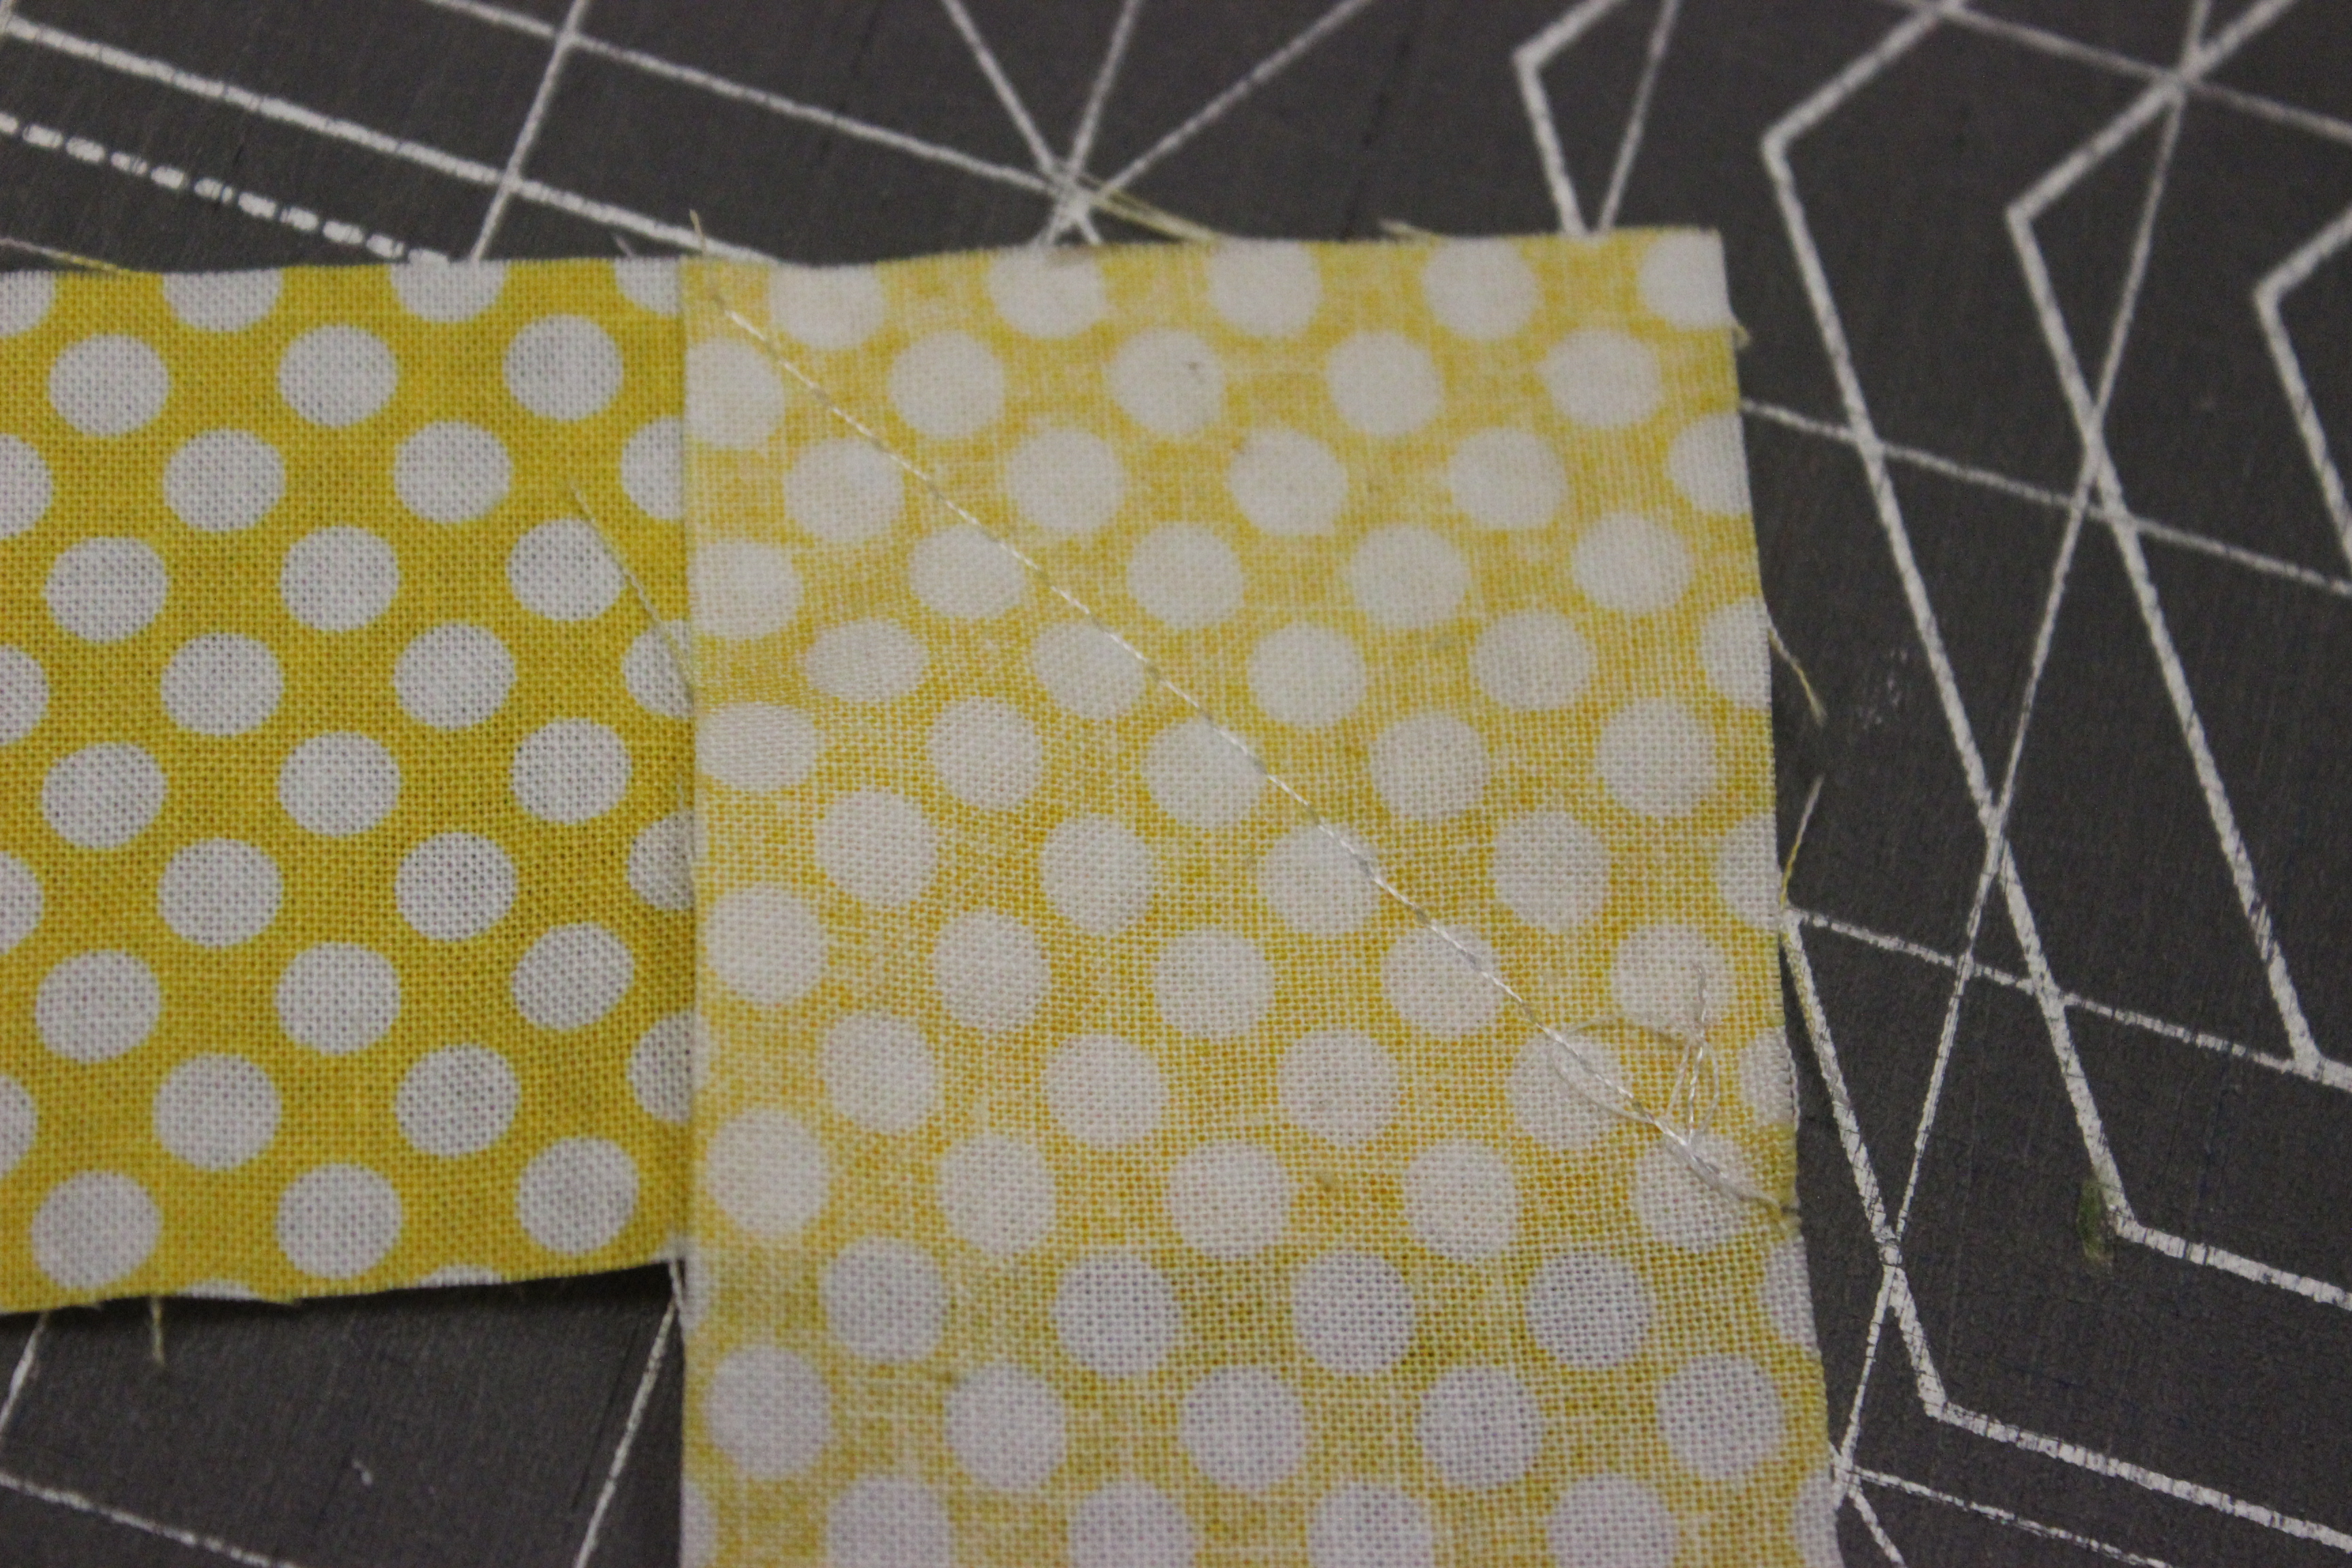
Press the seam open and trim it. Boom. 24″ length of fabric.
 Step 3 – With contrasting fabric cut pieces to the following dimensions
- 6 ½″ x 2 ½″
- 6 ½″ x 4 ½″

Step 4 – Cut a 7″ x 10″ piece of quilt batting. Now all our cutting out is done!
Step 5 – With right sides together, pin the 6 ½″ x 2 ½″ piece of Fabric A to the 6 ½″ x 4 ½″ piece of Fabric B. Straight stitch using a ¼″ seam allowance (you’re going to use a ¼″ seam allowance throughout the entire project.

Step 6 – Repeat, adding 6 ½″ piece of Fabric B so it looks like the photo below when you’re done: Press the seams flat, not open.

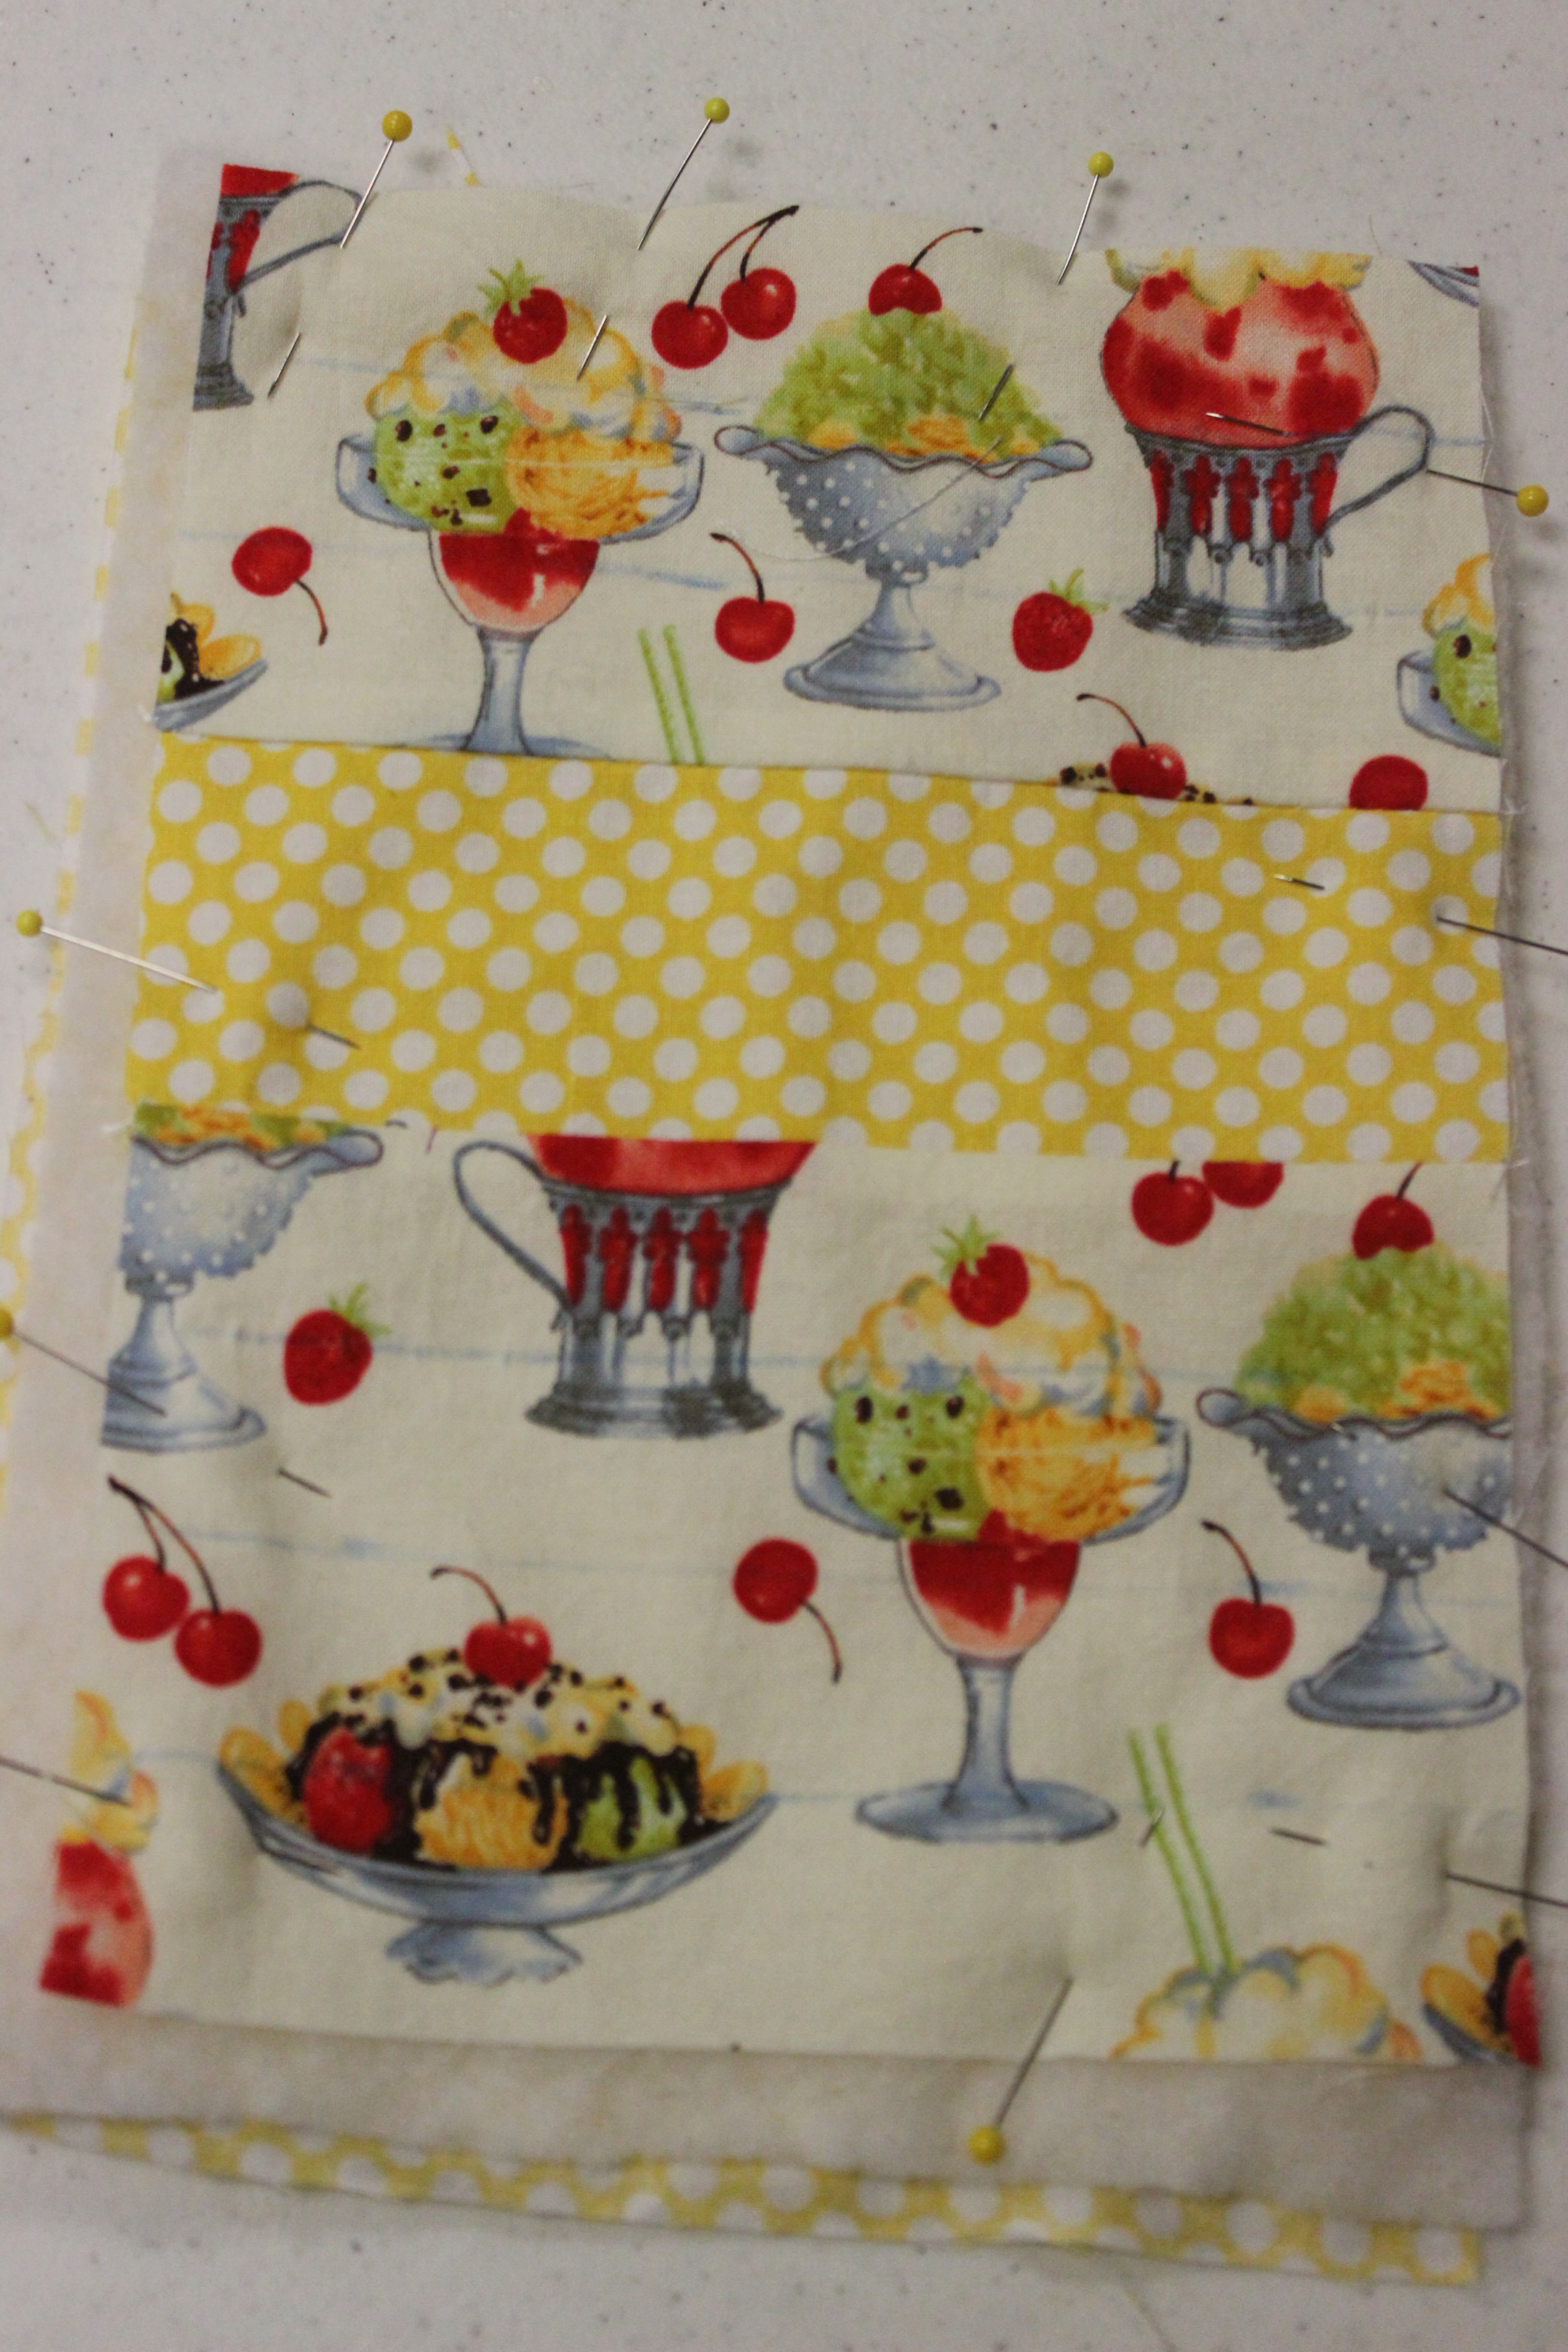
Step 7 – Pin the 7″x10″ piece of Fabric A, the quilt batting, and the piece you just sewed together as pictured below. The wrong side of both fabric pieces should be touching the quilt batting so you have a quilt batting sandwich.
The batting piece and Fabric A piece are larger than the top piece you just sewed. You can either center the sewed piece on top or square up two edges at a corner. I think squaring it up makes it easier to trim.
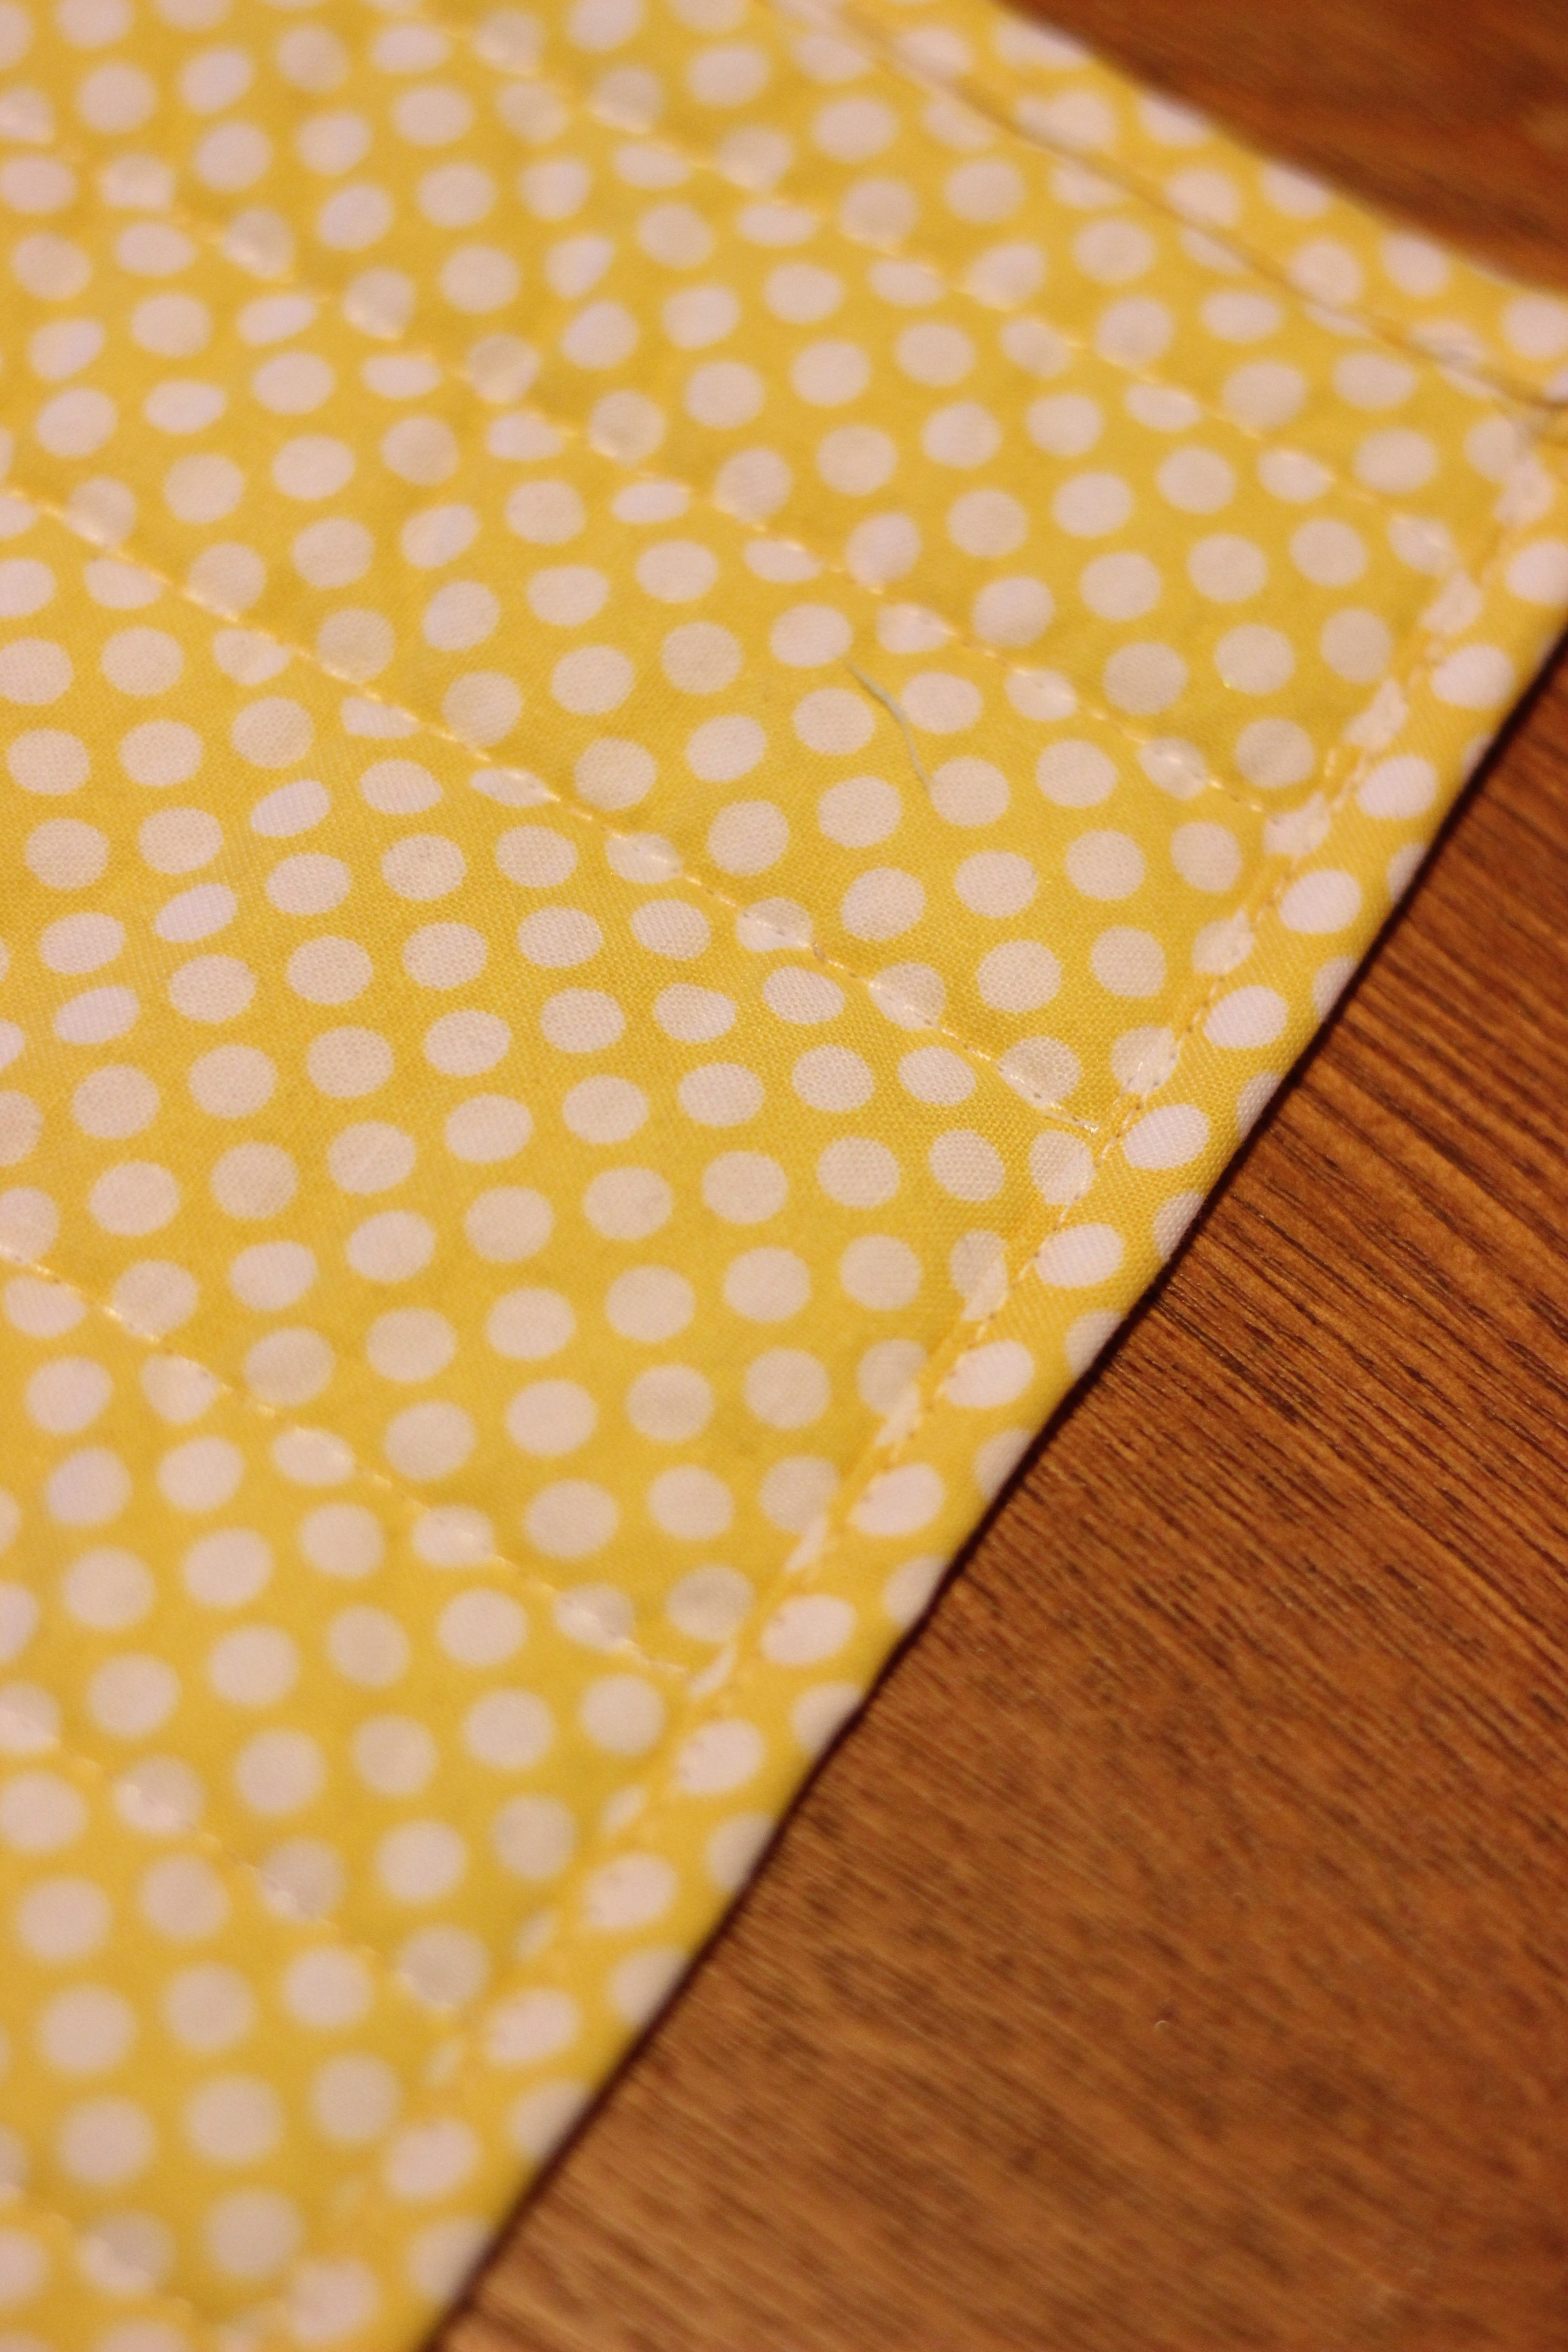
Step 8 – Use a fabric marker to mark lines for where you want to quilt.
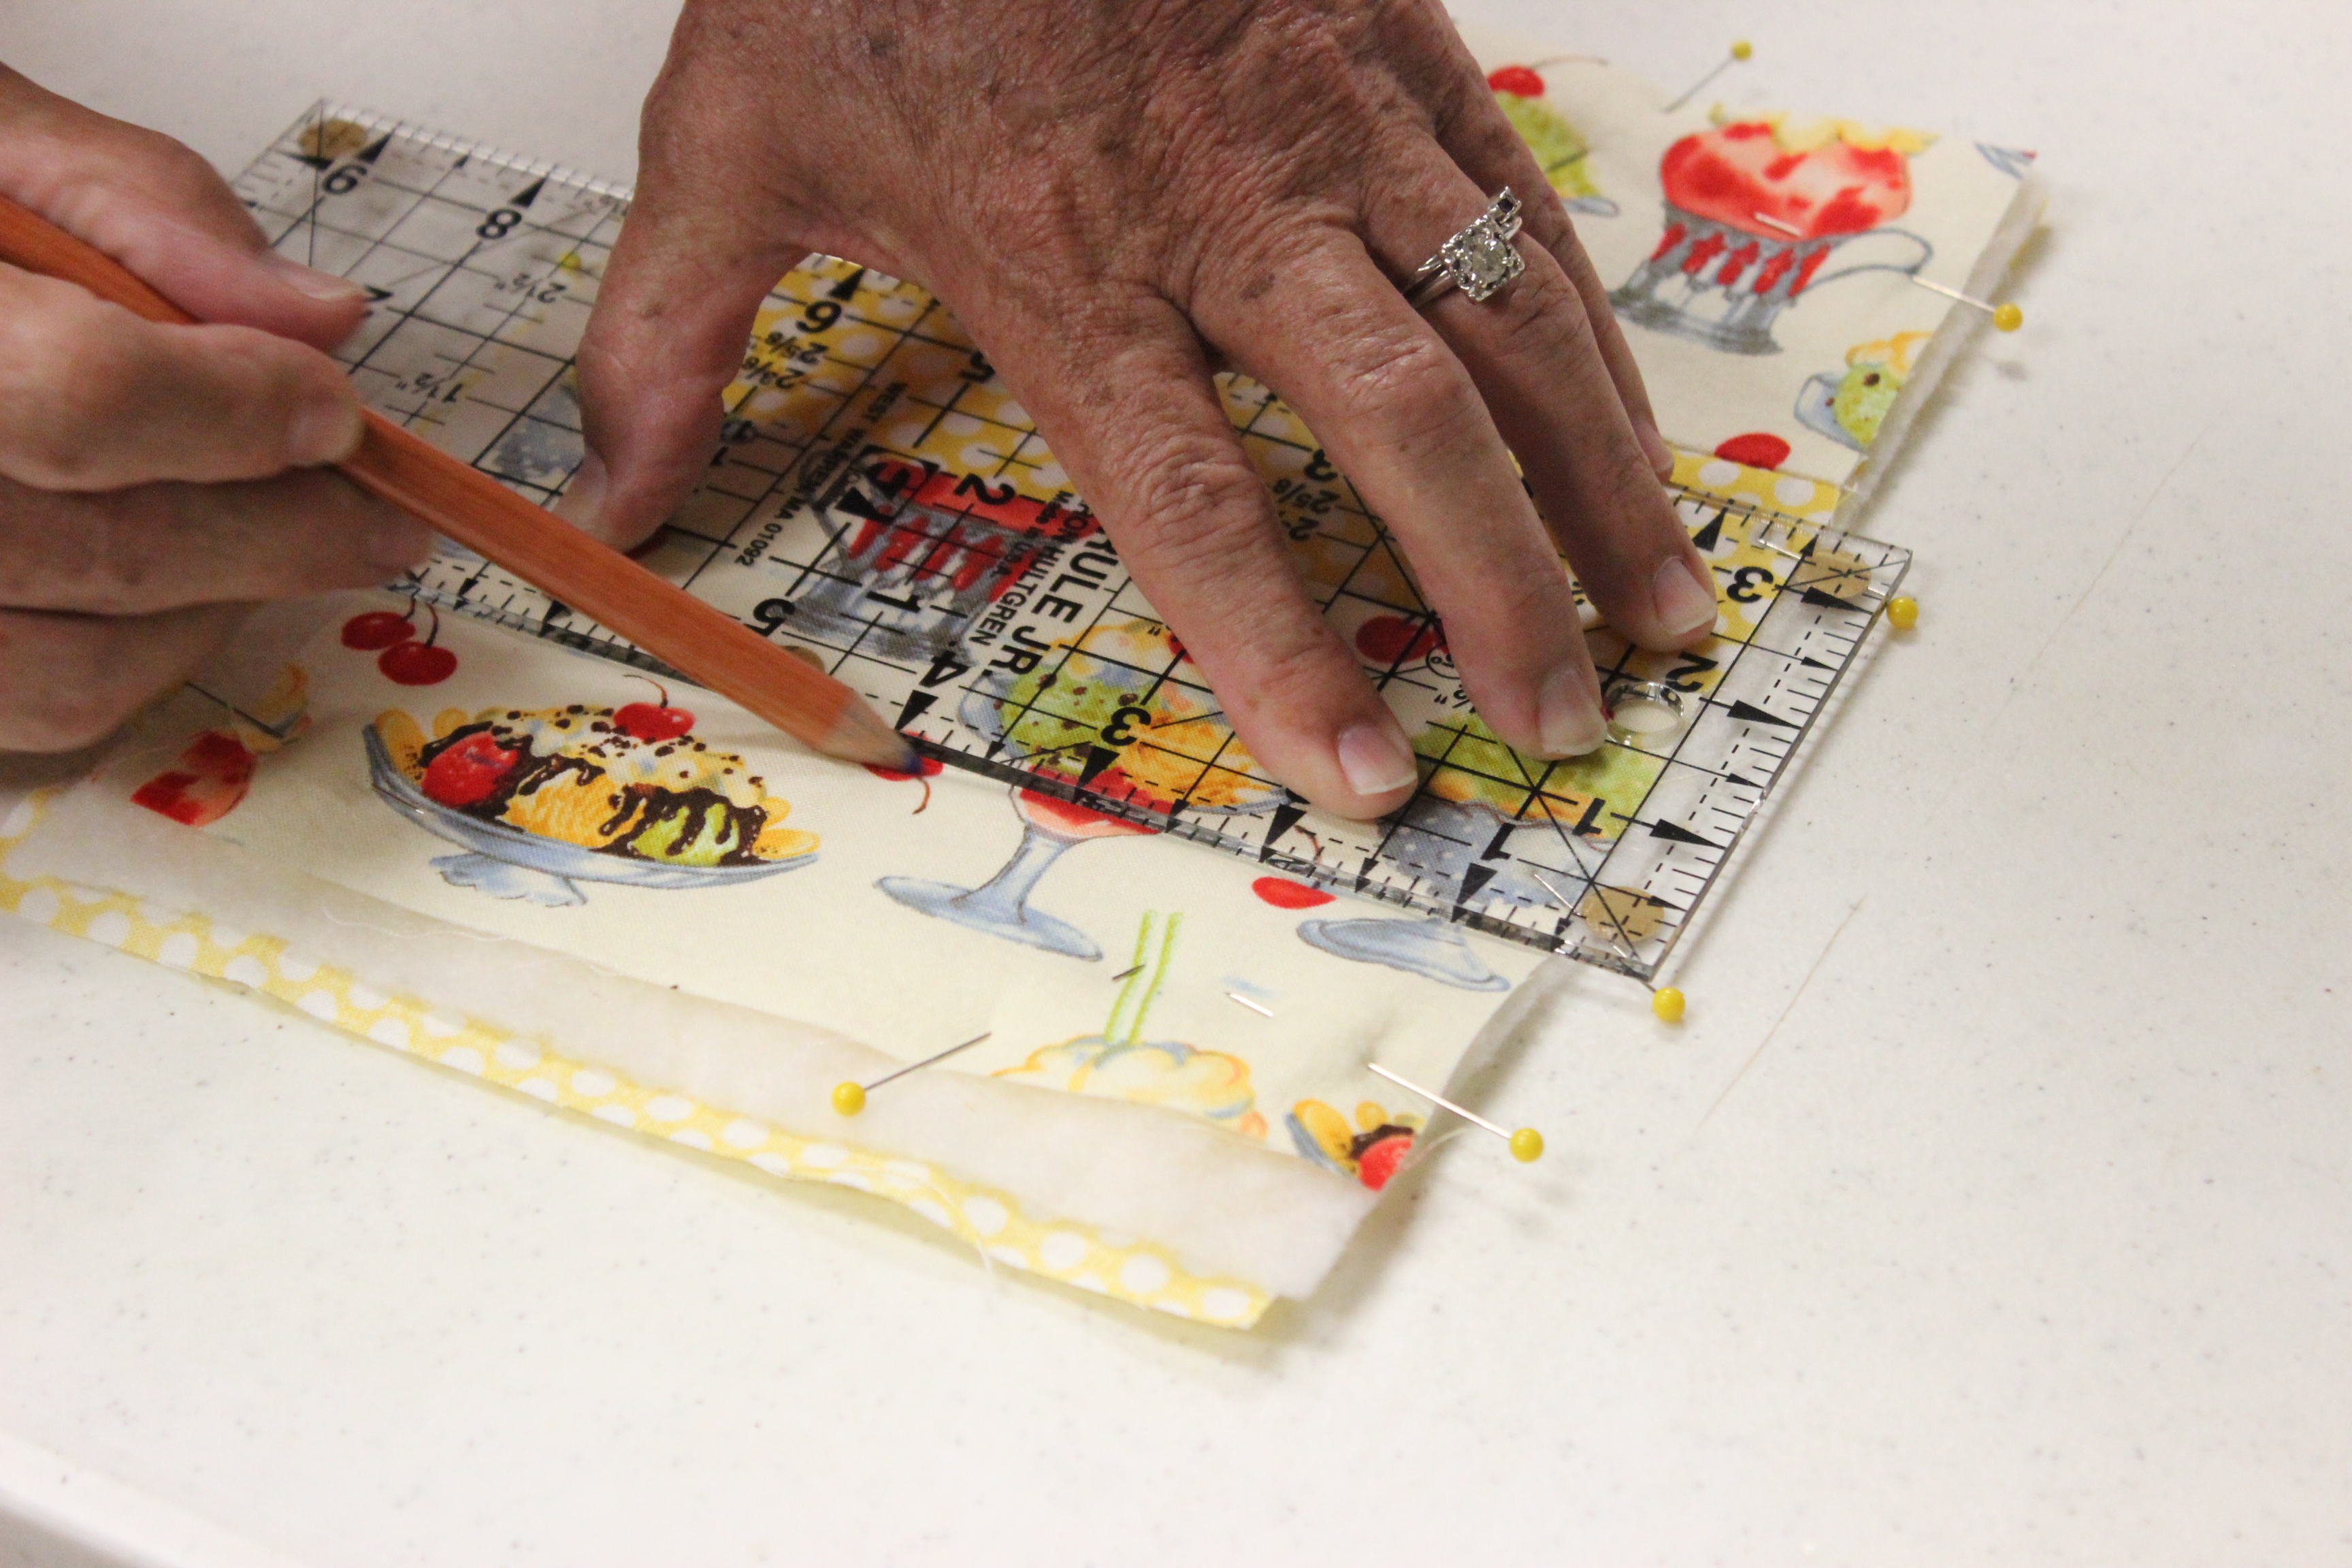
I chose to do the simplest thing possible and just quilt horizontal lines. Here’s my piece all squared up, pinned up, and marked.
If you want to get fancier, here are some other ideas. Horizontal and vertical lines, concentric rectangles, criss-crossing lines to make diamonds…go for it. Just mark whatever you want to do.

Step 9 – Straight stitch over the marks you made. How does it feel to be a quilter?
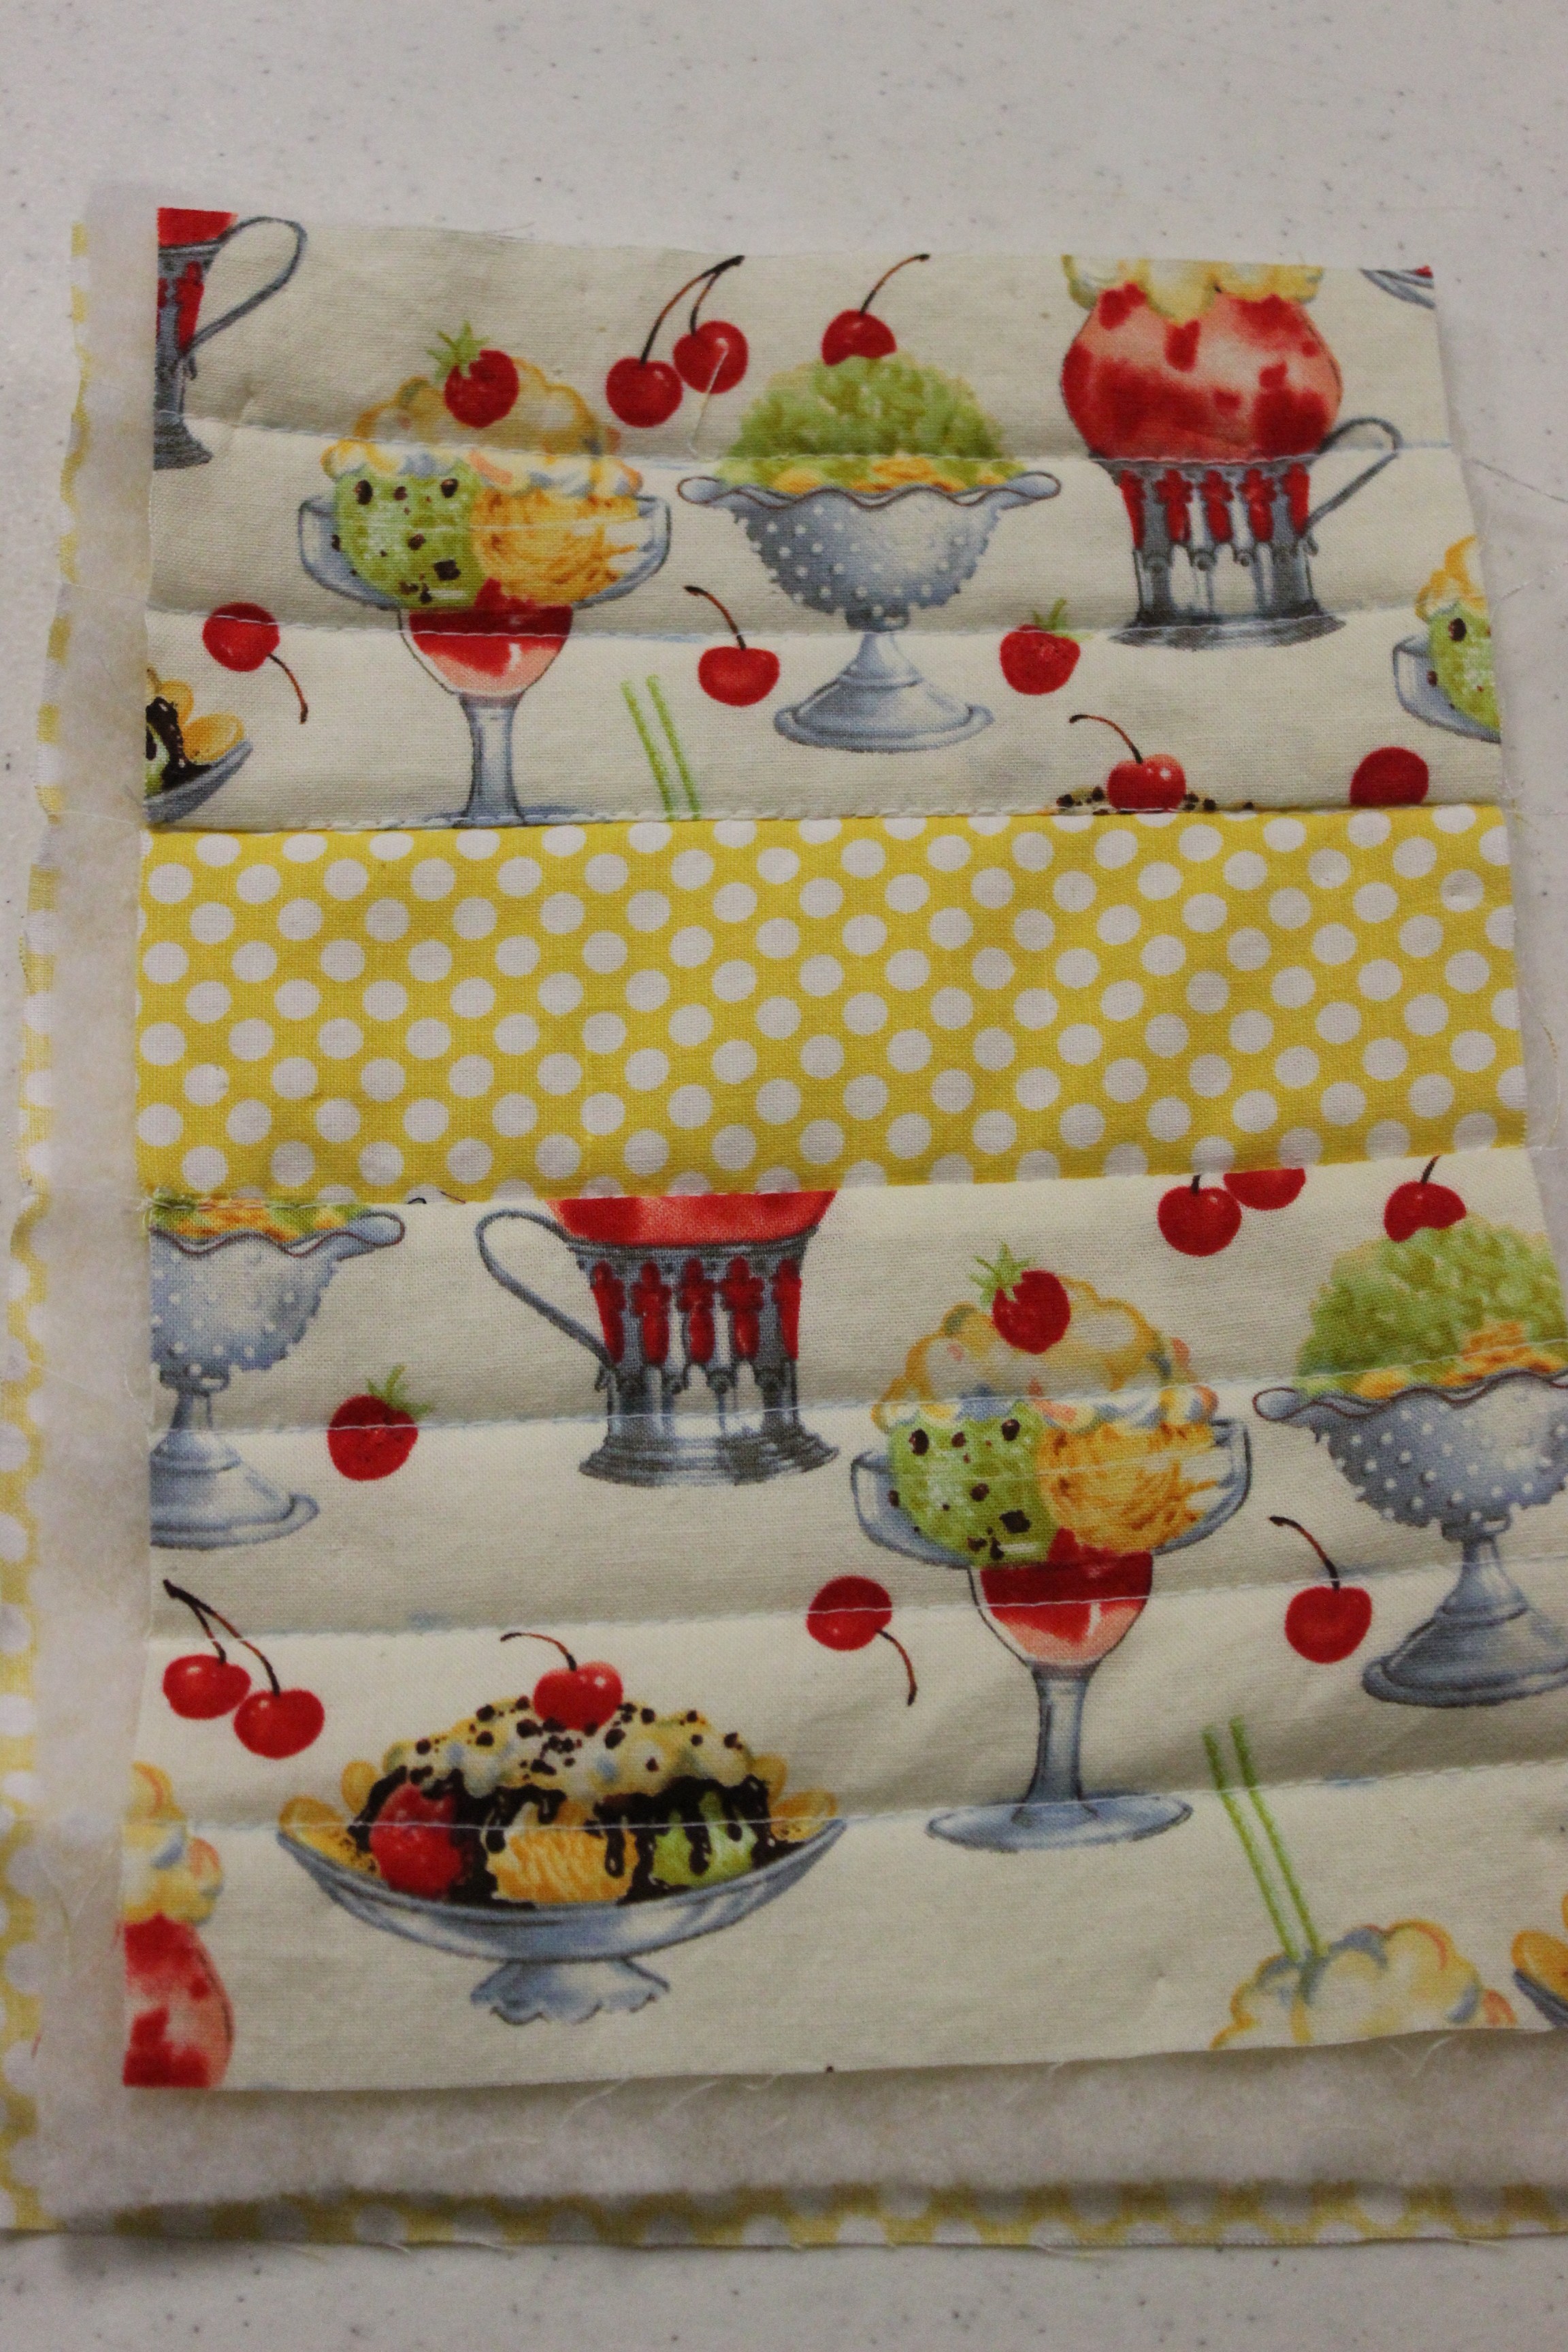
Step 10 – Use a rotary cutter to trim the excess batting and Fabric B so your piece is uniform

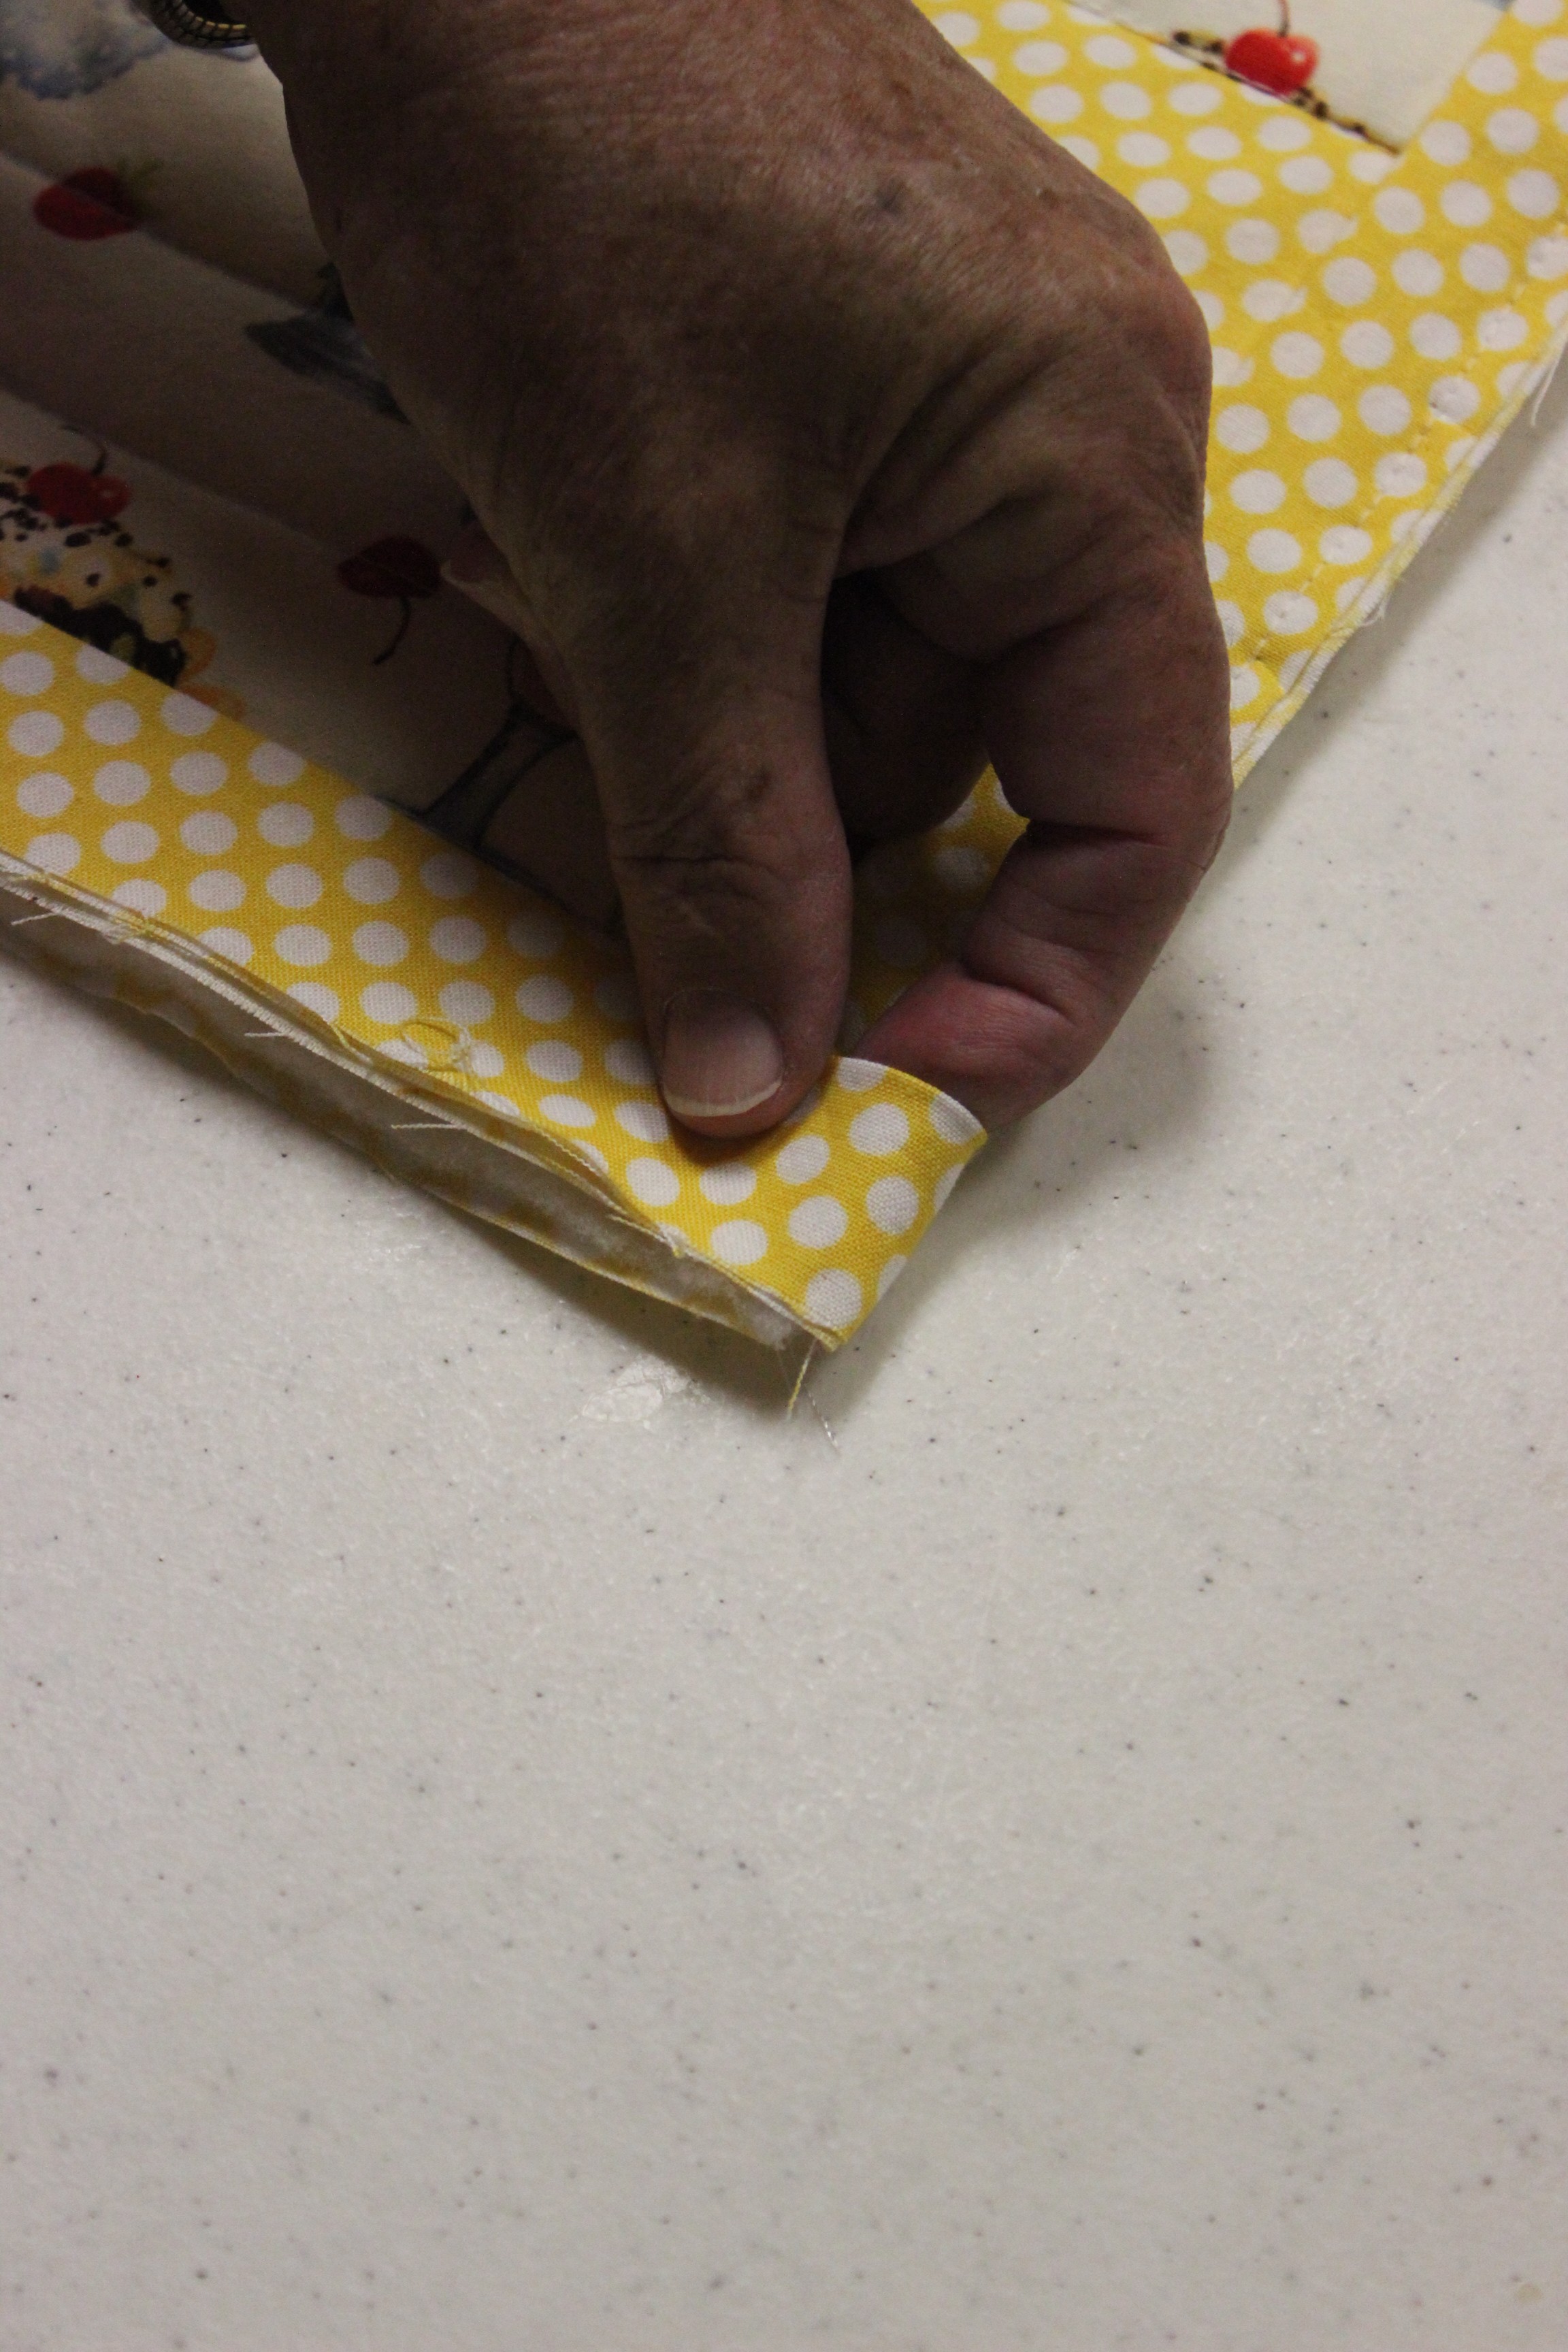
Step 11 – Fold and press the 24″ strip of Fabric A in half vertically.
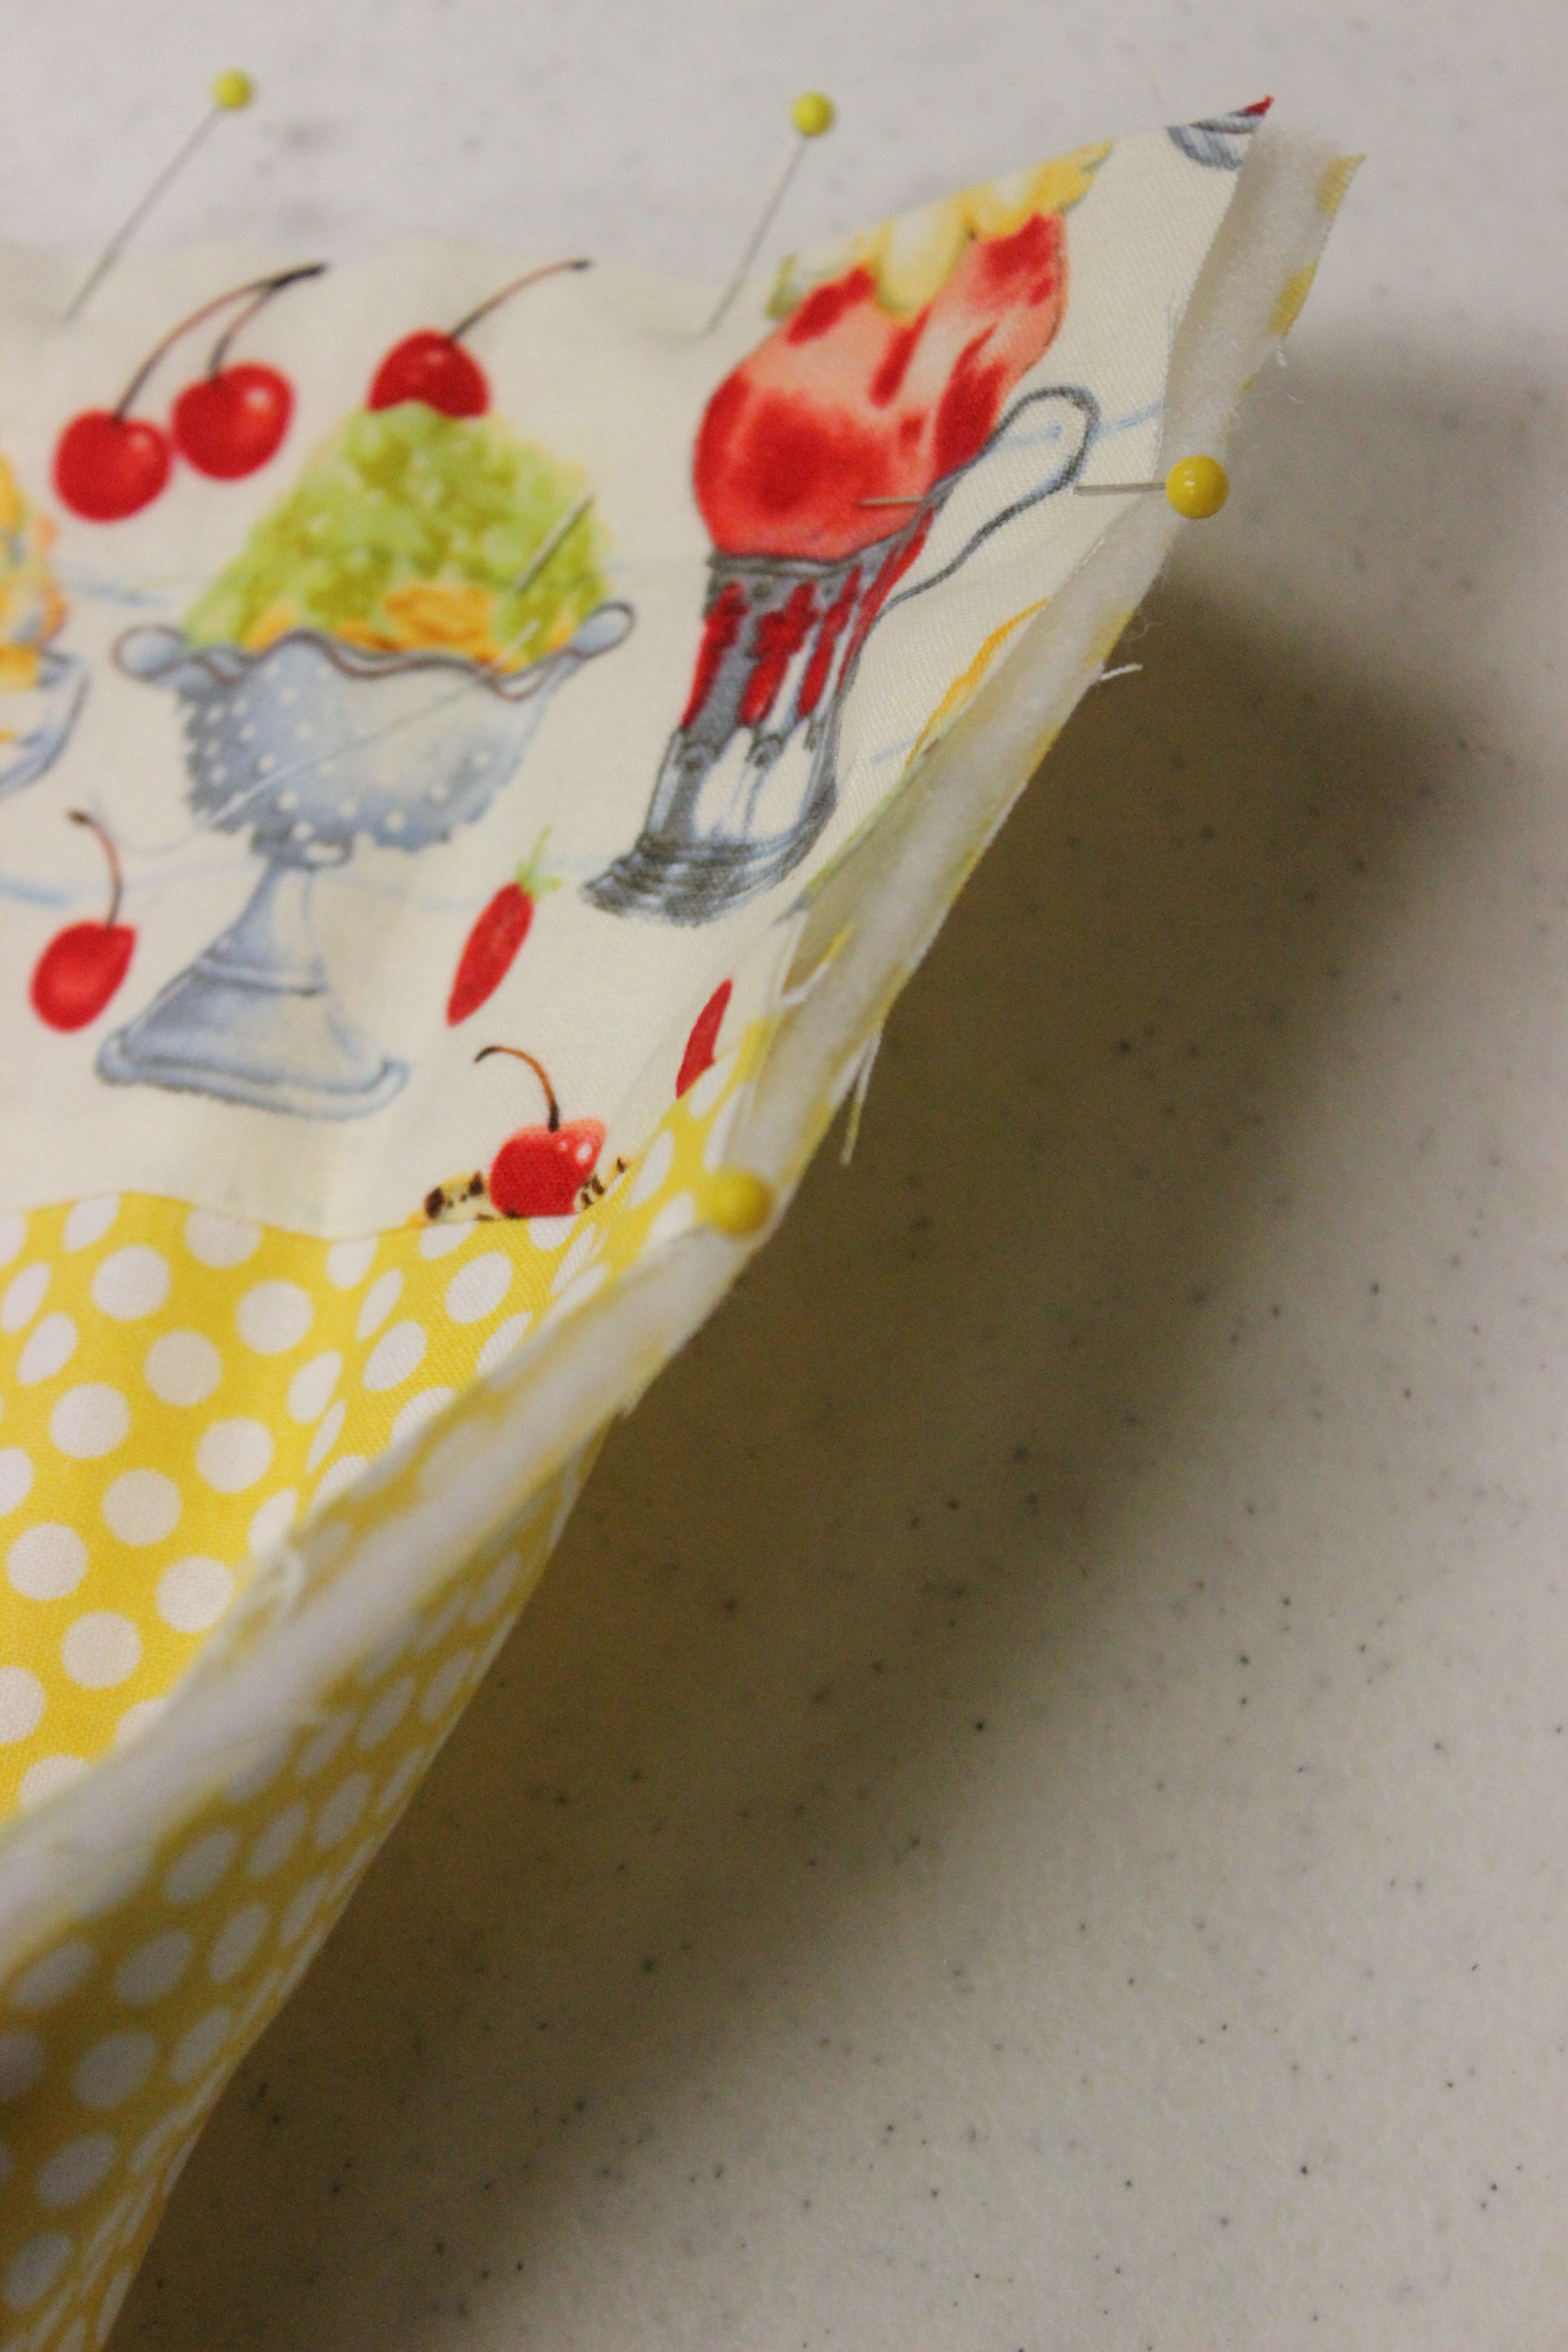
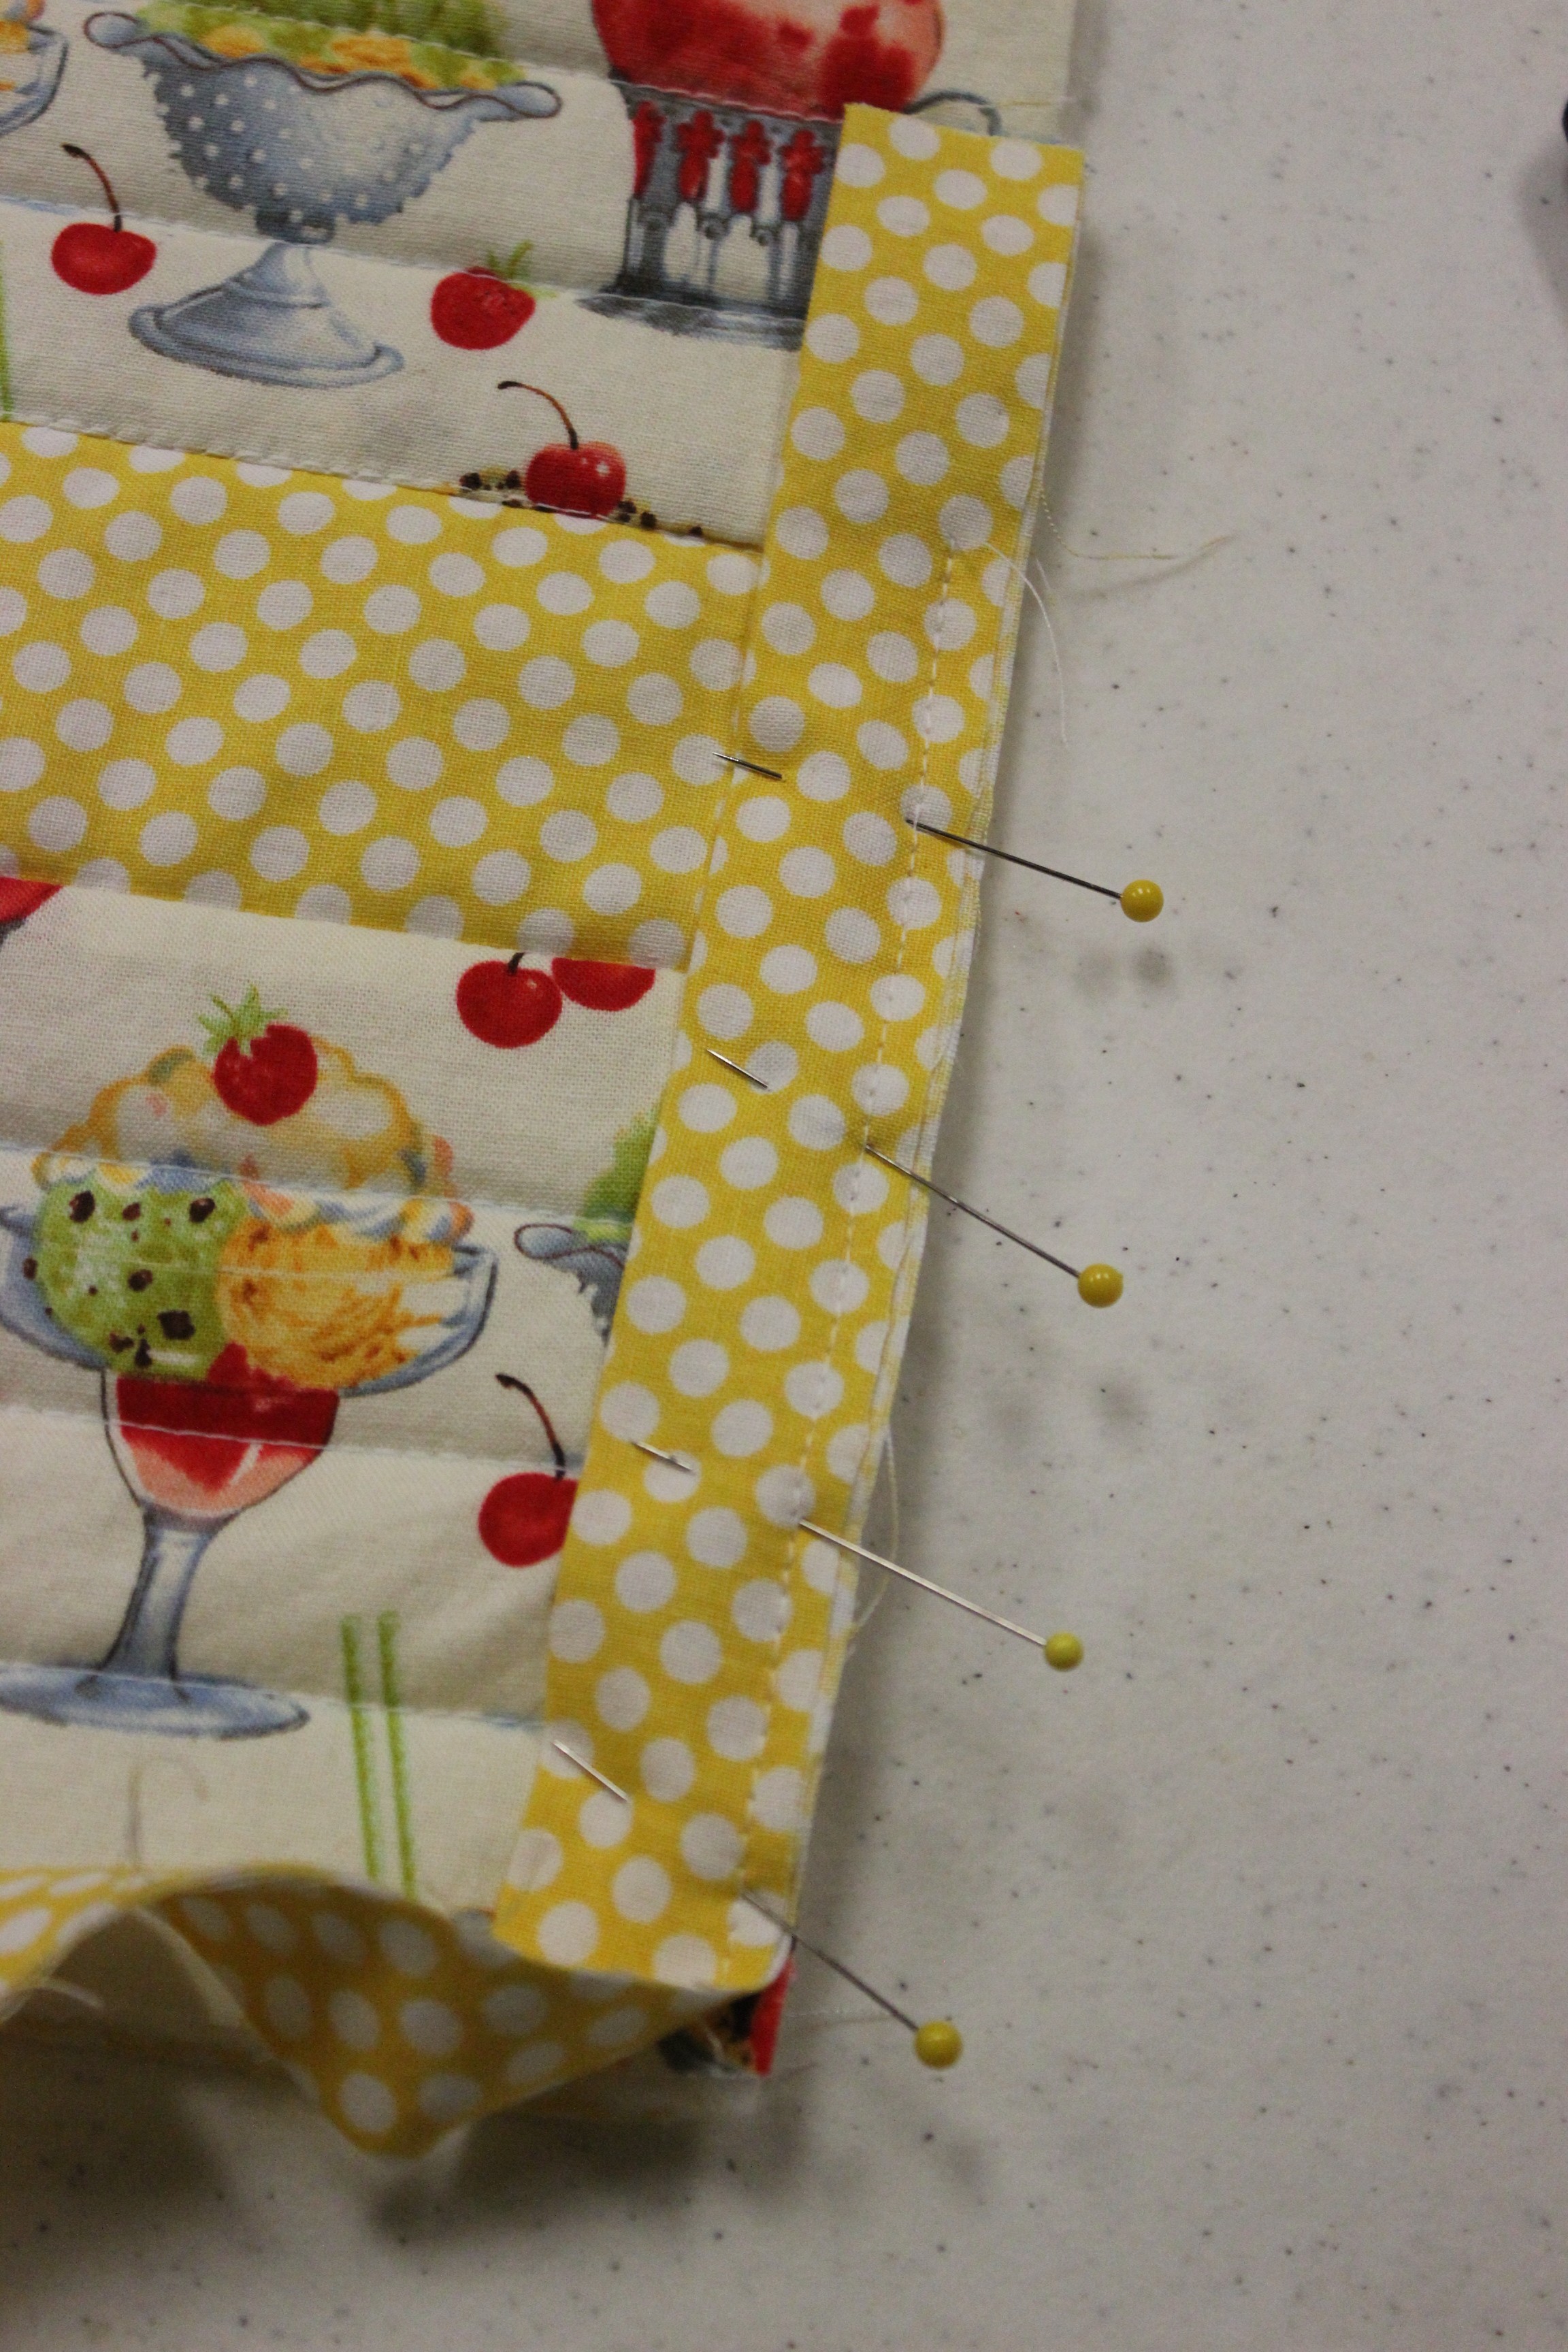
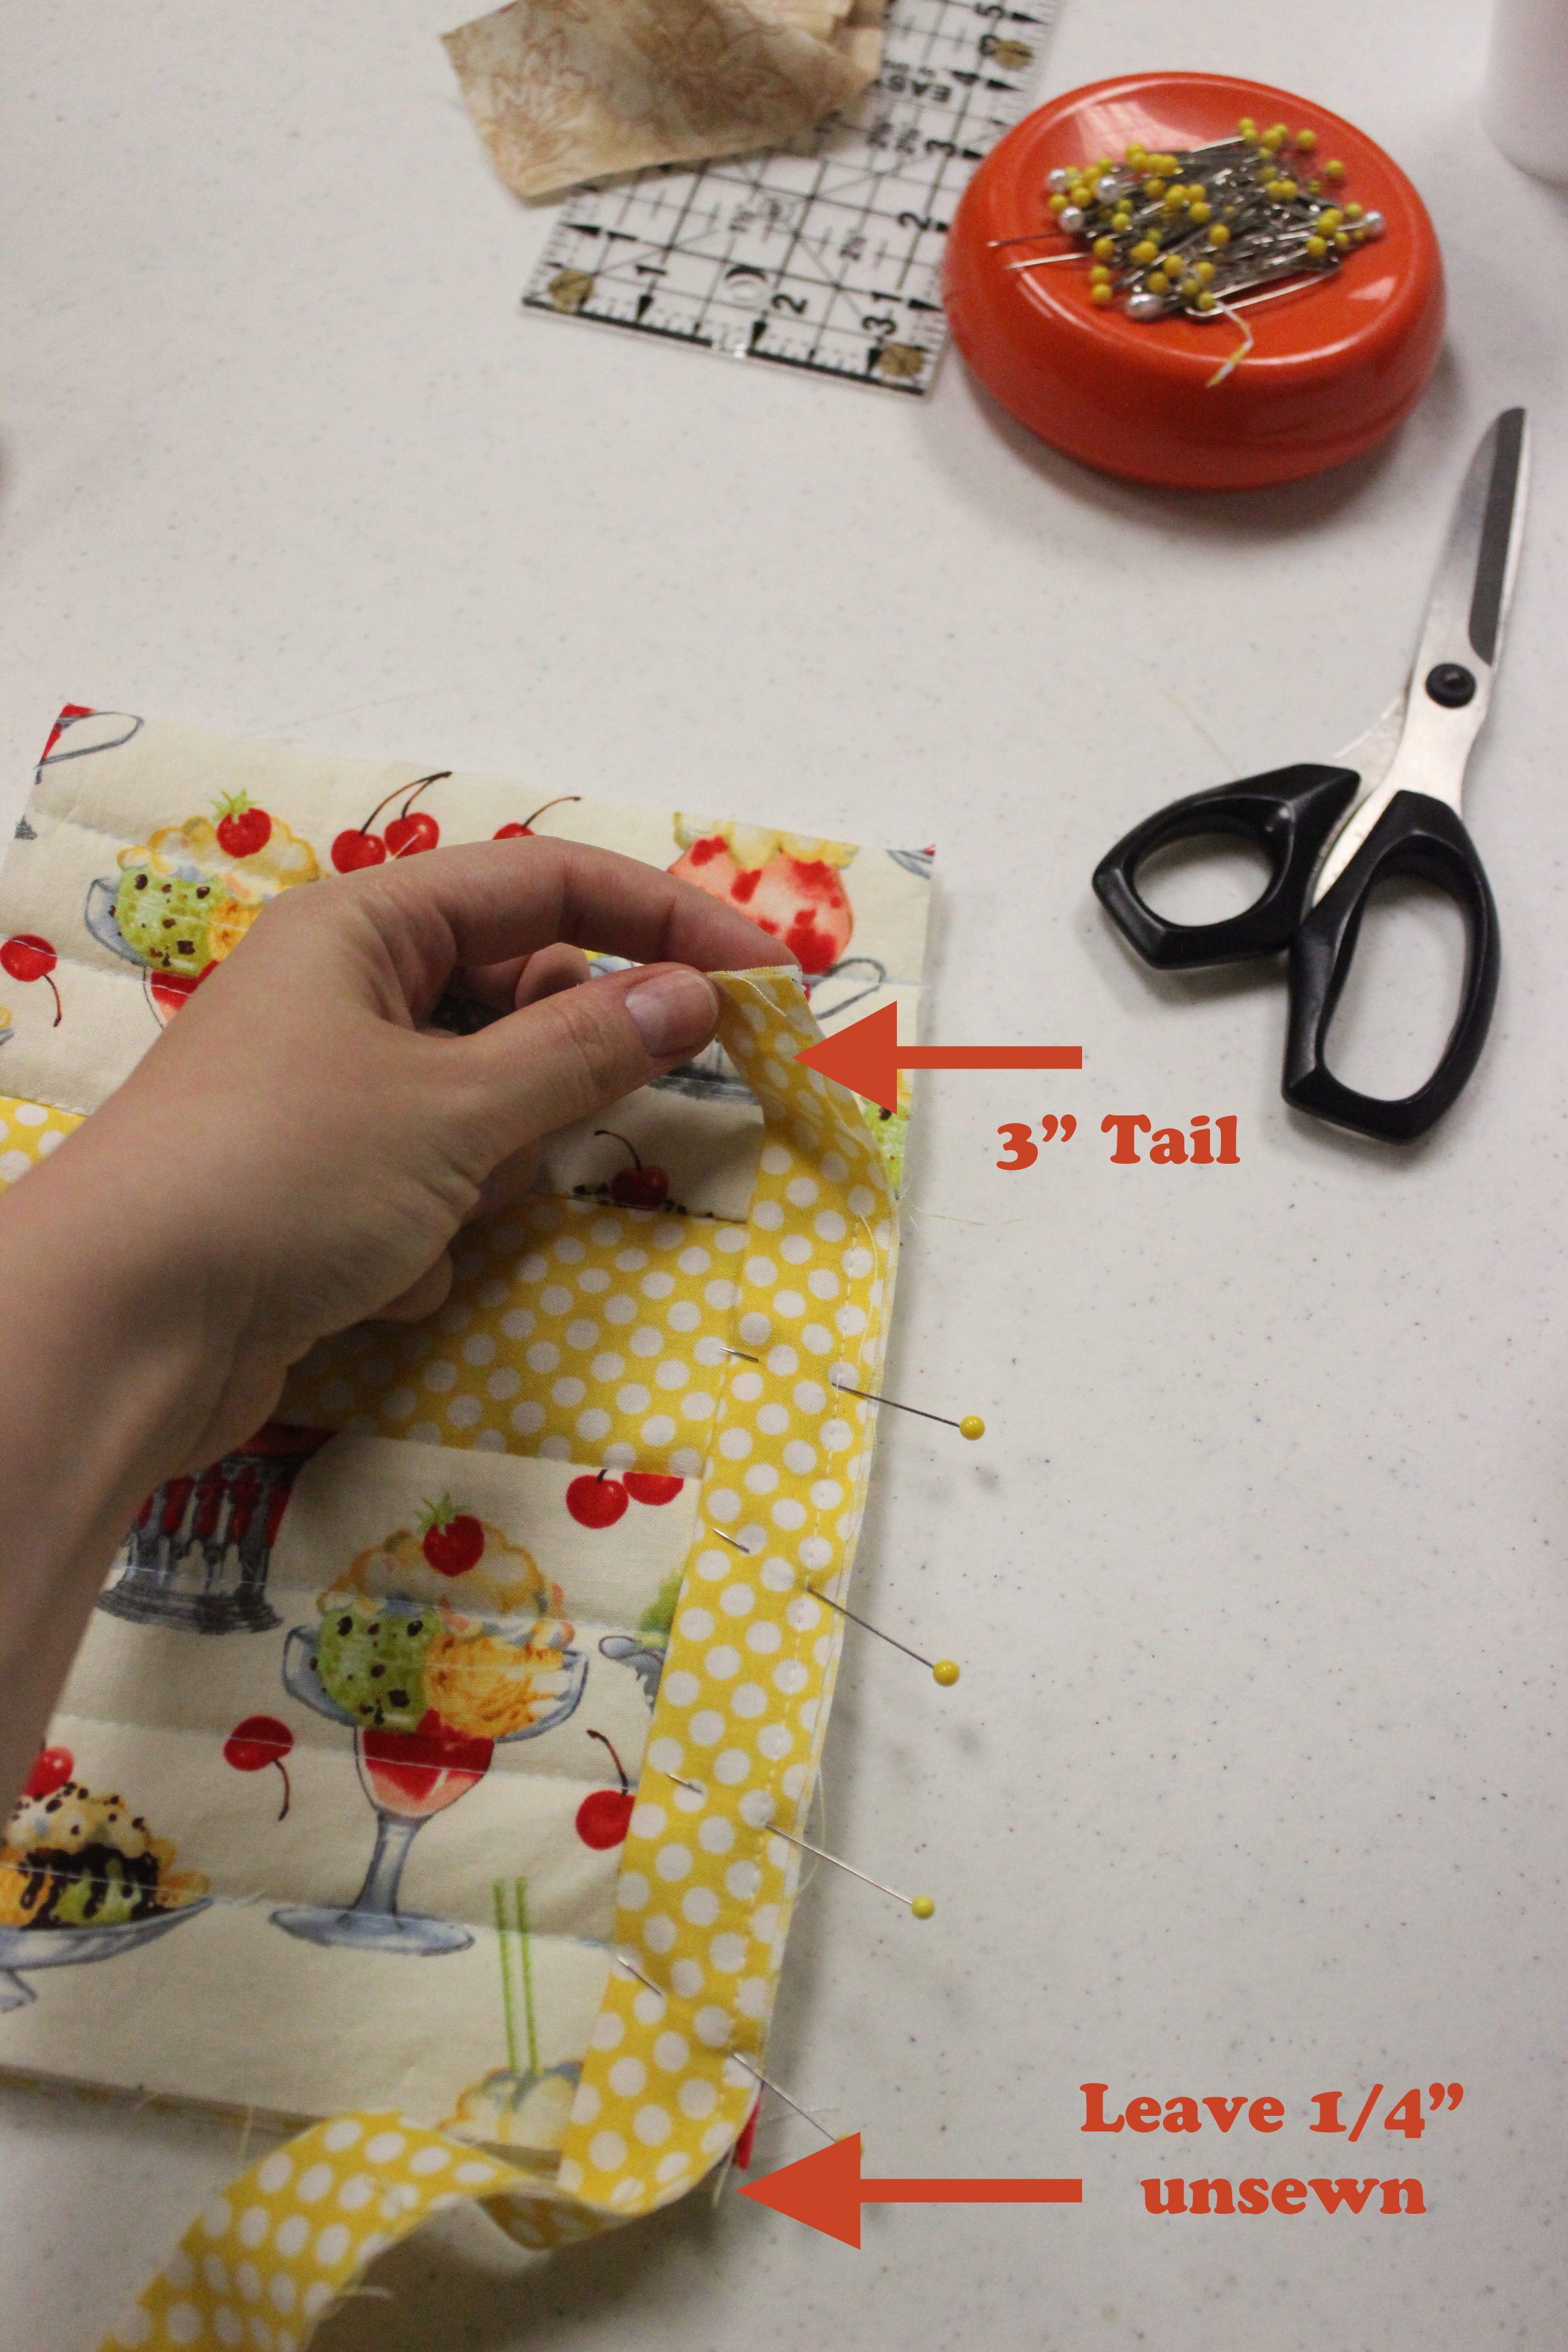
Step 12 – Start anywhere but near a corner and pin the raw edge of the strip of Fabric A to the raw edge of the right side of the quilt piece. Leave a 3″ tail.
See my tail above and below? It wasn’t long enough and the seam had to be ripped out a little bit later to make it longer. Make sure it’s at least 3″.
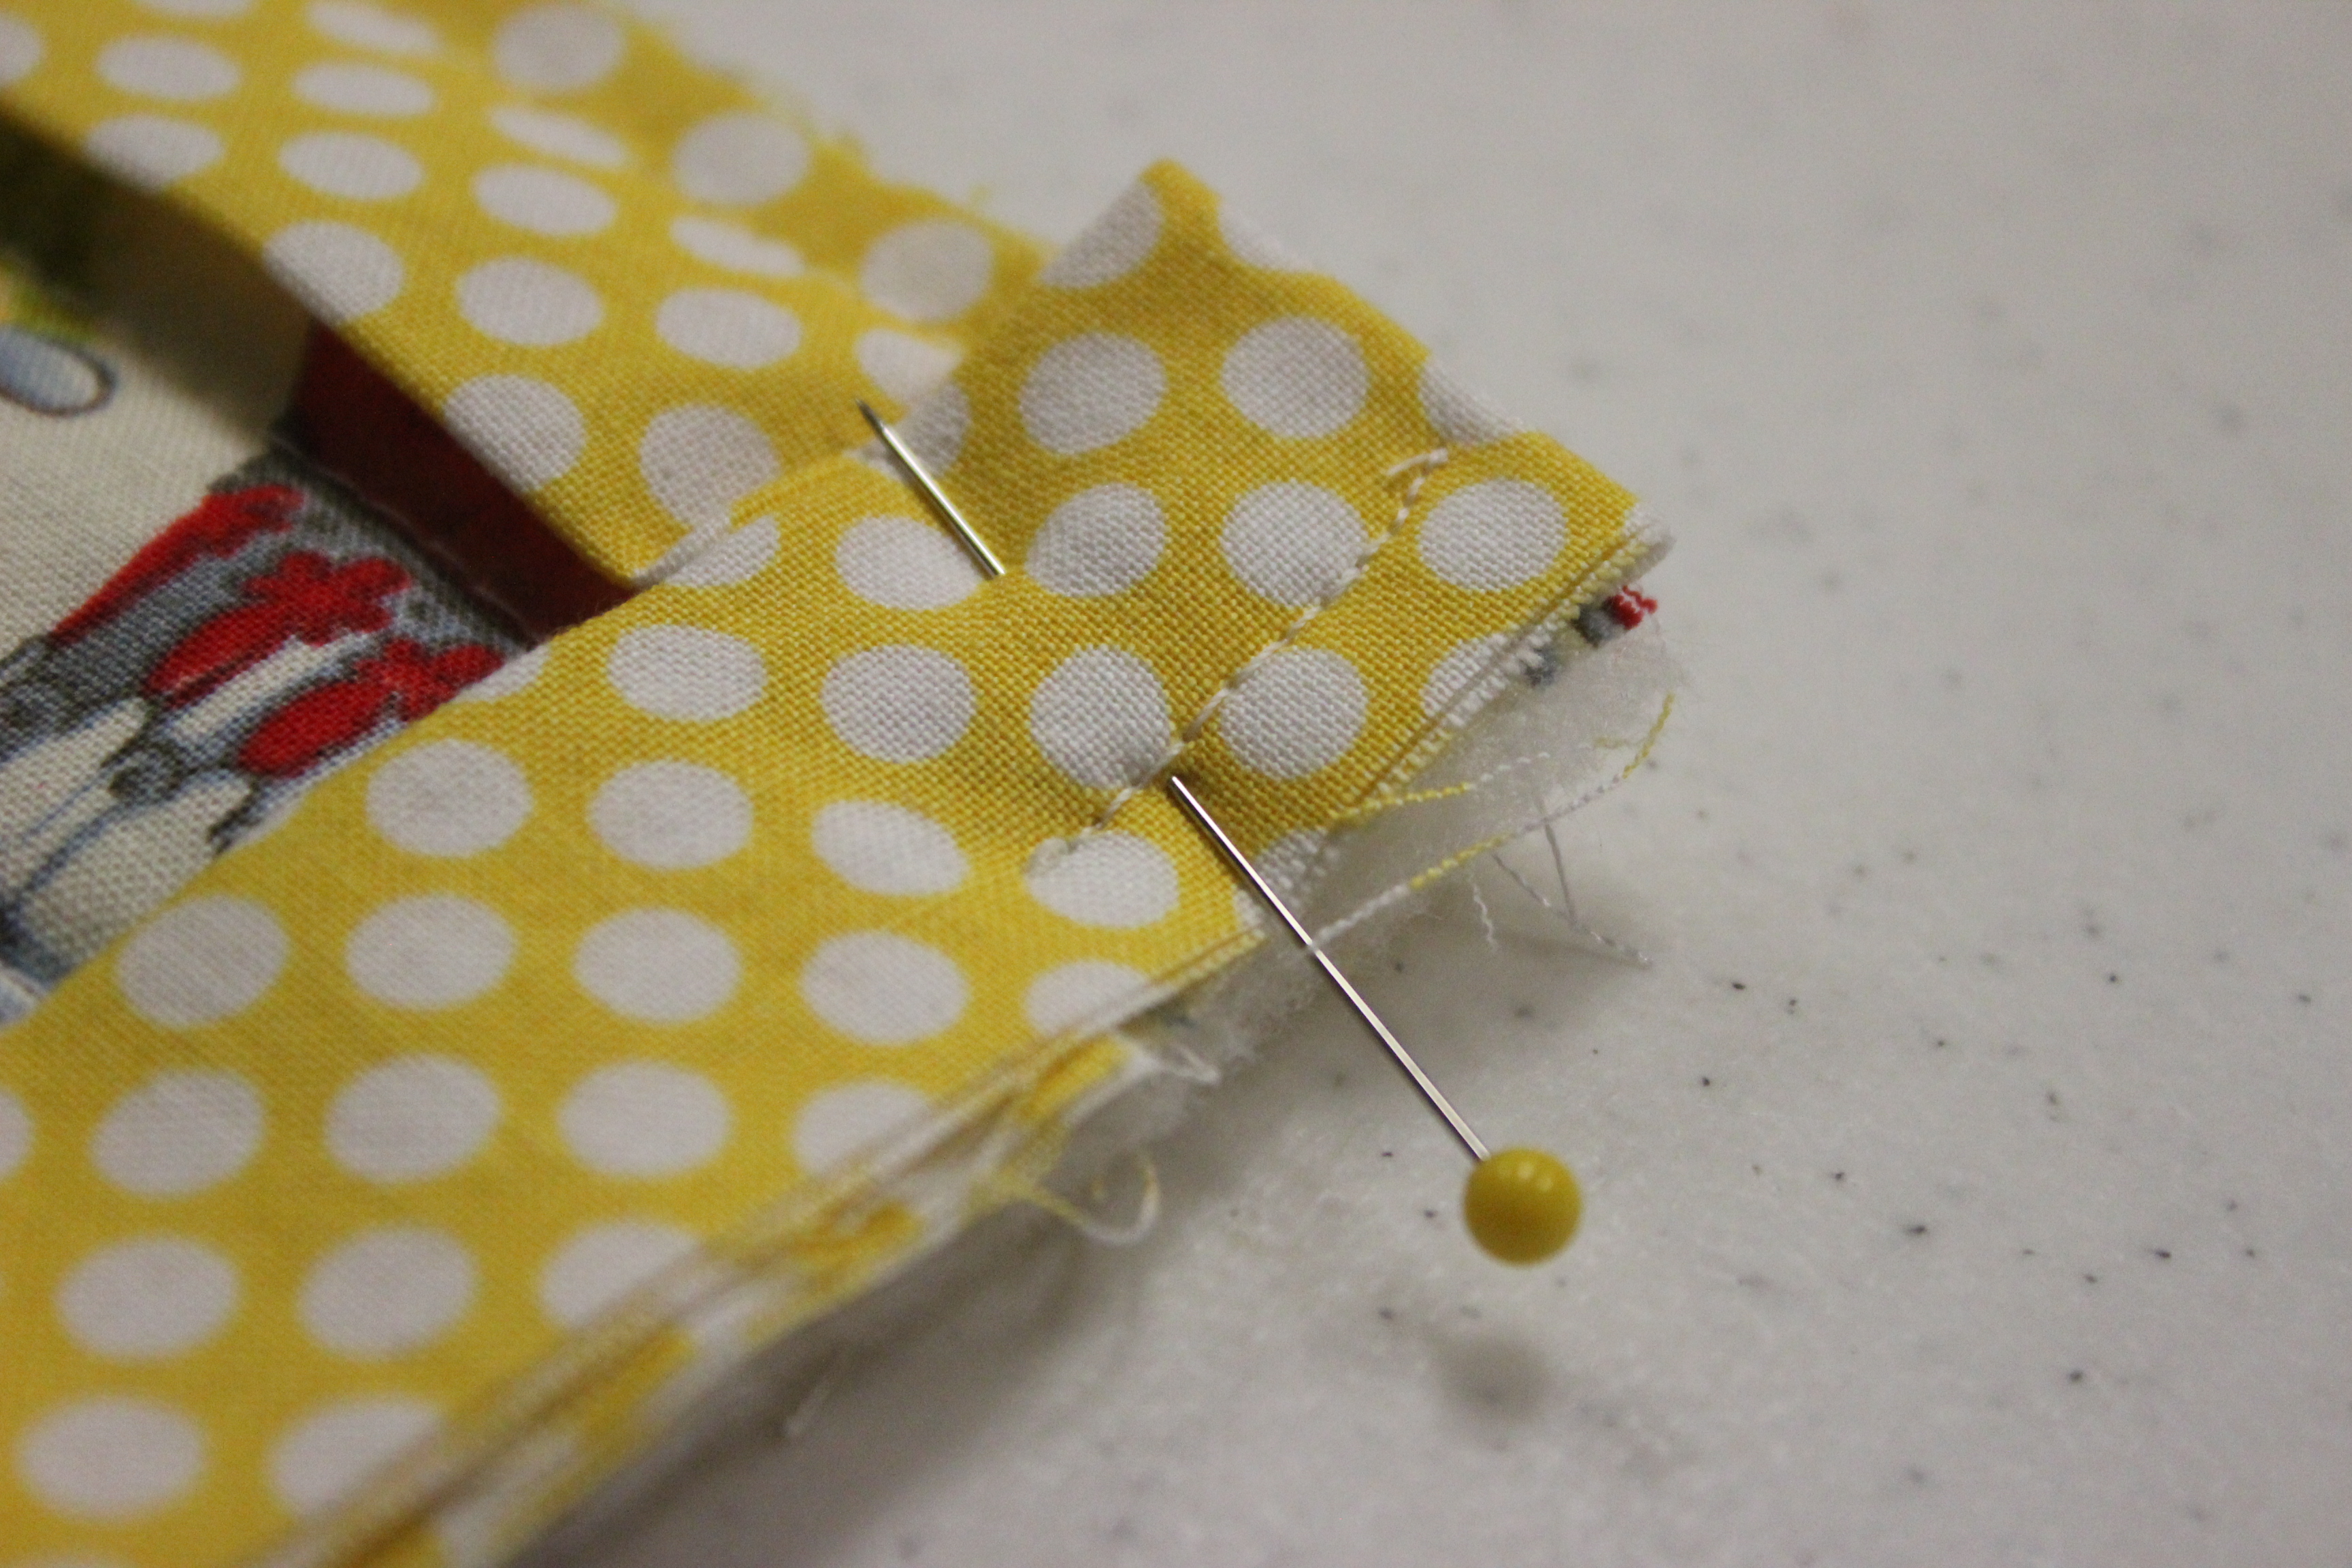
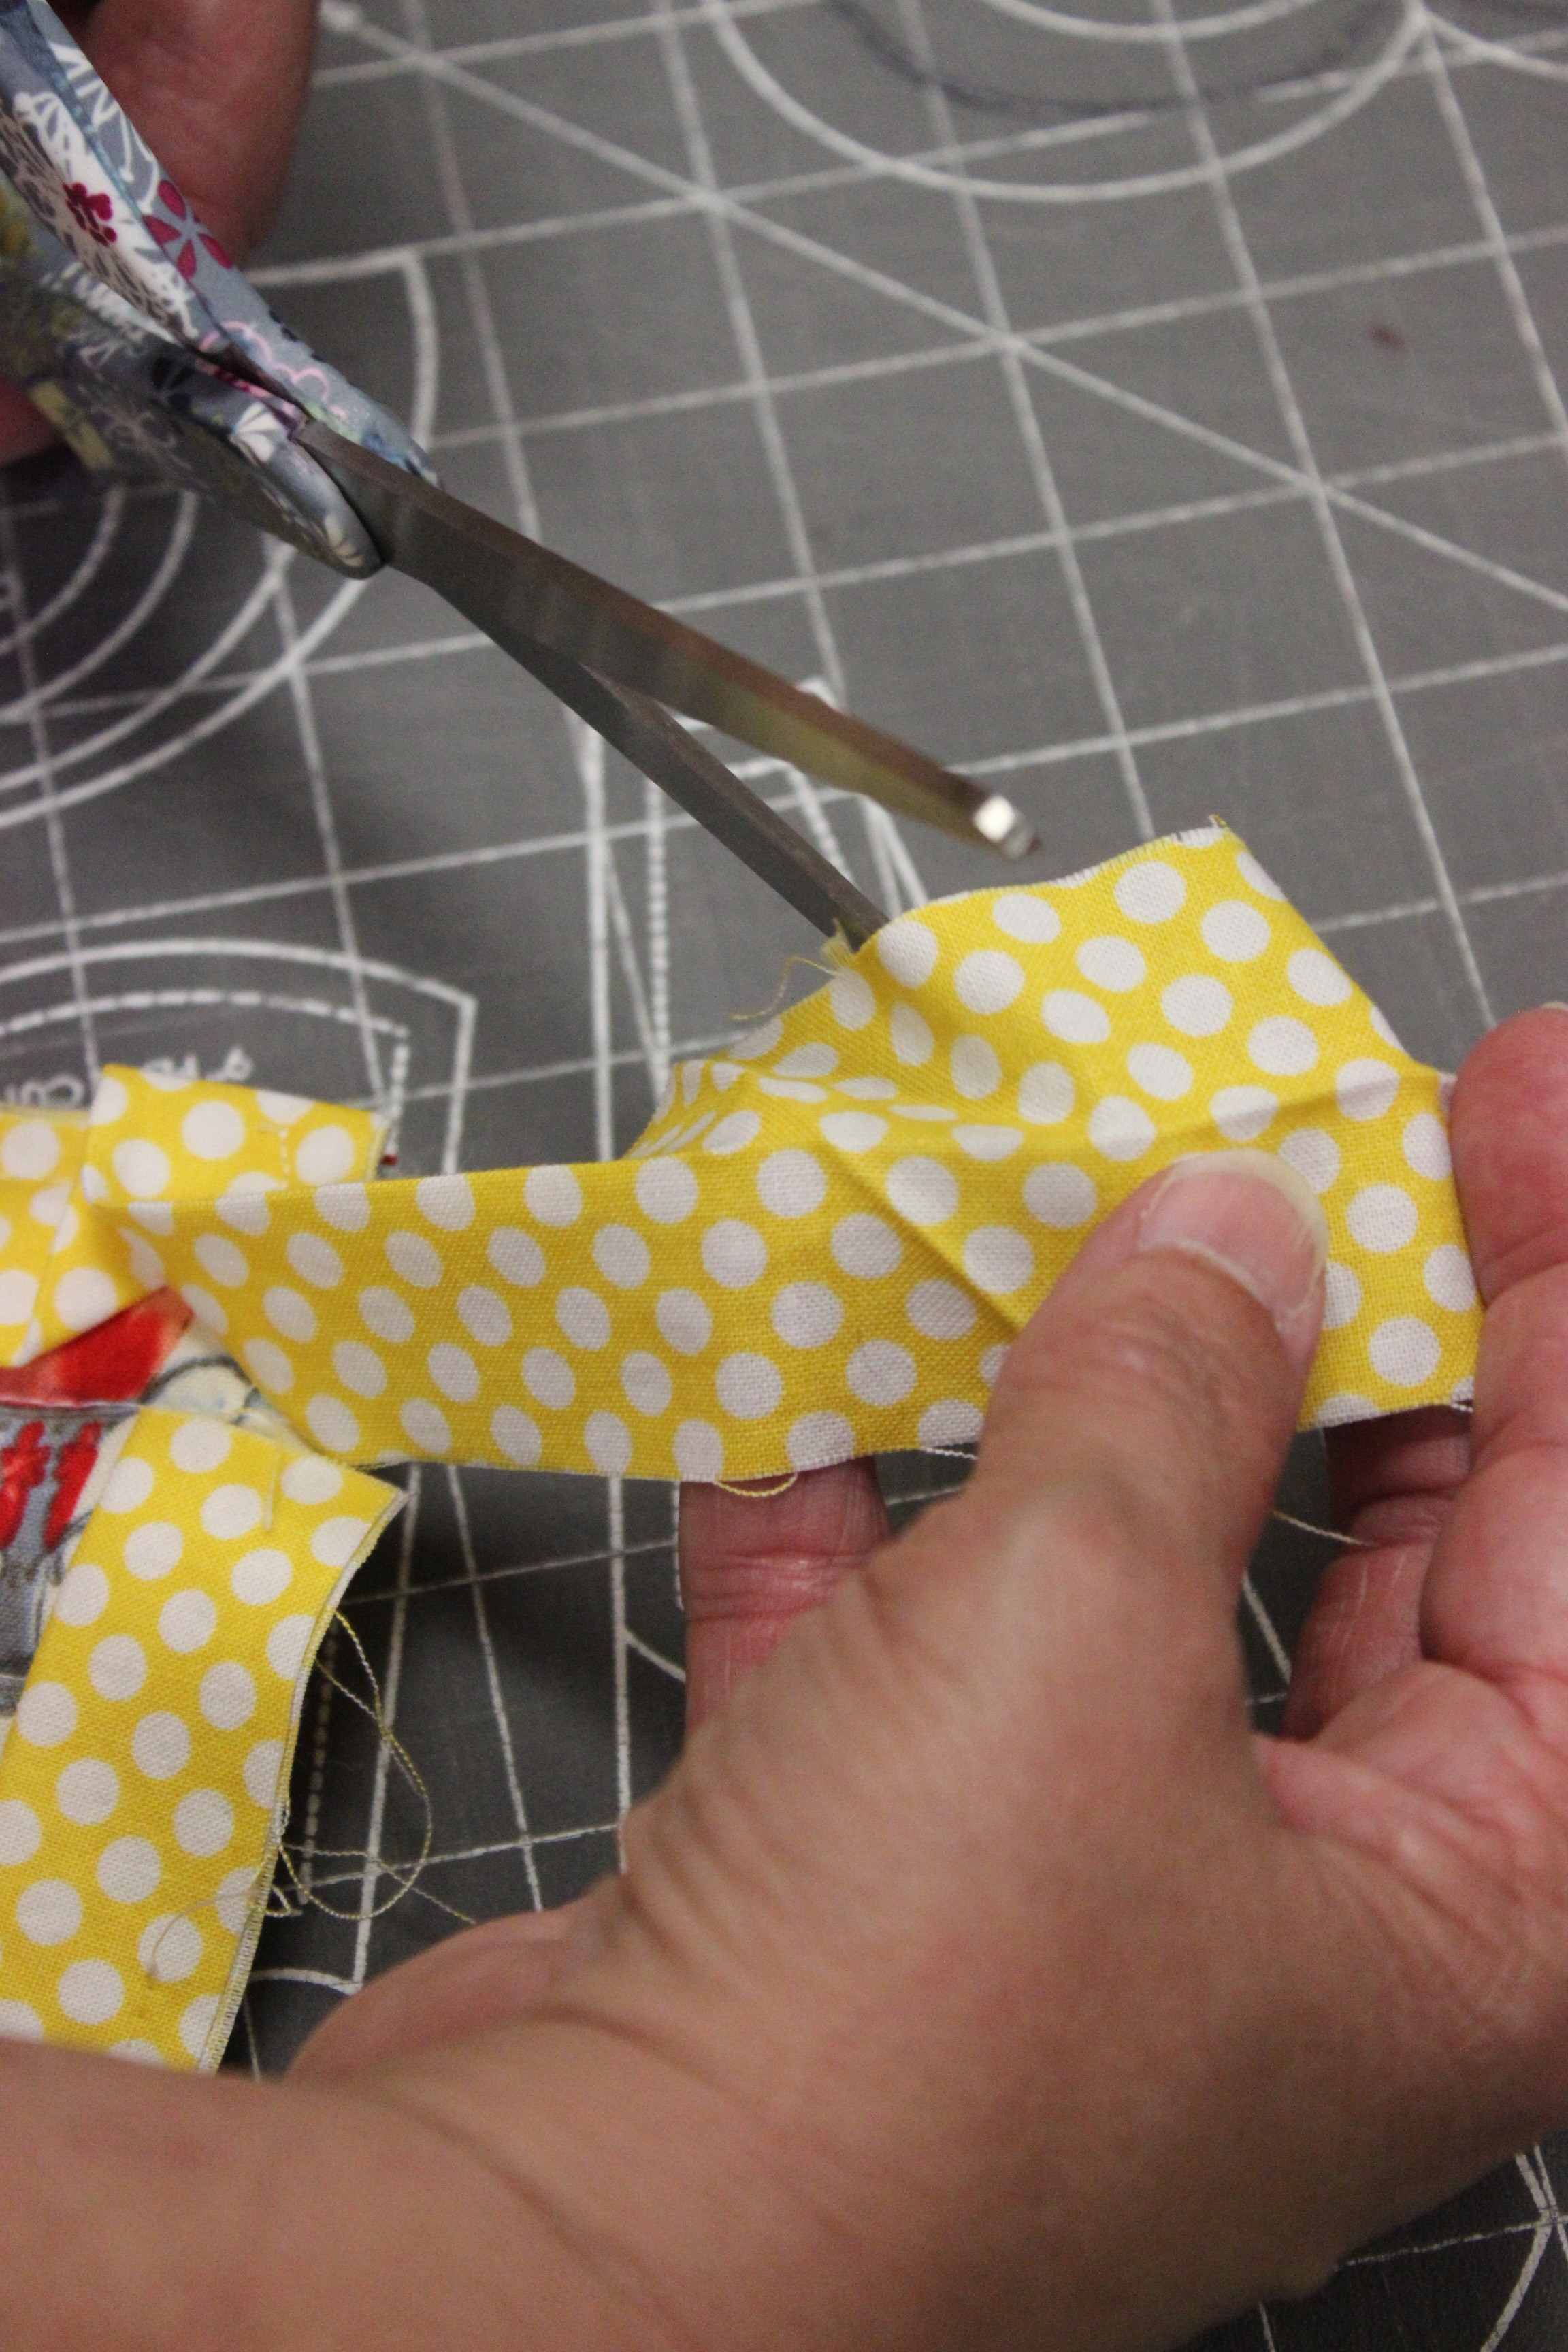
Straight stitch the edge using a ¼″ seam allowance and stopping ¼″ before the corner
Step 13 – This is how you’re going to sew each of the four corners to make mitered corners . Here’s what you’re starting out with

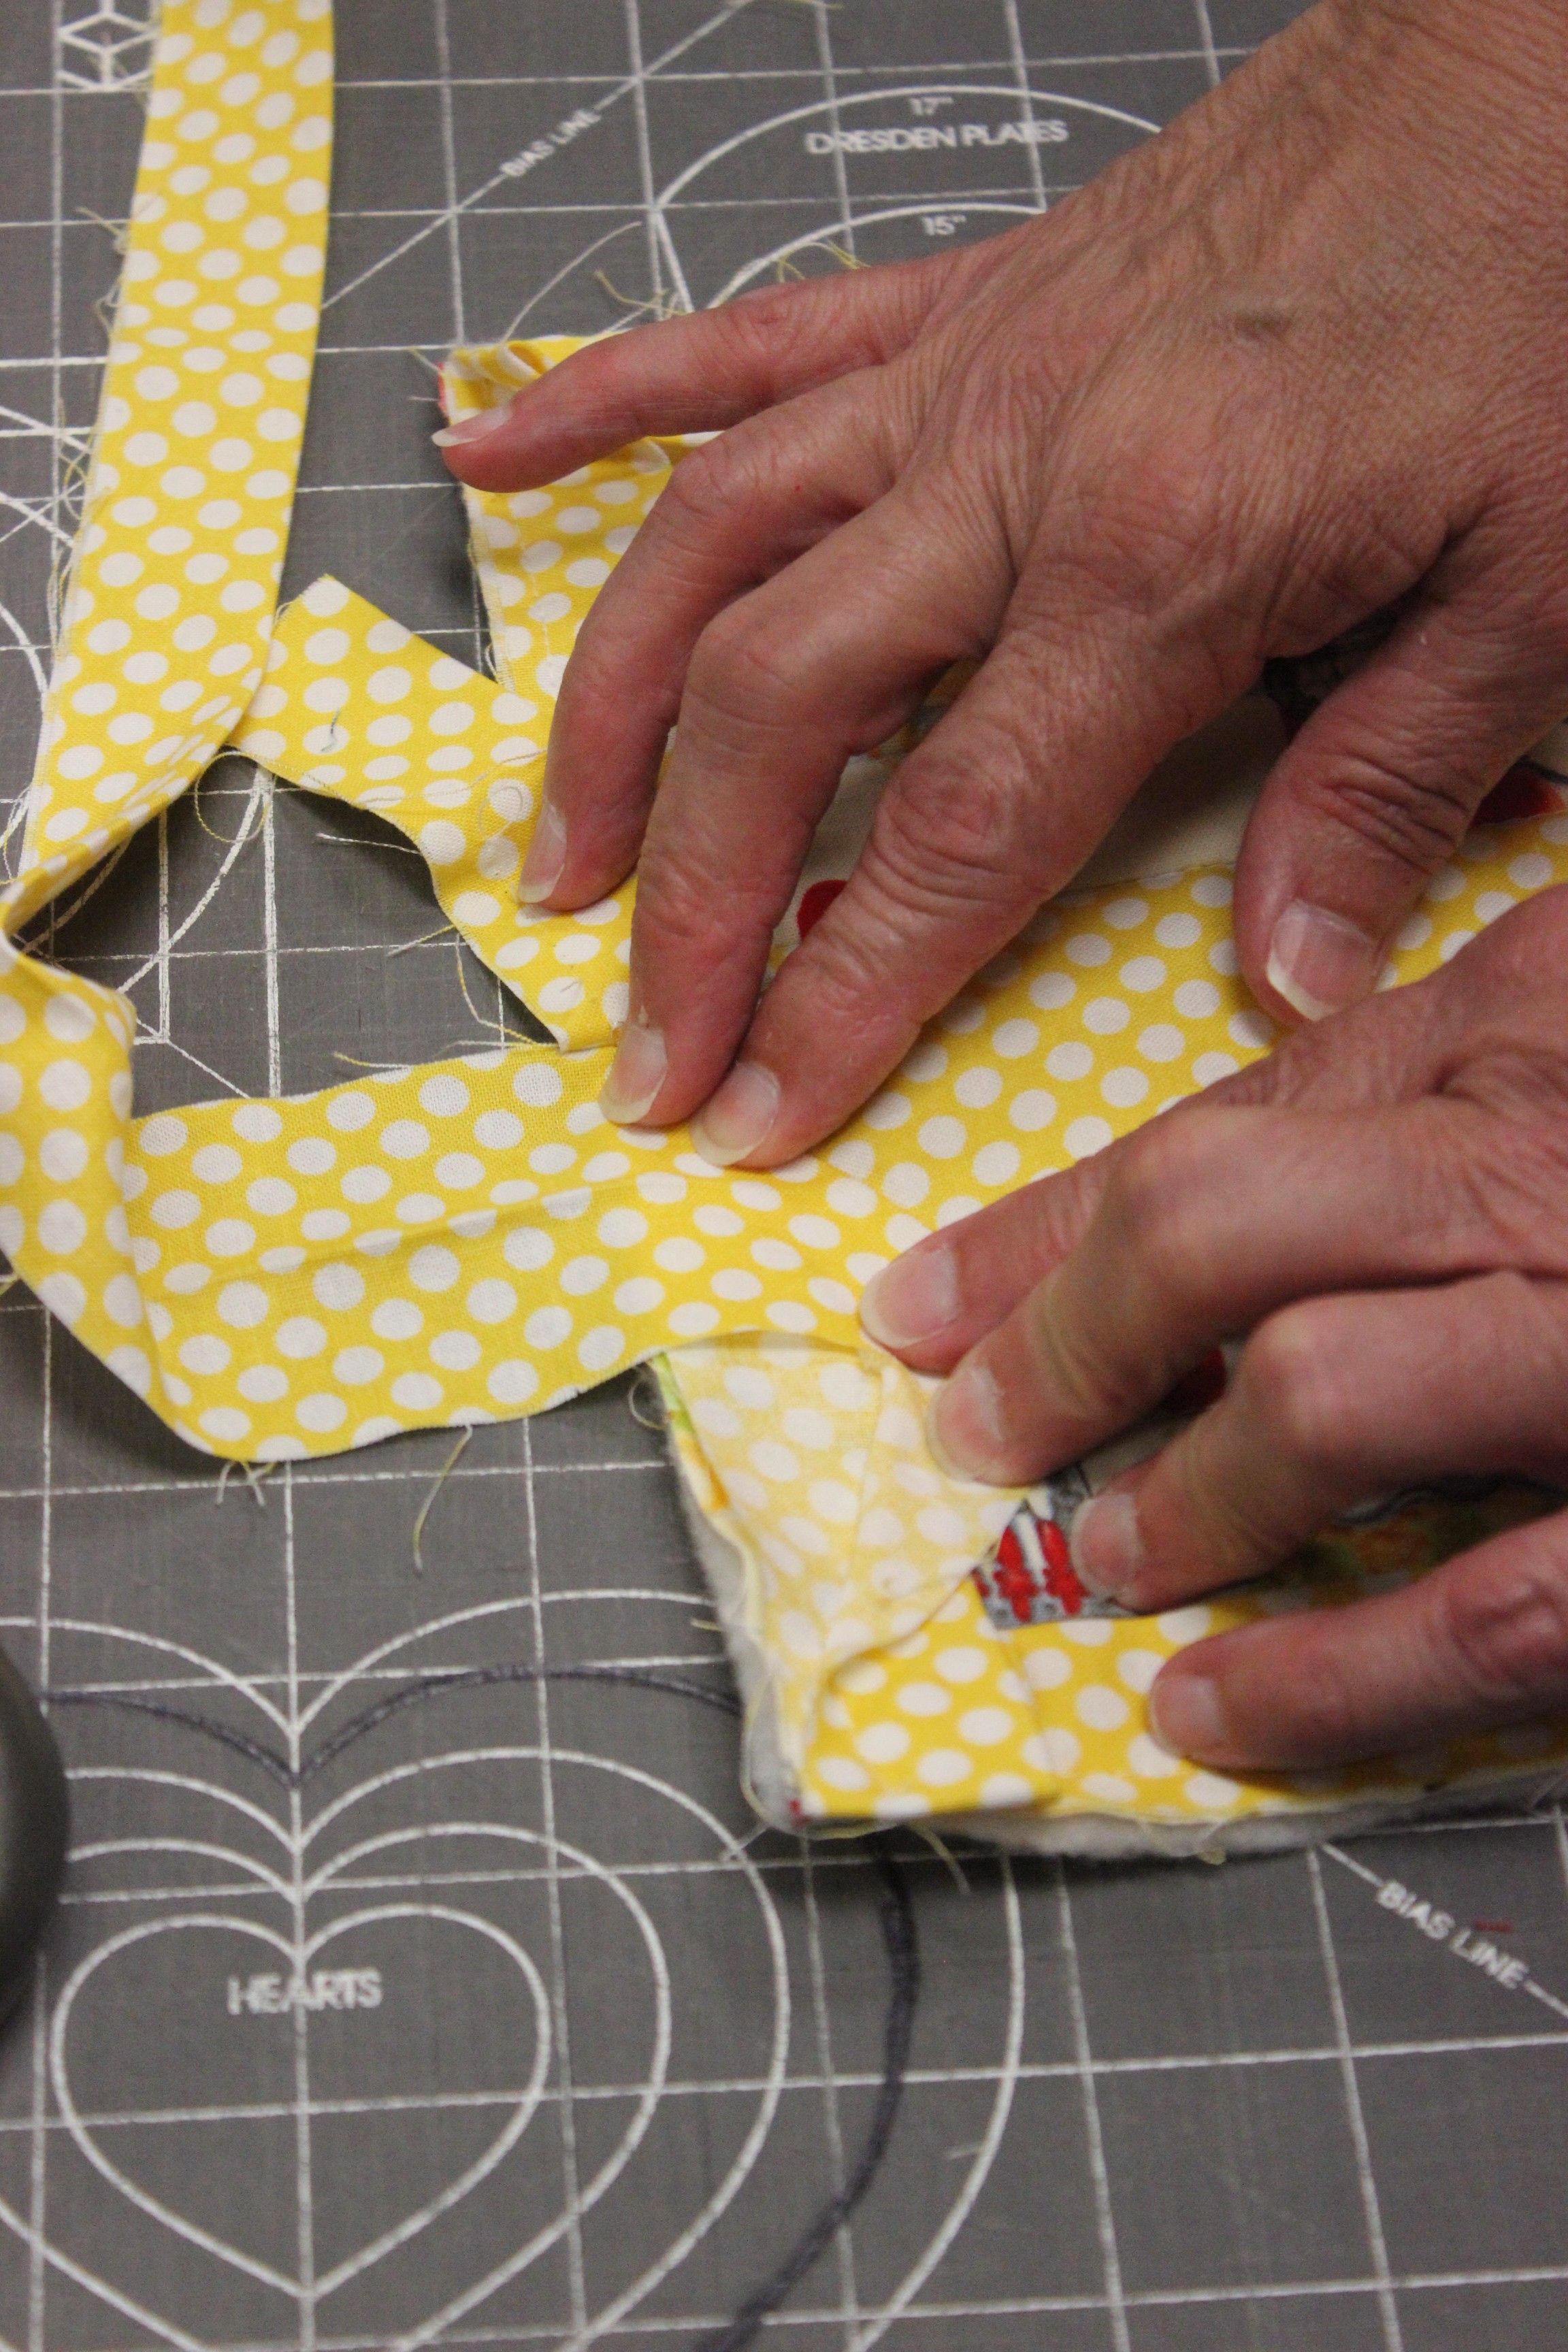
Pick up the piece of binding and lay it over to the right (this is a different corner I’m showing the technique on which is why the ice cream is upside down in this one photo. Sorry!)
Place and hold your finger as shown below

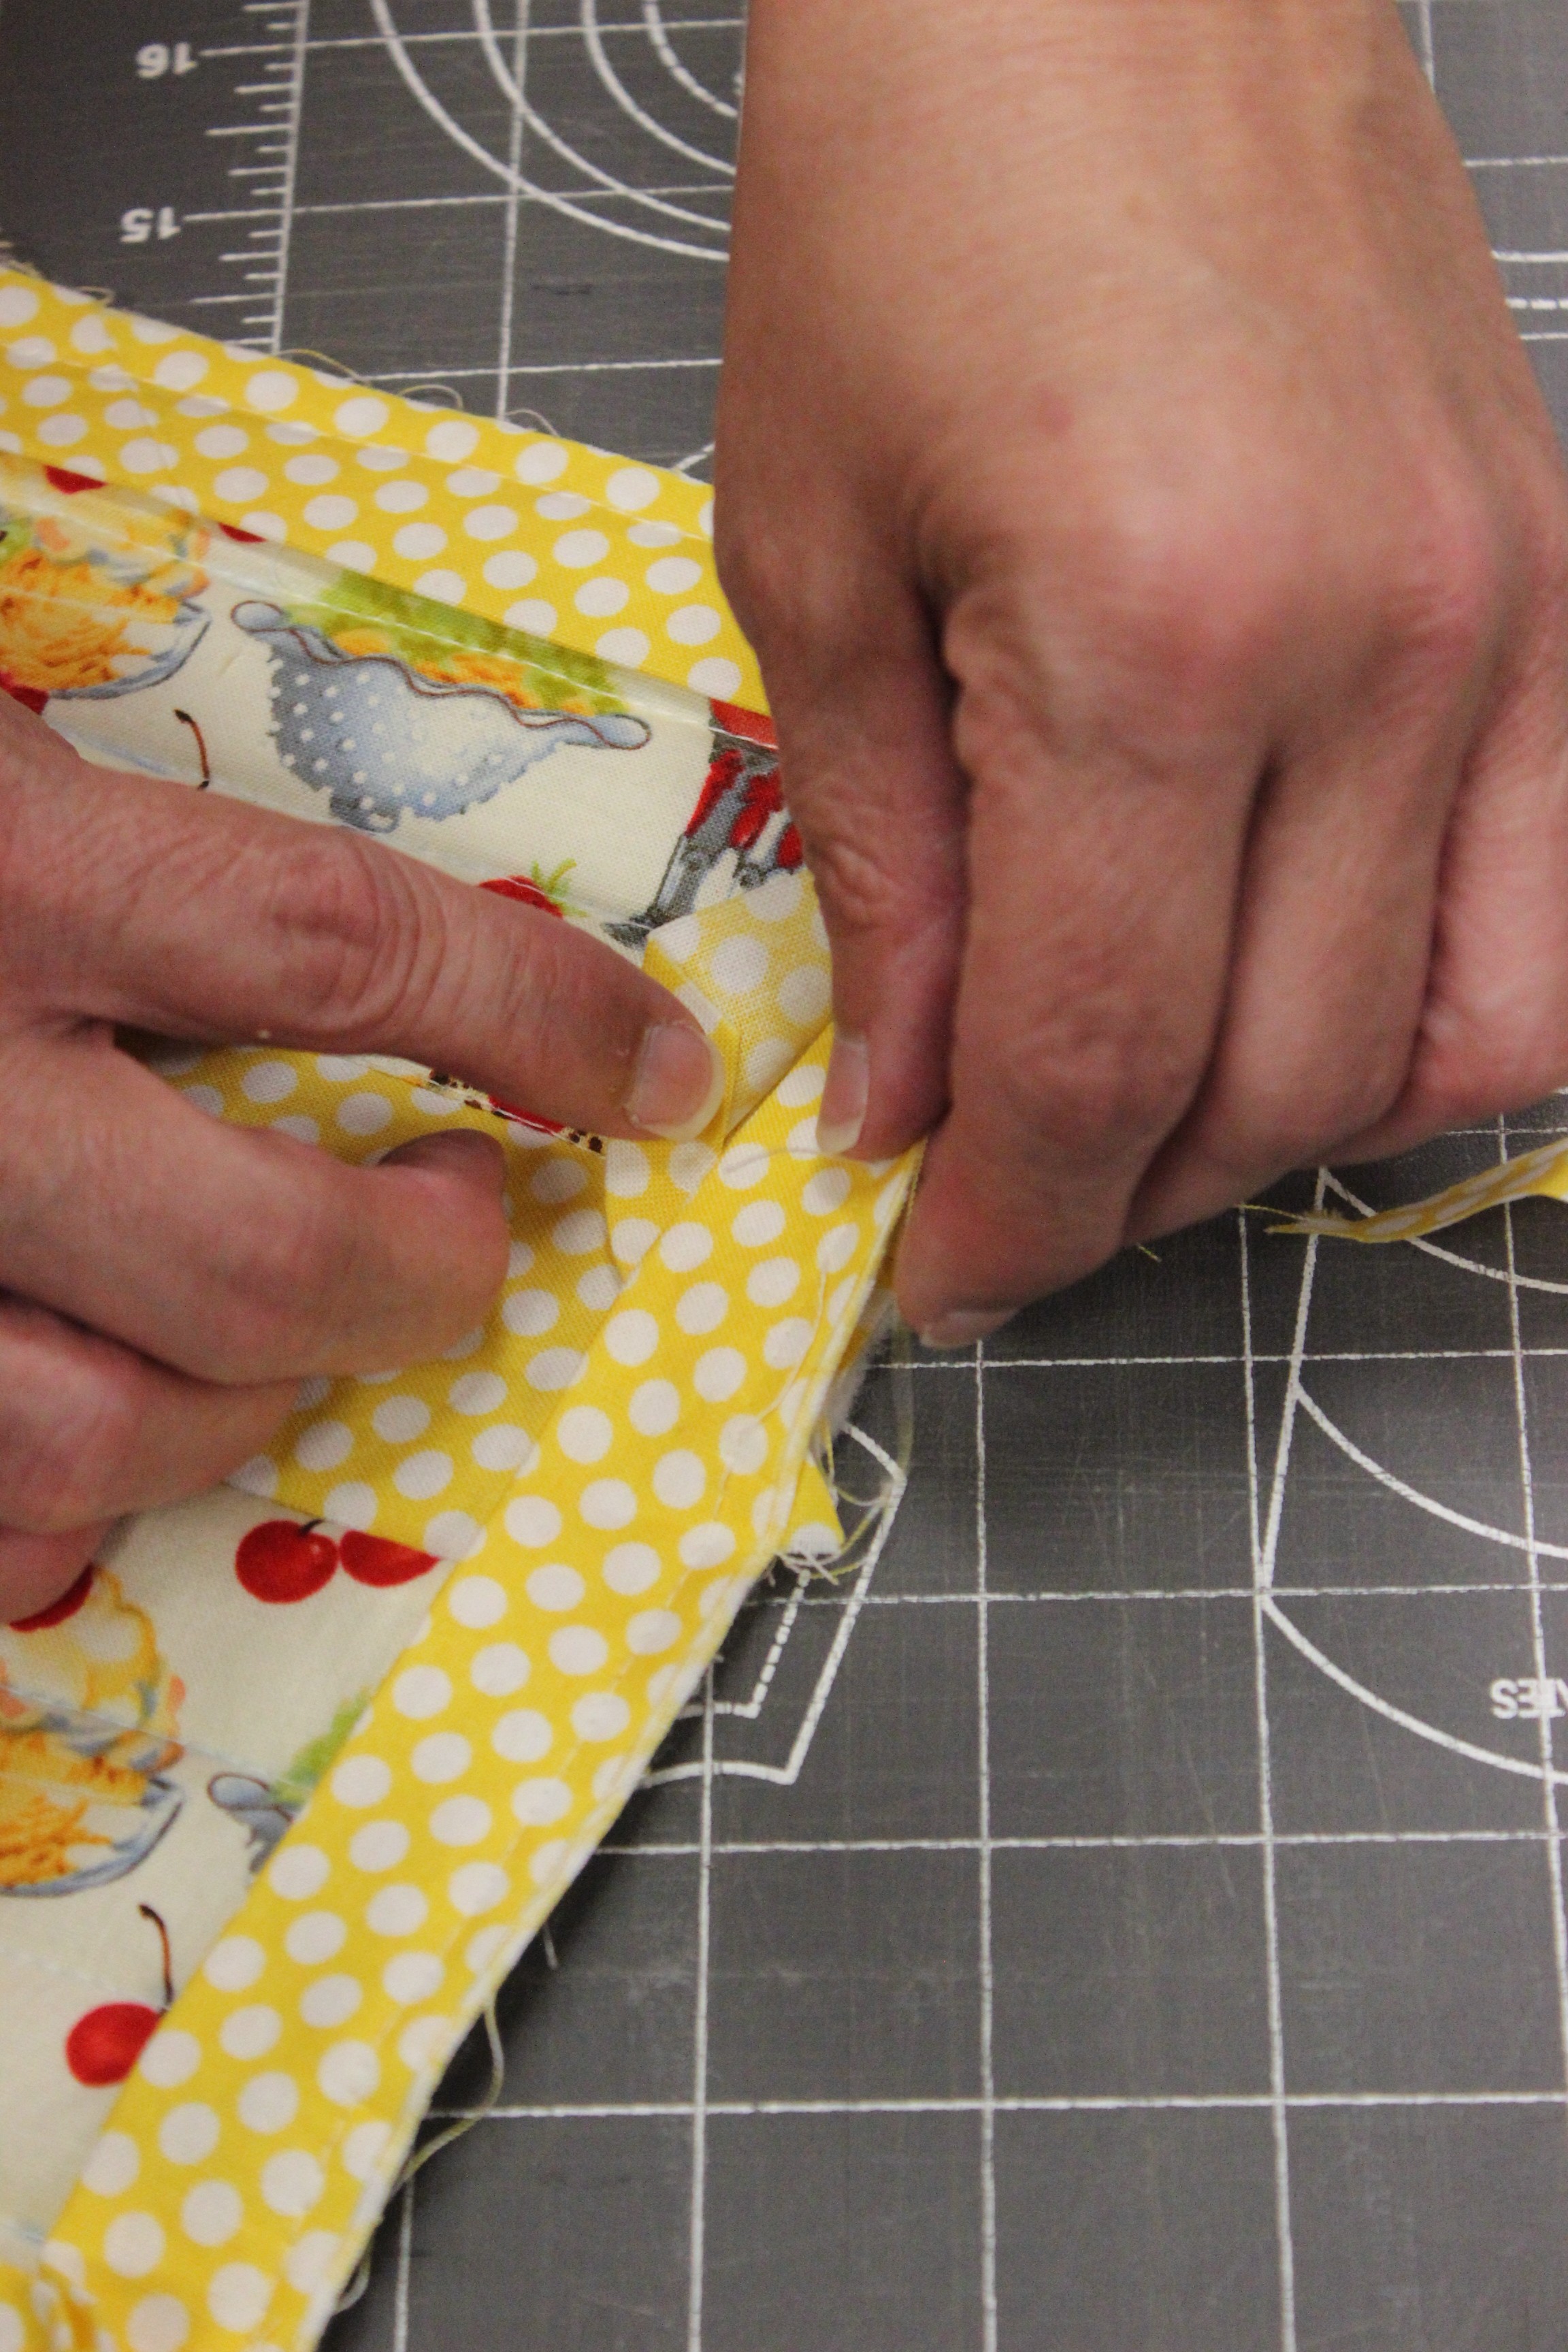
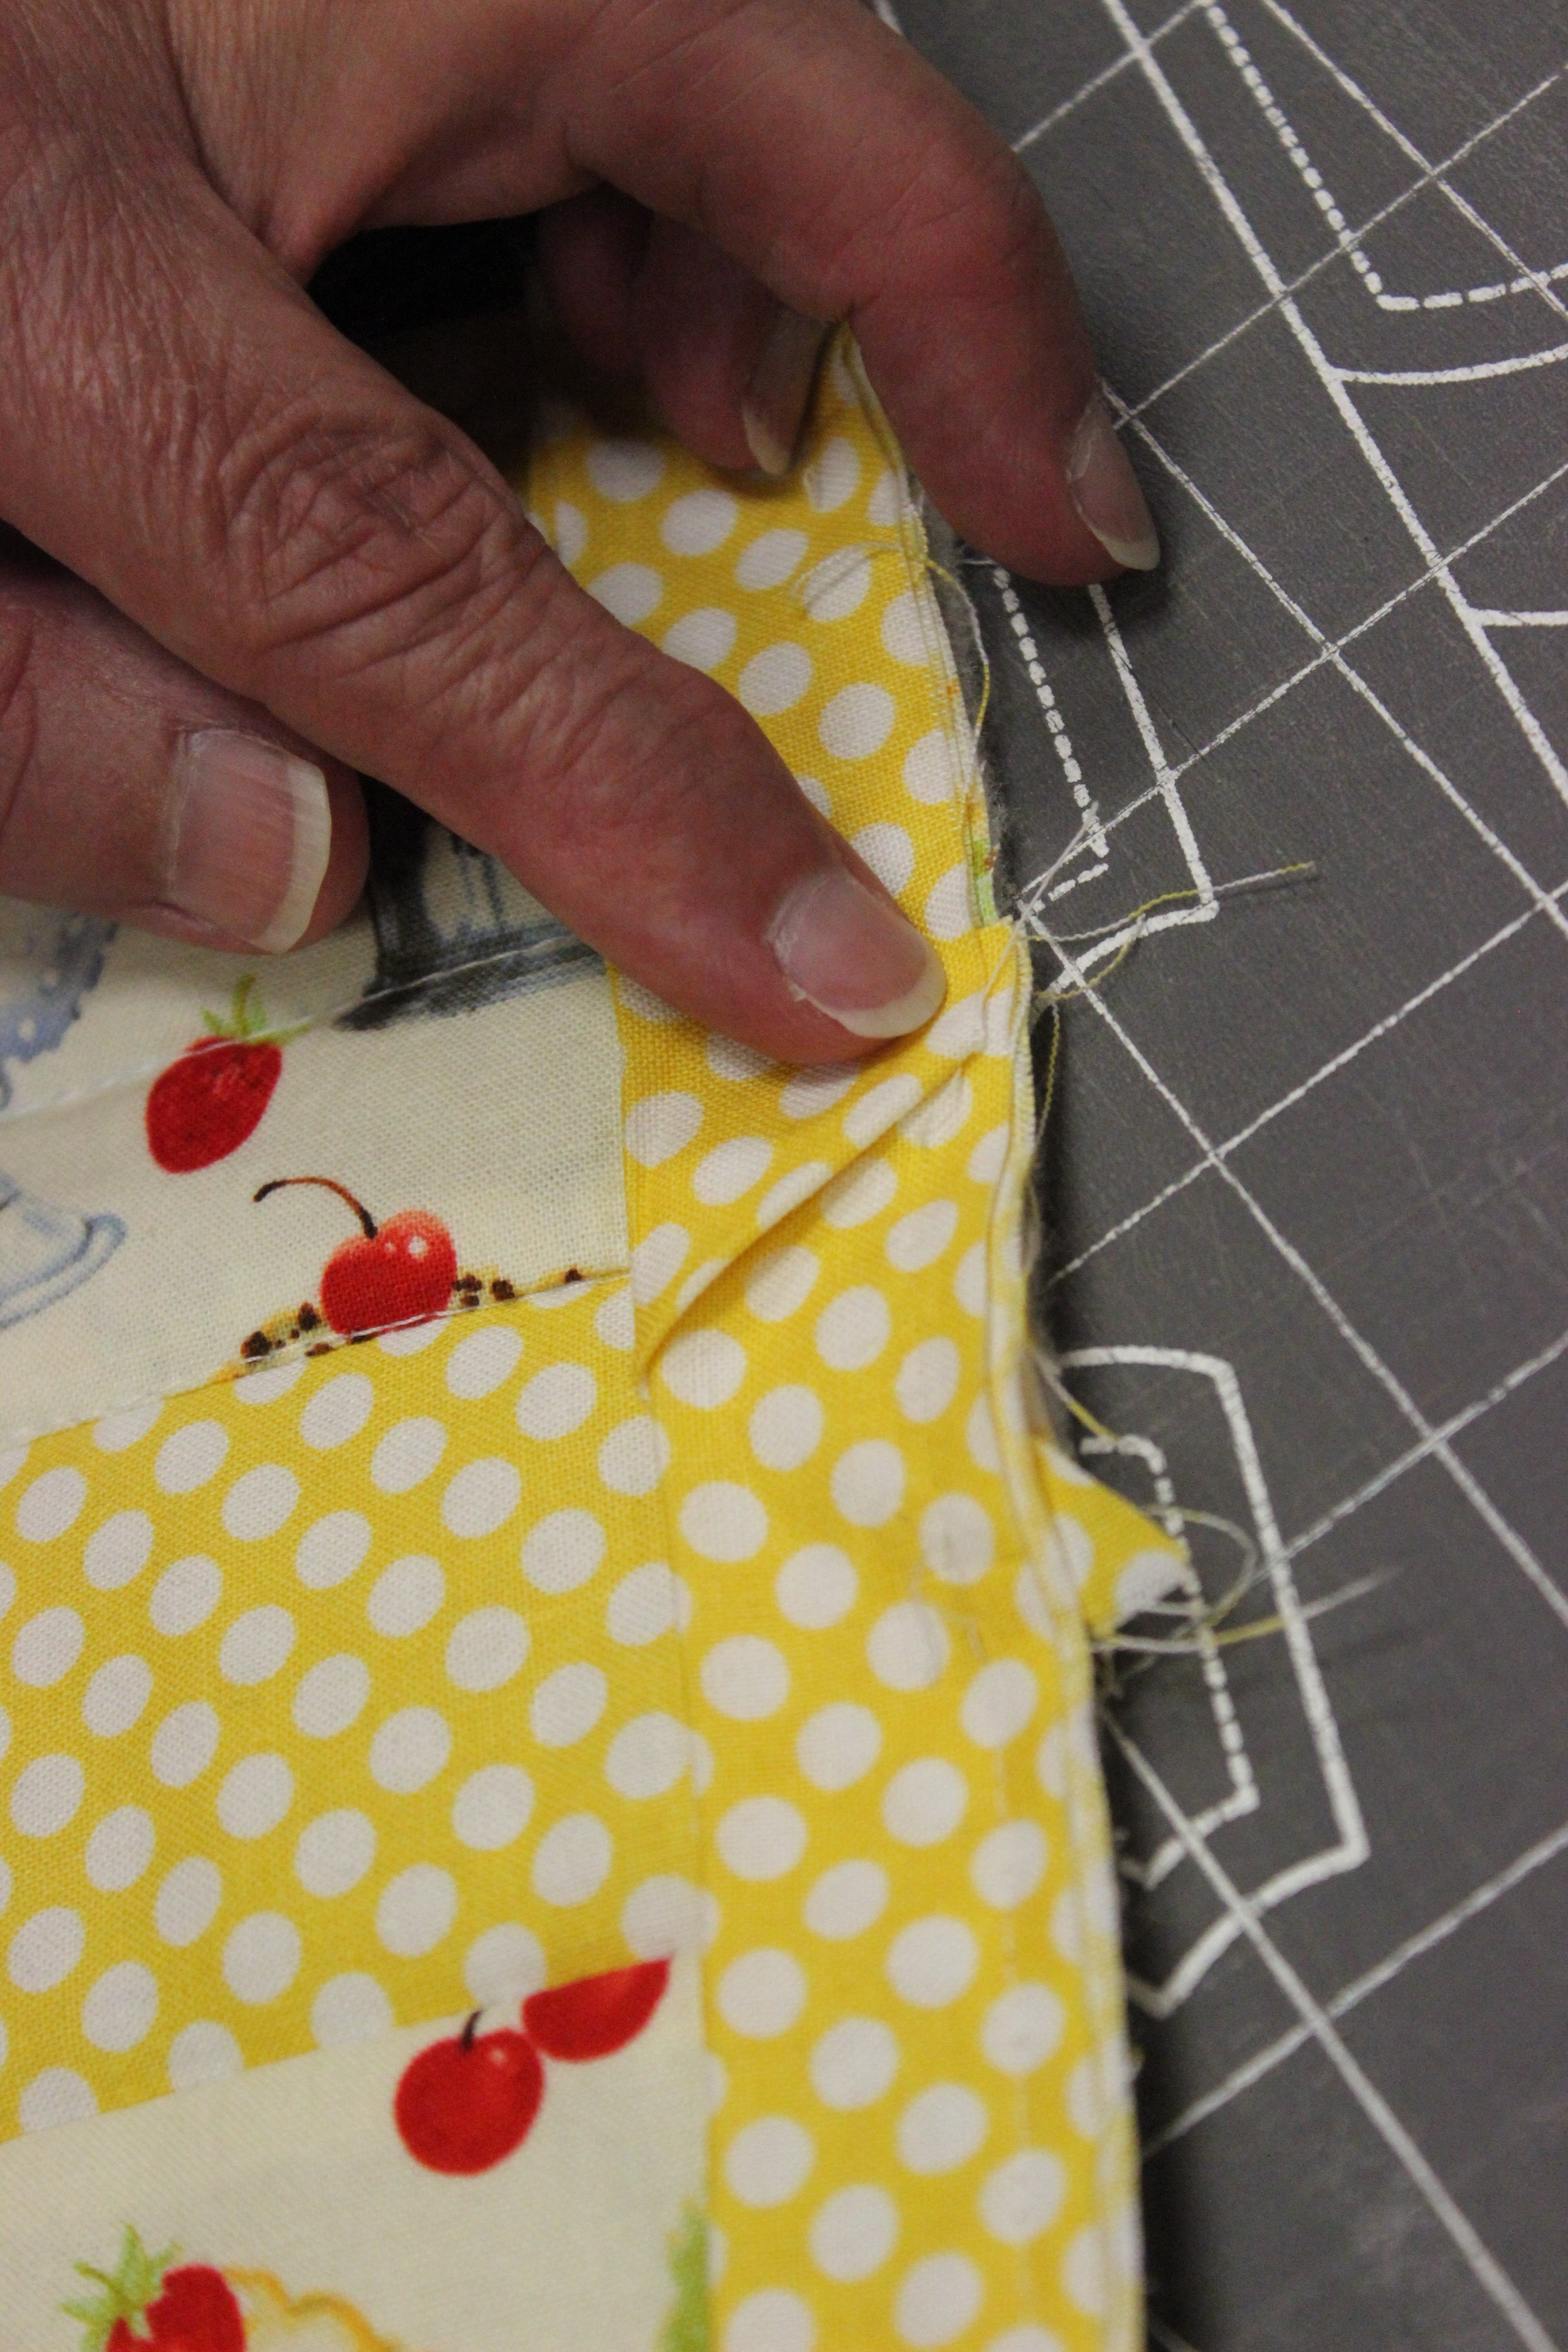
Then lay the biding over the the left lining up raw edge to raw edge
Pin it in place. Continue straight stitching down the edge using a ¼″ seam allowance until you get ¼″ away from the next corner. We’re leaving ¼″ unsewn before each corner to allow room to miter the corners like you just did.
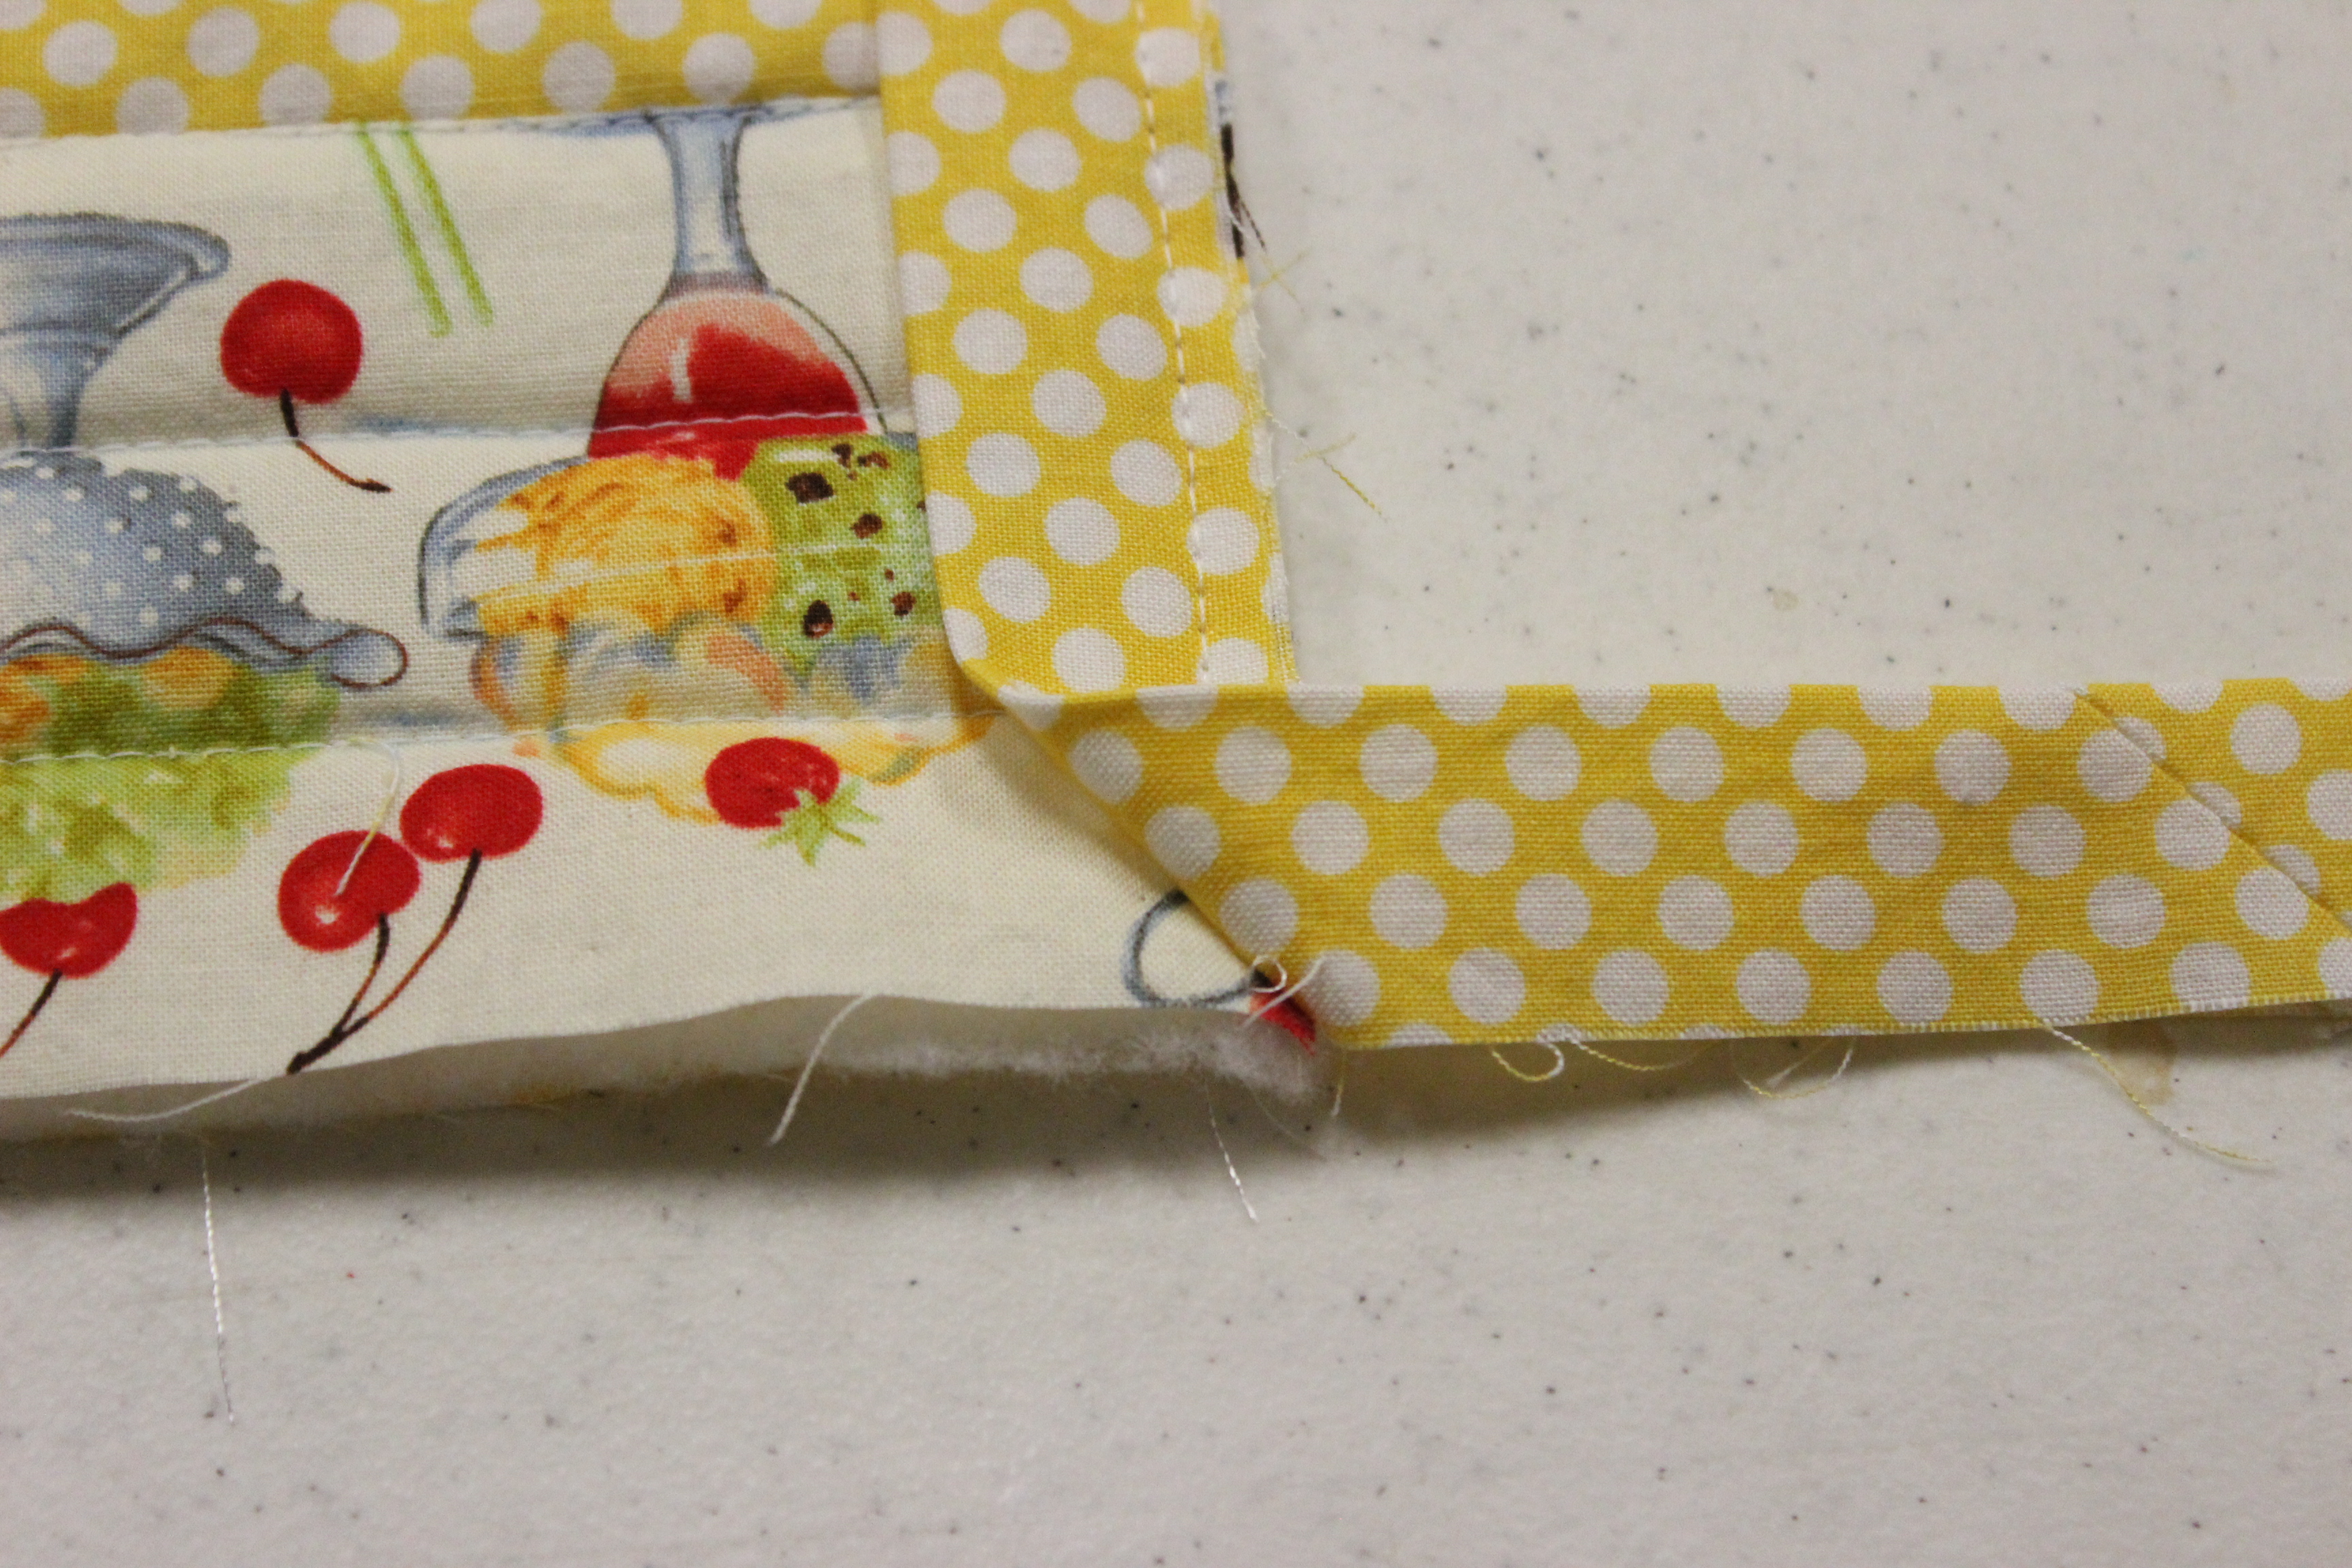
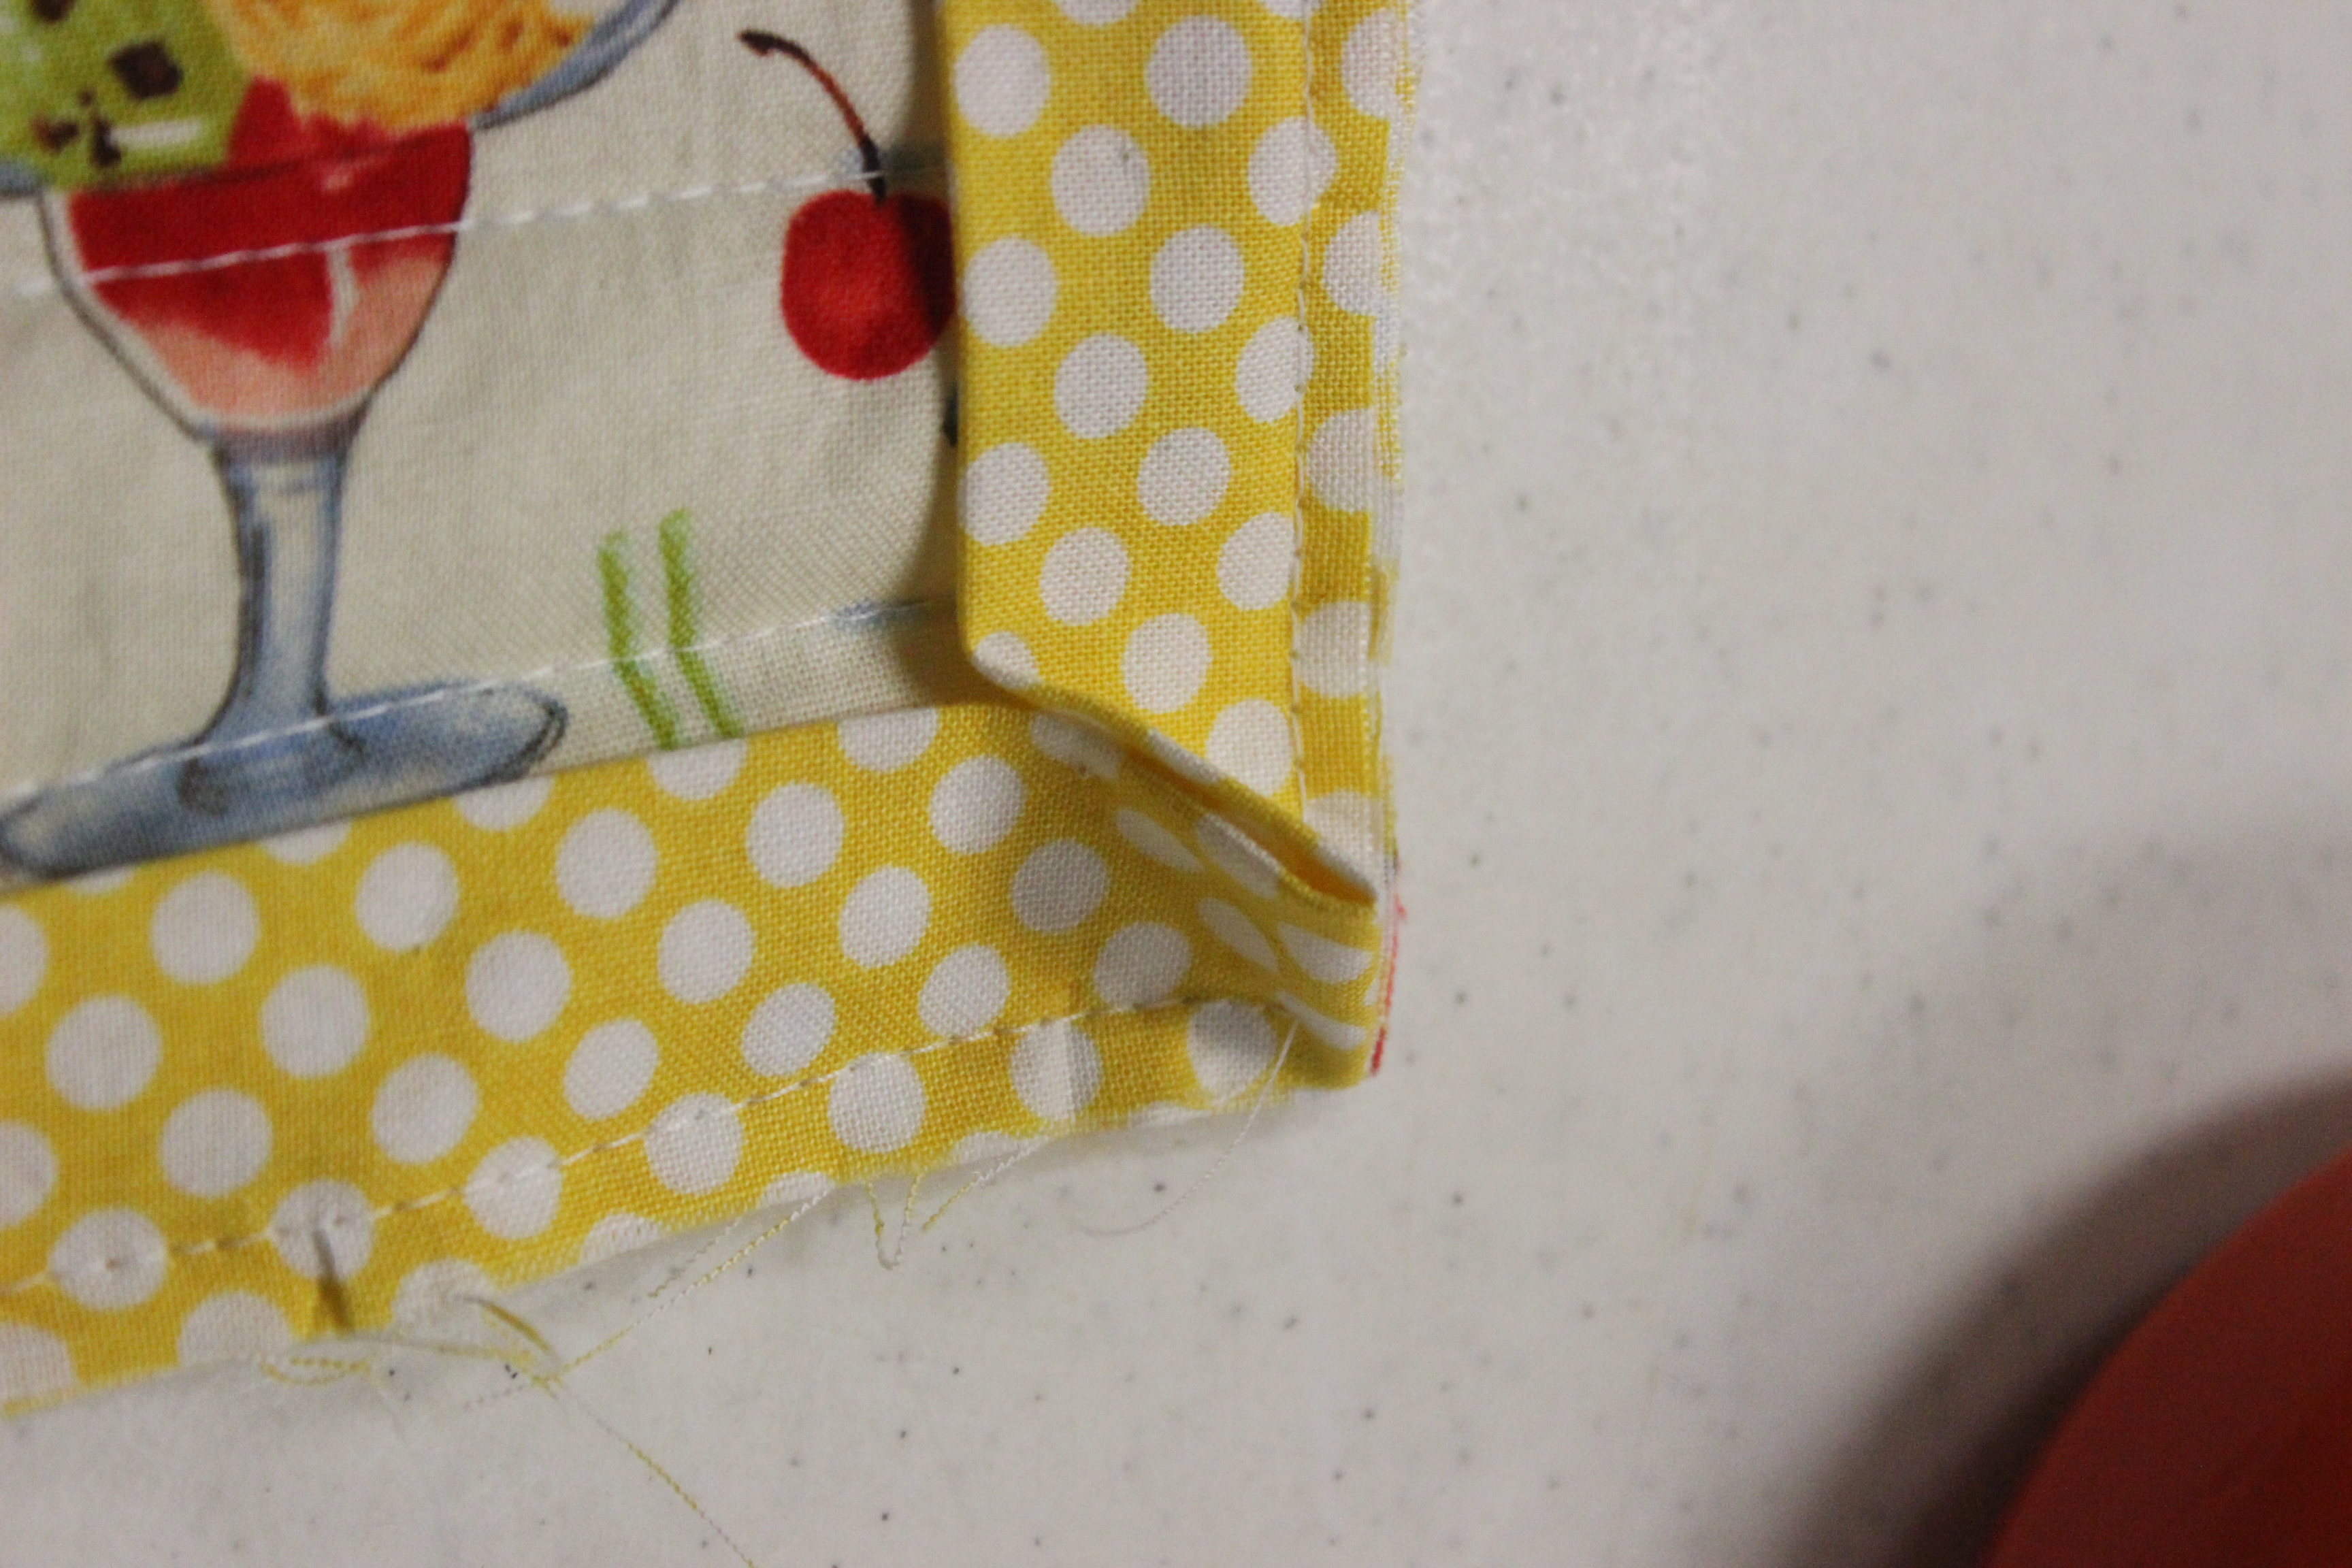
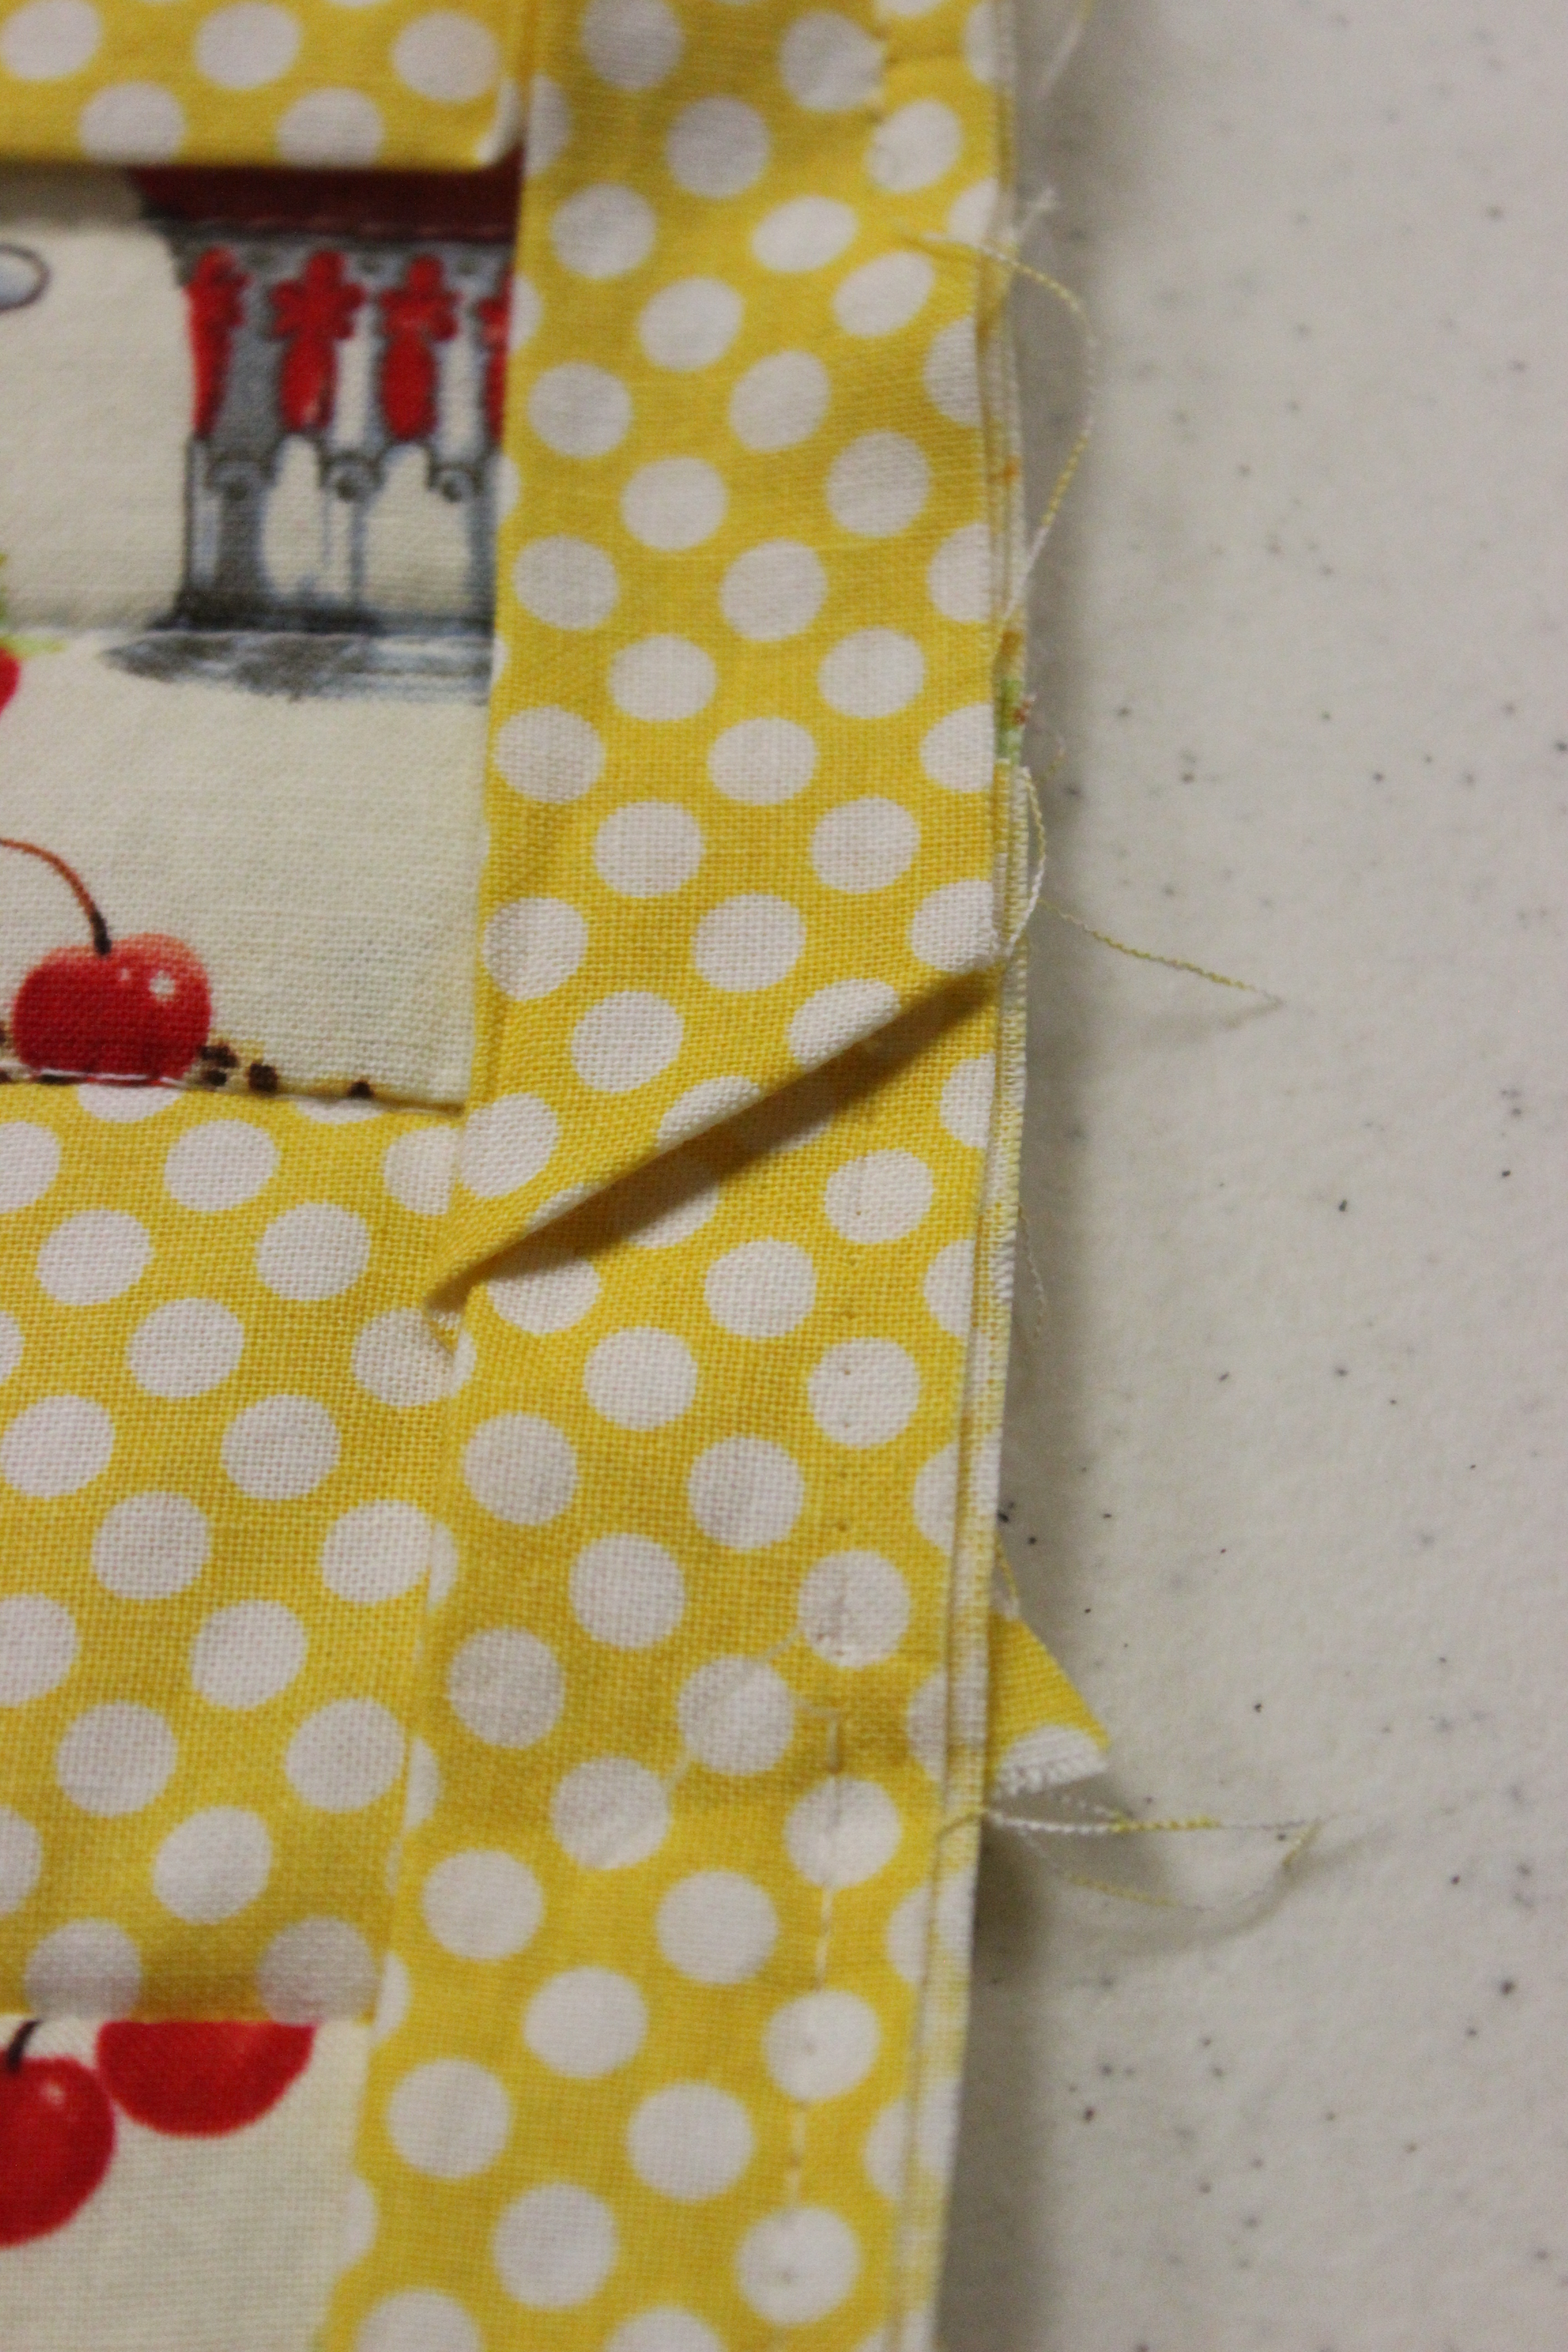
Here’s what a corner looks like after it’s adjoining edges have been sewn.
Step 14 – Continue mitering corners using the technique described above and sewing edges with ¼″ seam allowance until all four corners are mitered and you have come to the 3″ tail that you left.
Step 15 – Magical whizbangedness. I’m kidding. Sort of. It’s time to join the 3″ tail that you left with the end of the binding, lining up the raw edges and to do it in such a way that it looks pretty. There is no one right way to do this. You want to trim, fold, tuck and pin to make this look neat from the right side. Everyone will probably do this differently.
Basically you want to cut off the excess from your end and fold it to look like this

so that you can tuck the 3″ tail inside. That’s the goal you want to accomplish. Trim, fold, and tuck however you choose to. Just check the right side periodically to see if it’s going to look neat.
Below are lots of pictures of the process, but don’t stress about doing this exact way.
This is her end result. Yours might vary.
Step 16 – Finish straight stitching the raw edge. You’re almost done! At this point your mug rug should look like the one on the far left in the photo below.
Step 17 – Fold the binding over the raw edge of the quilted pieces and whipstitch or slipstitch the edge of the binding to the back of the mug rug. I cheated and did this with the sewing machine instead because I’m lazy…and it was getting late. I recommend you take the time to do it by hand, especially if you are giving this as a gift. I messed up the front of my Mug Rug a little bit by doing it with the machine.
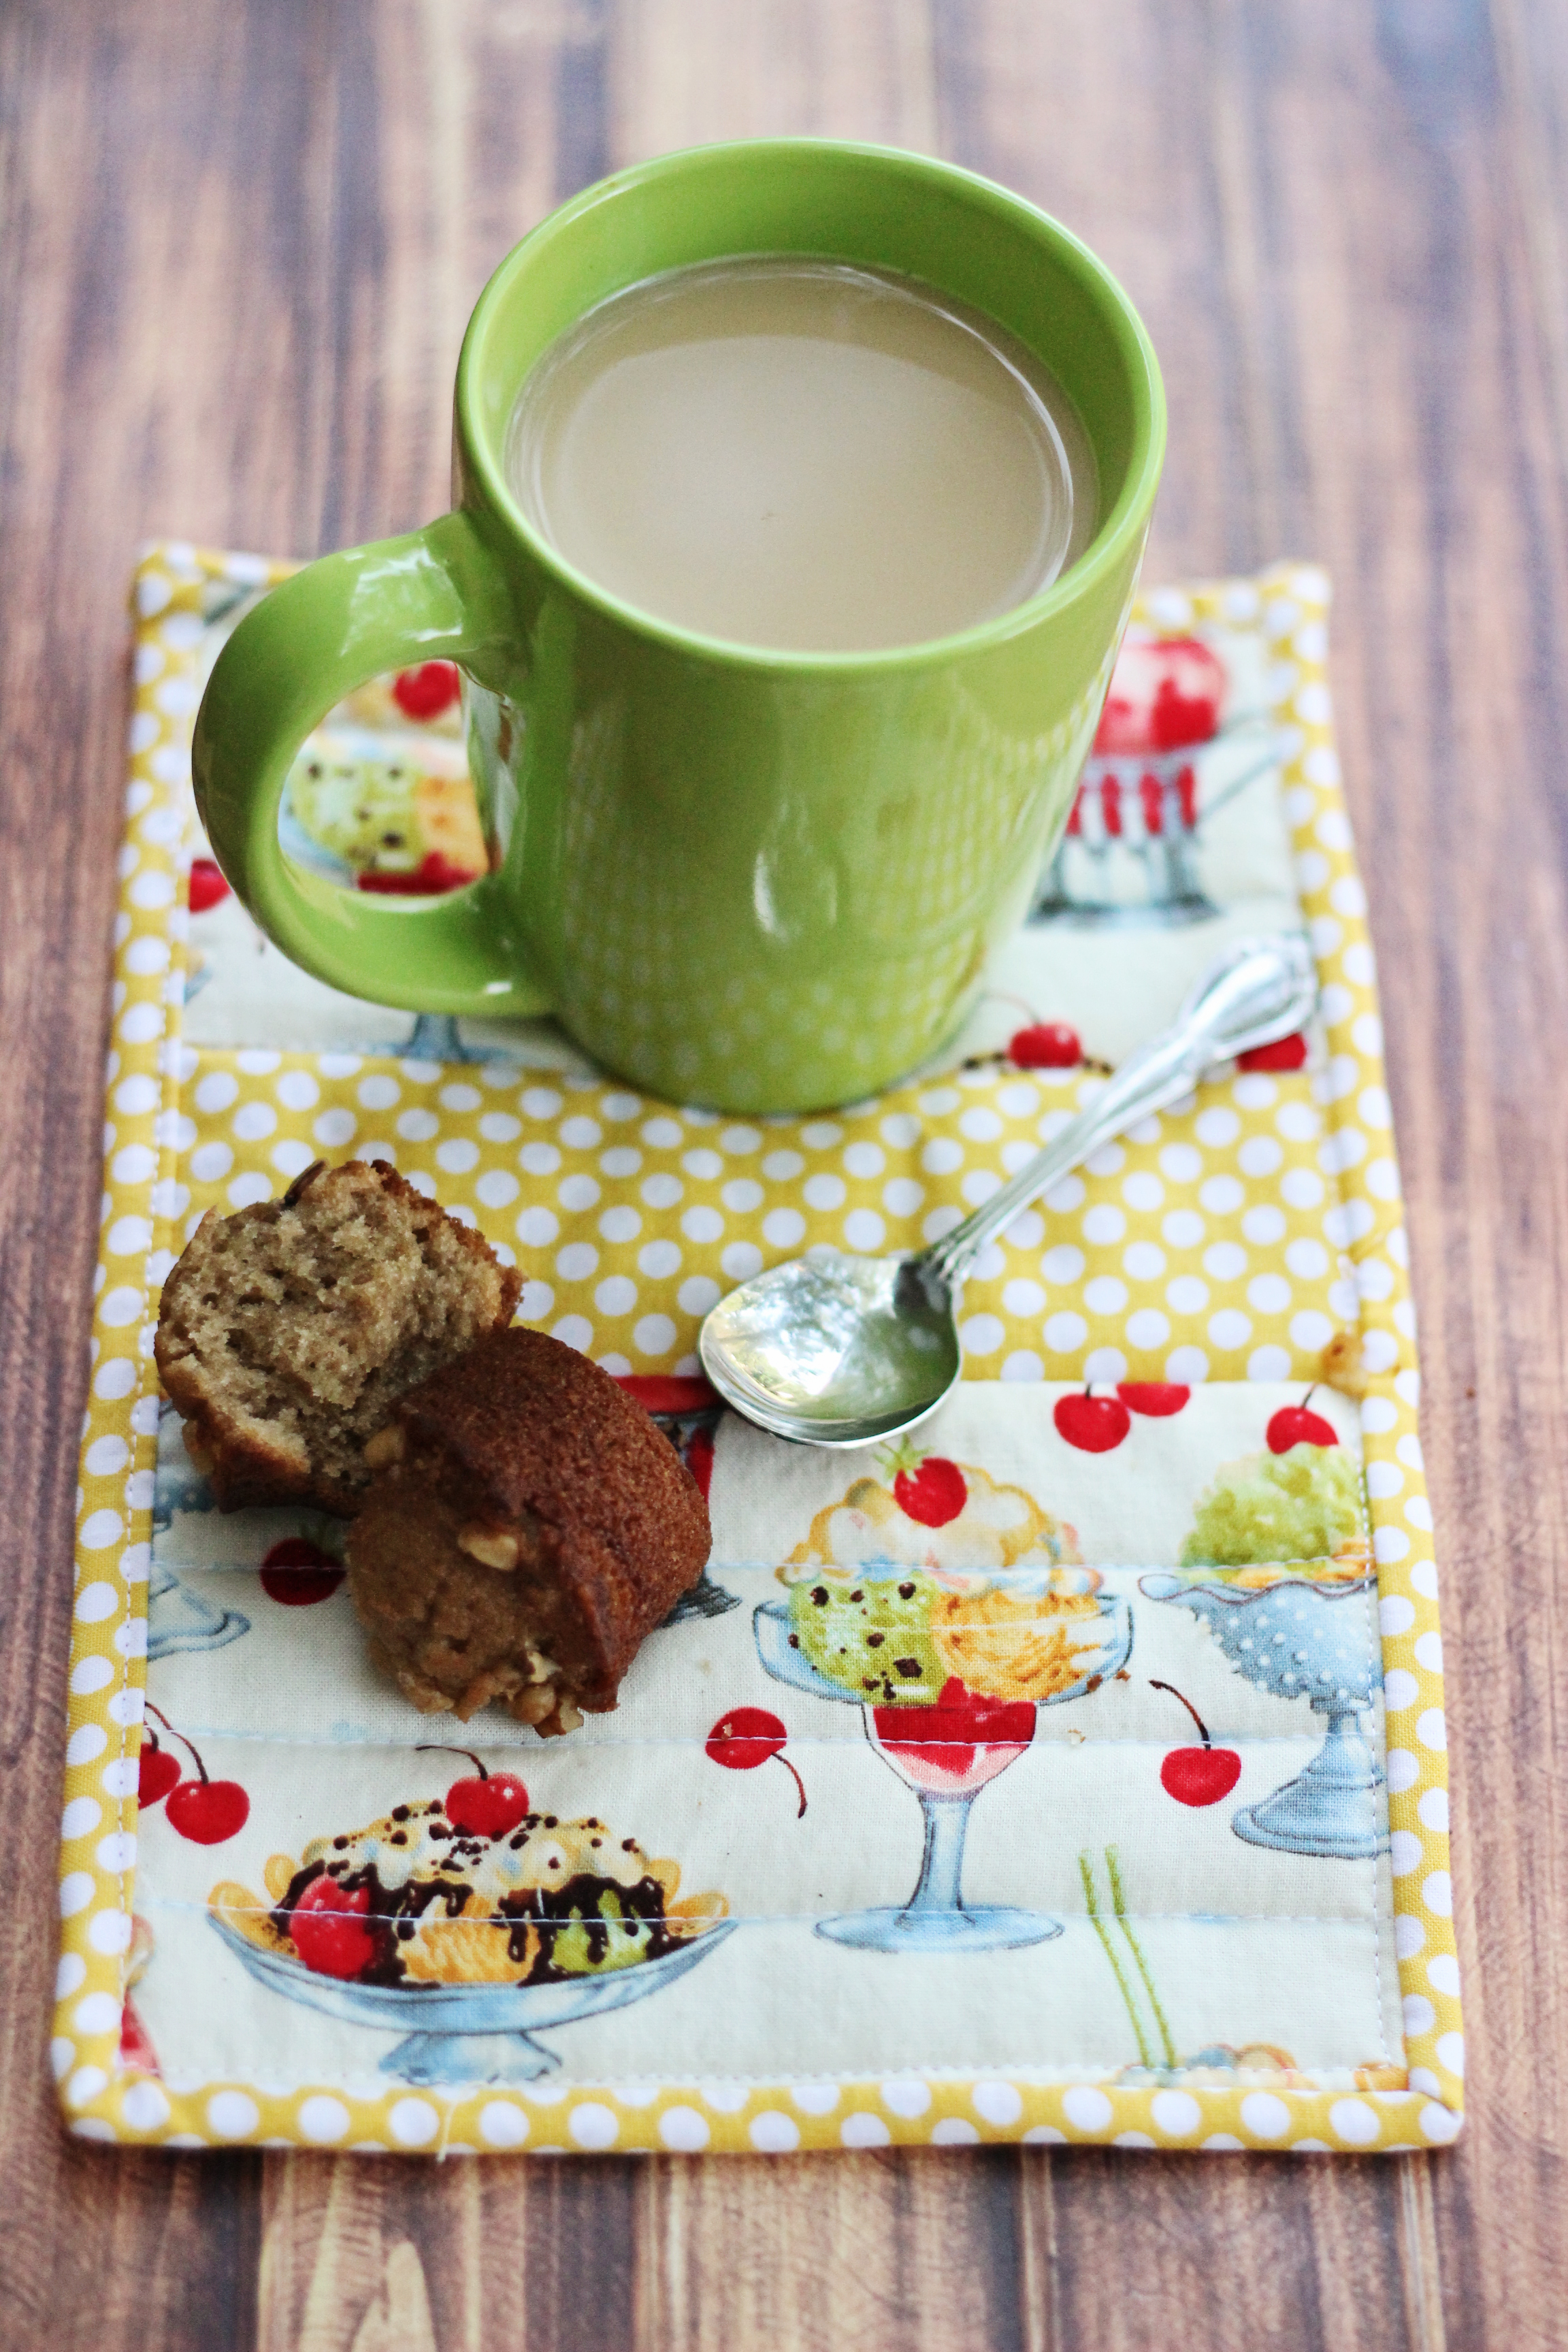
Enjoy your beautiful new Mug Rug!
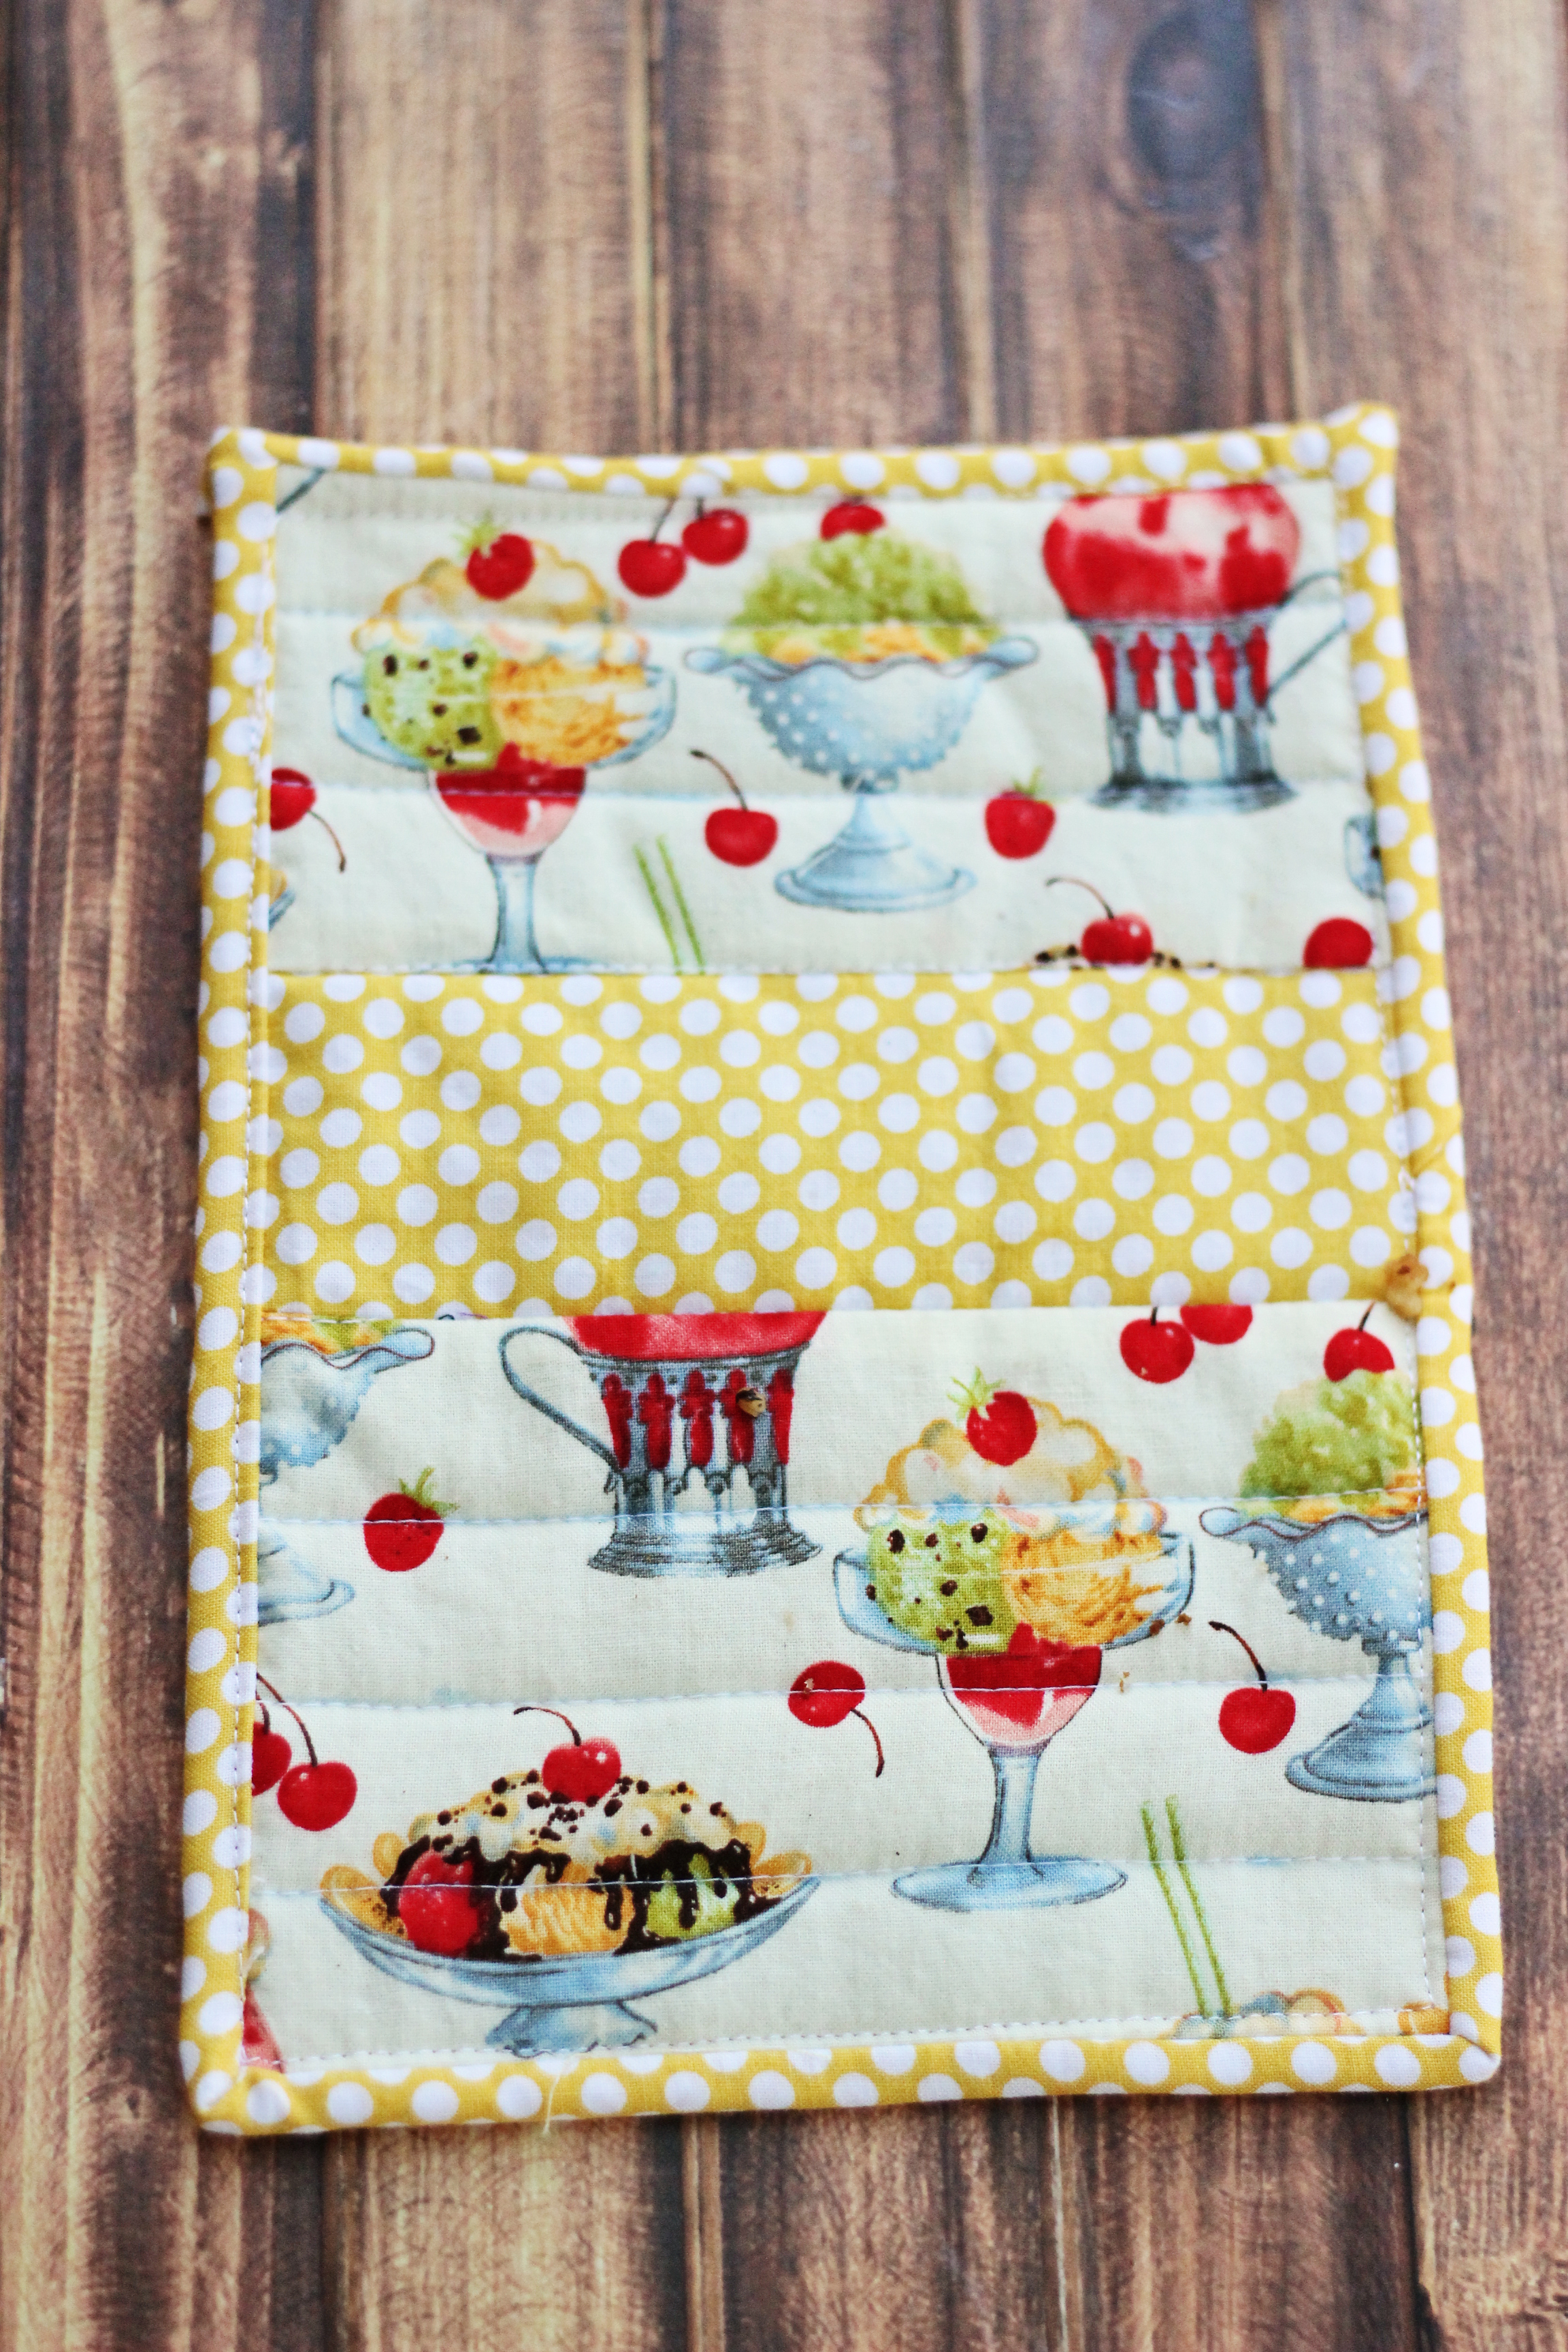
Mug Rugs make a lovely Christmas Present or gift for any occasion. Pair them with a few tea bags, hot cocoa packets or coffee beans and a pretty mug and you’ve got a thoughtful gift!


Sheilla says
I love mug rugs, especially pieced or patchwork ones. Thanks for your tutorial.