Freezing squash can be a necessity if you have a garden that’s overflowing. Squash tends to grow in abundance during the summer and I haven’t met a gardener yet who didn’t need to store the surplus.
Even if you’re not a gardener you may want to take advantage when summer squash is in season and priced accordingly. Learning how to freeze squash will allow you to stock up when the price is right and have plenty of summer squash for winter soups!
Ingredients
Summer squash – This process will work for any summer squash including the most common: yellow squash and zucchini. In my example, I’m using yellow, crookneck squash straight from the garden.
Water – Pretty self-explanatory. You’ll need boiling water for blanching* and tap water for washing the squash.
Ice – An ice bath is required to prevent blanching from turning it into full-blown cooking!
*Enzymes and bacteria found in fruits and vegetables will break down the nutrients over time, changing not only the color of food but also its flavor and texture. For example, frozen squash requires a brief heat treatment called blanching to destroy these enzymes before being stored for long periods of time so that it doesn’t go bad too quickly or spoil any other foods close by on an icy freezer shelf.
Tools
Stockpot – The larger the pot the more squash you can blanch at once. If you don’t have a large pot use a smaller one and do several small batches instead of one large boil.
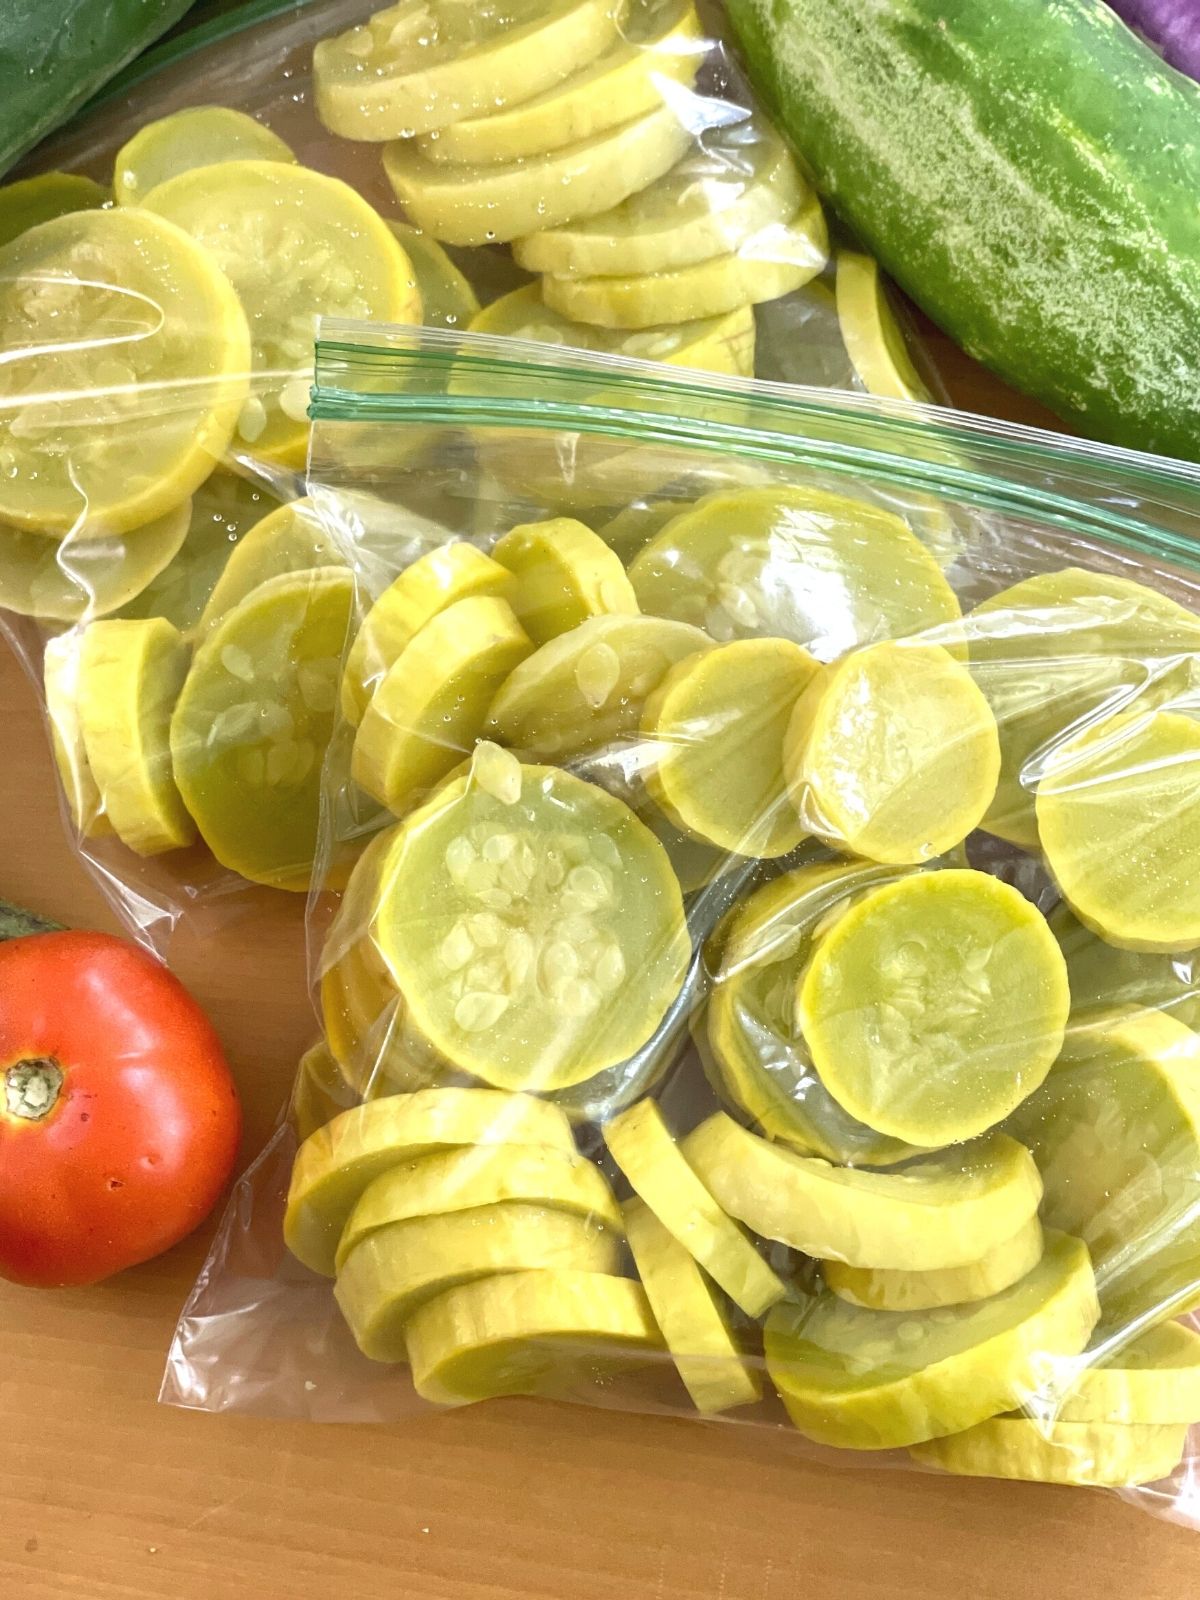
Freezer bags – The day I froze this squash I was fresh out of freezer bags and used regular sandwich bags instead. Since I used the squash just a couple of weeks later this worked fine, but if you’re freezing squash for long-term storage (3 weeks up to 6 months) you’ll need to use actual freezer bags so that the squash doesn’t get freezer burn on it.
These are readily found at the grocery store and I recommend using quart-sized bags. You’ll rarely need a whole gallon of squash unless you’re cooking for a crowd.
Tea Towels – I like to lay my squash slices out on tea towels when it comes time to dry the squash slices after blanching. This is to avoid the lint that comes with fluffy kitchen towels or paper towels. Dinner napkins or layers of cheesecloth will work well too.
Colander or Slotted Spoon
Directions
Why do you need a whole tutorial for this? That’s a great question. It seems like you could just slice ’em up and freeze them in a bag, right? It’s almost that simple but not quite. Let’s get started!
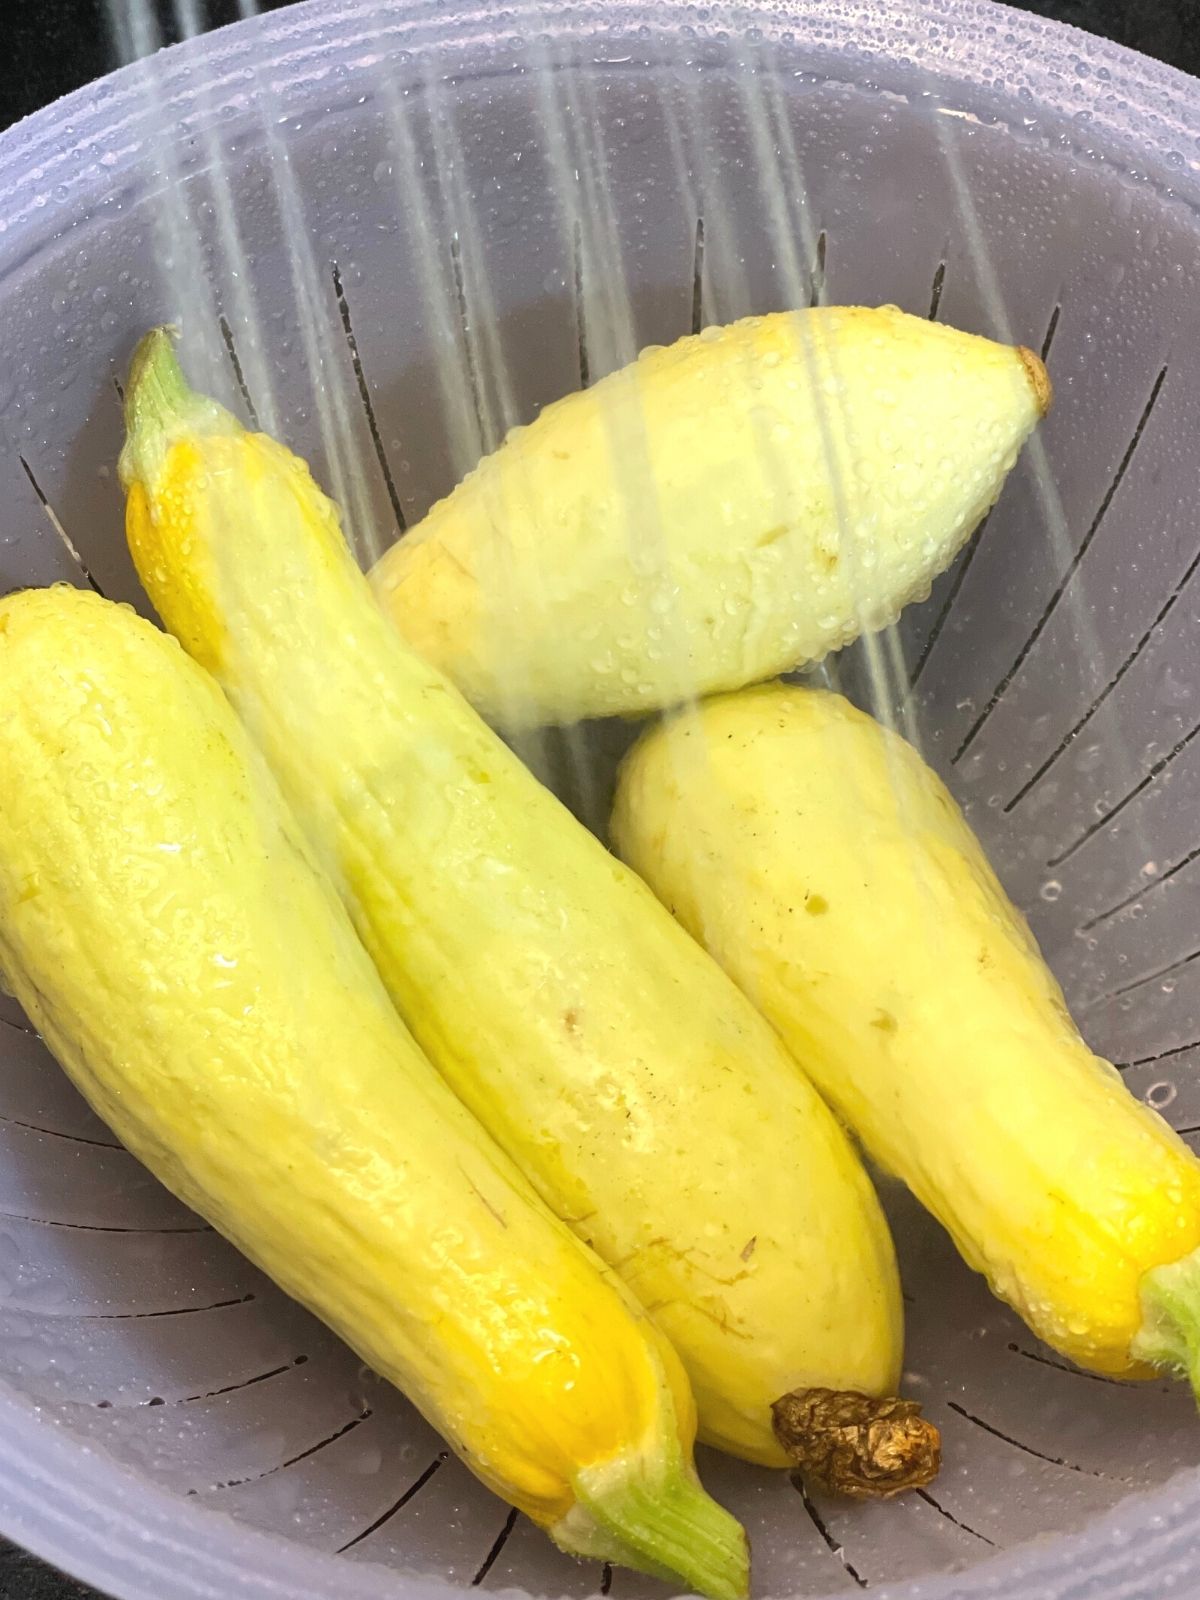
Step 1 – It’s time to get your hands dirty! The first step is rinsing the squash in plain cold or lukewarm water using your hands or a gentle brush. A potato brush will be too harsh. You want something softer like what you’d use to wash dishes.
Store-bought squash is usually clean enough that you can get away with using your hands to wash it. Garden-fresh squash might be a little dirtier and require some gentle scrubbing.
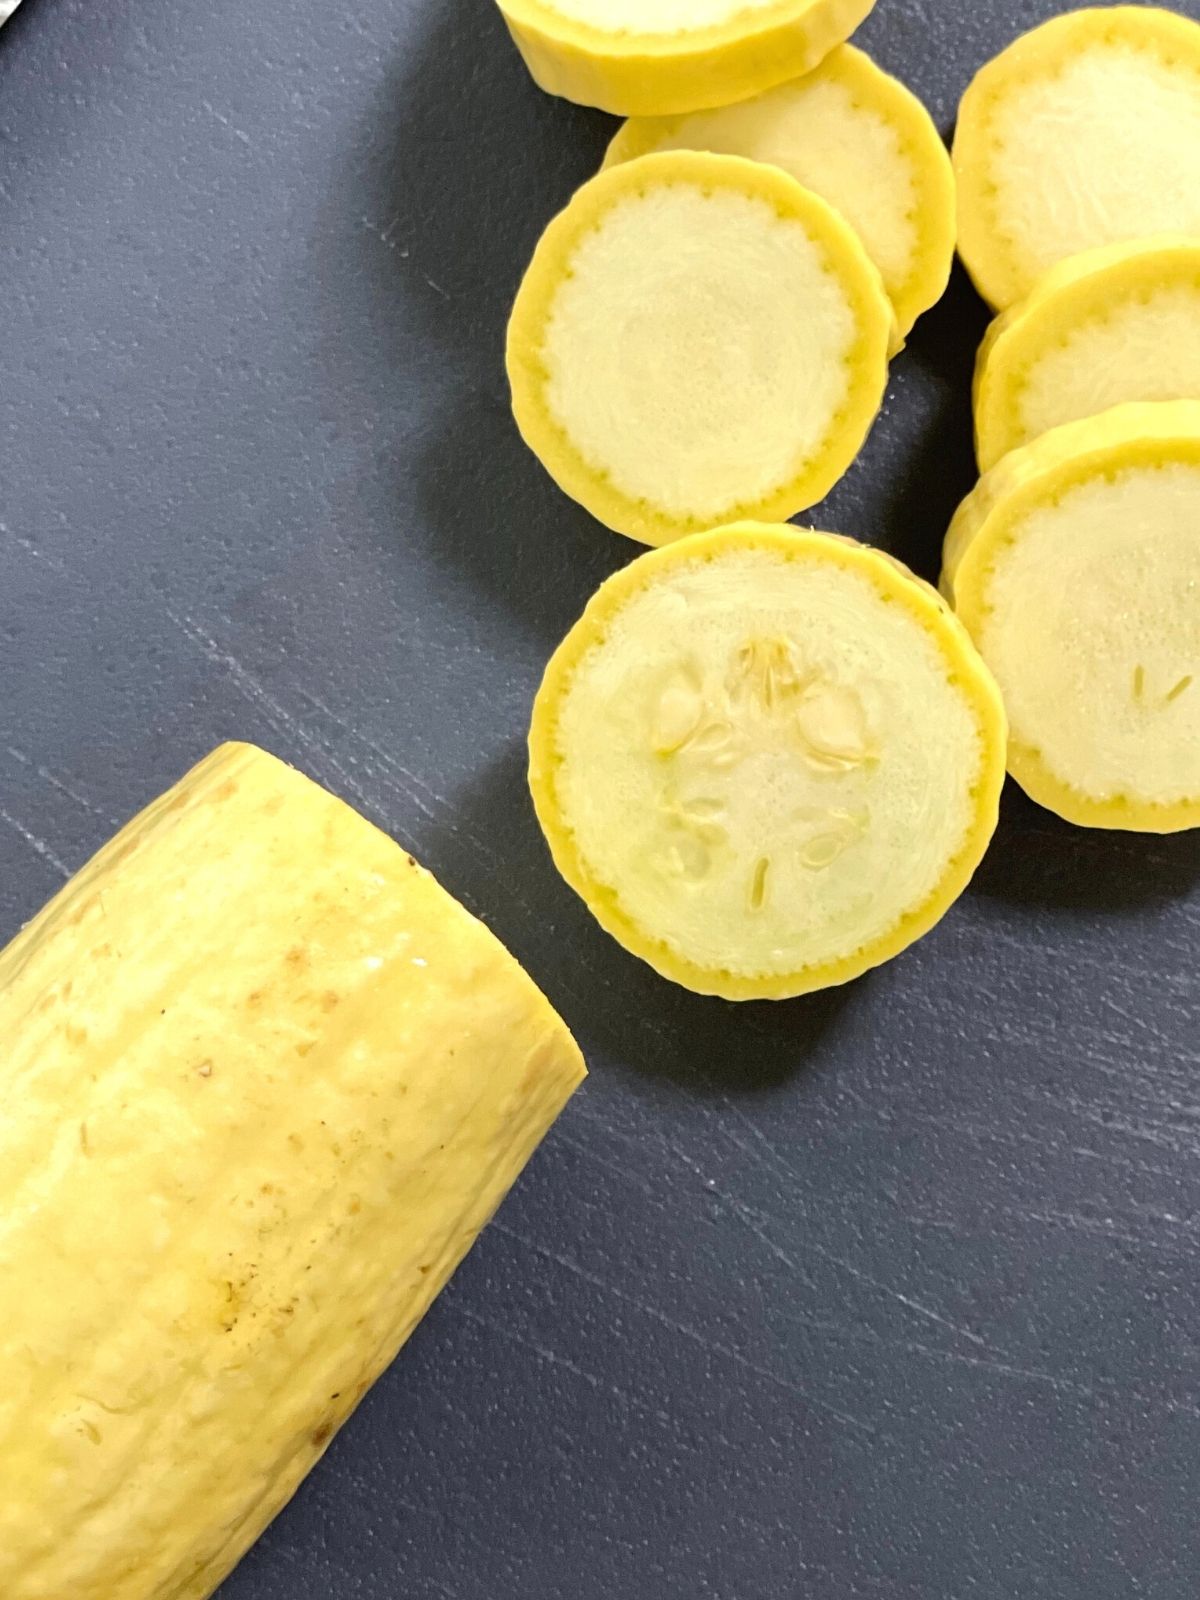
Step 2 – Take a sharp knife and cut off both ends of the squash. This will help you slice it more easily for blanching later on, as well as make sure that your pieces are all about ¼ inch thick.
If you leave it sitting out without cutting up at least an hour before using, discoloration can occur so be mindful not to start slicing until you’re ready to complete the process from start to finish.
Step 3 – Slice each squash about ¼″ thick. No need to deseed or peel them.
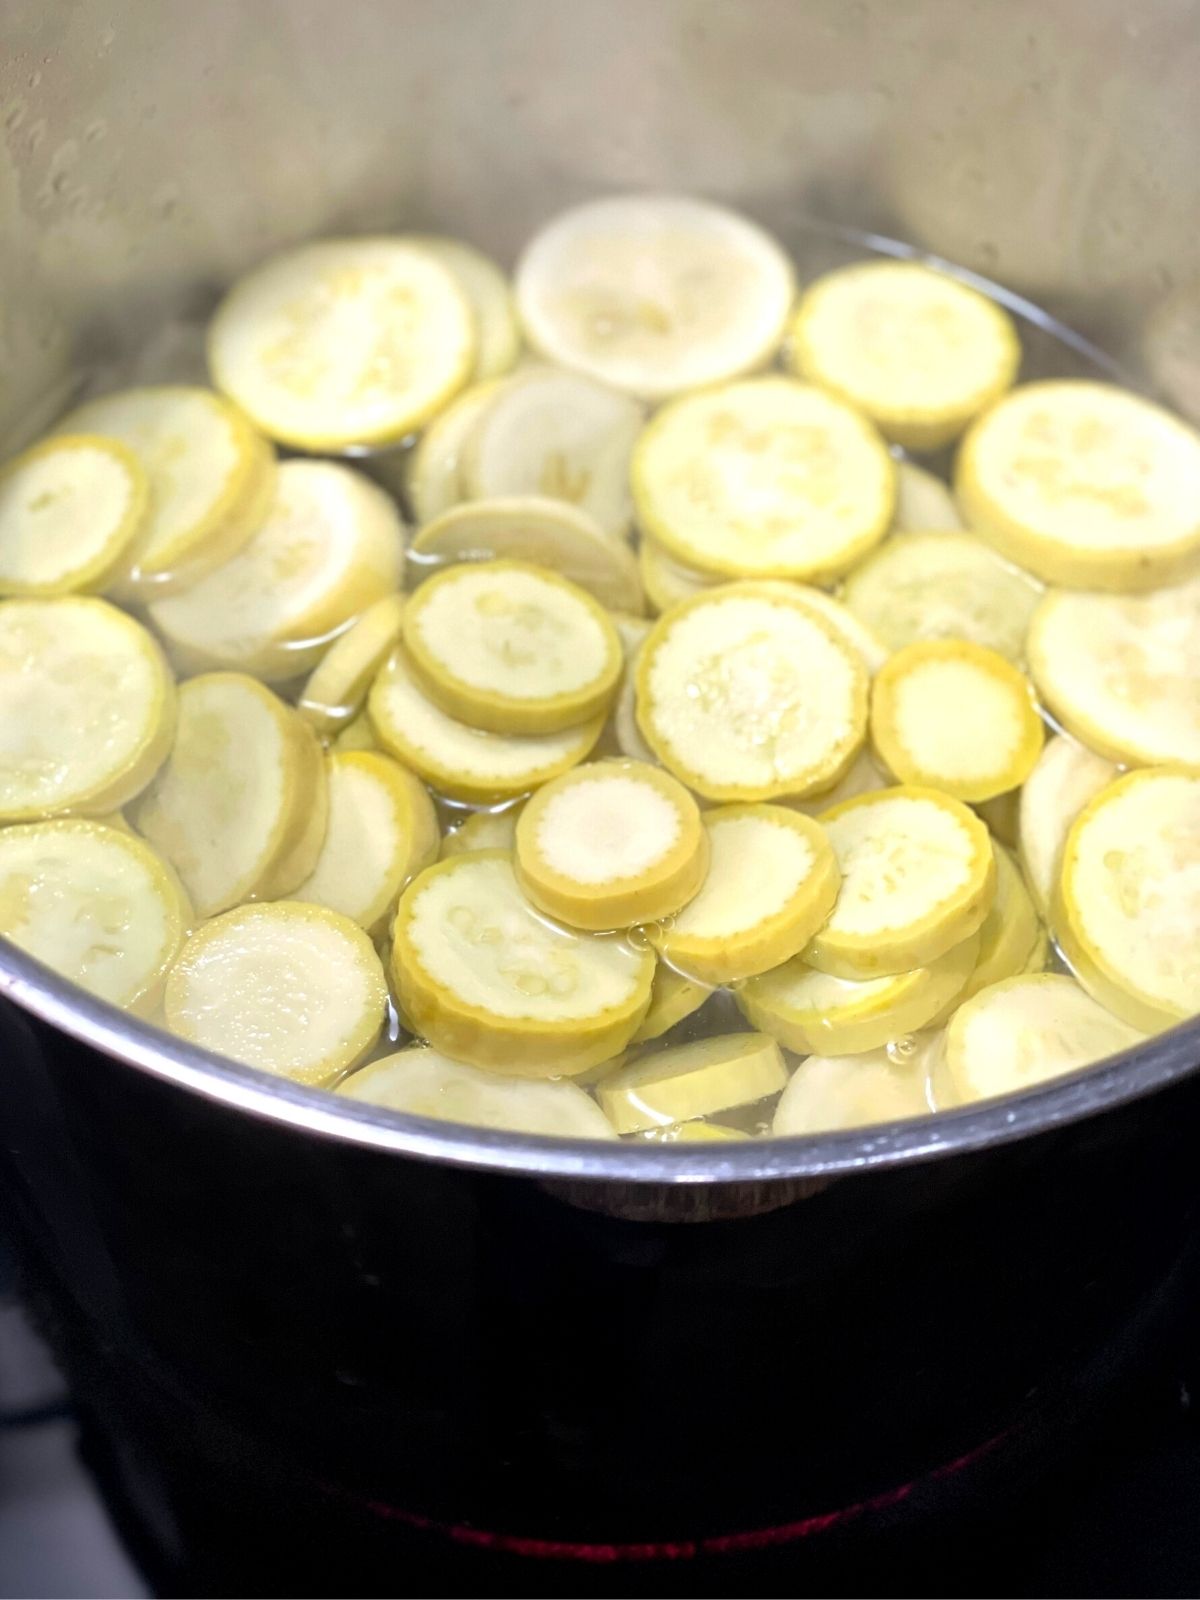
Step 4 – Bring a large pot of water to a boil and add the slices. They will float to the top so there’s no point in trying to add enough water to cover, just try not to overcrowd. Boil for exactly 3 minutes. Any longer and the squash will start to cook. Any less and enzymes might remain.
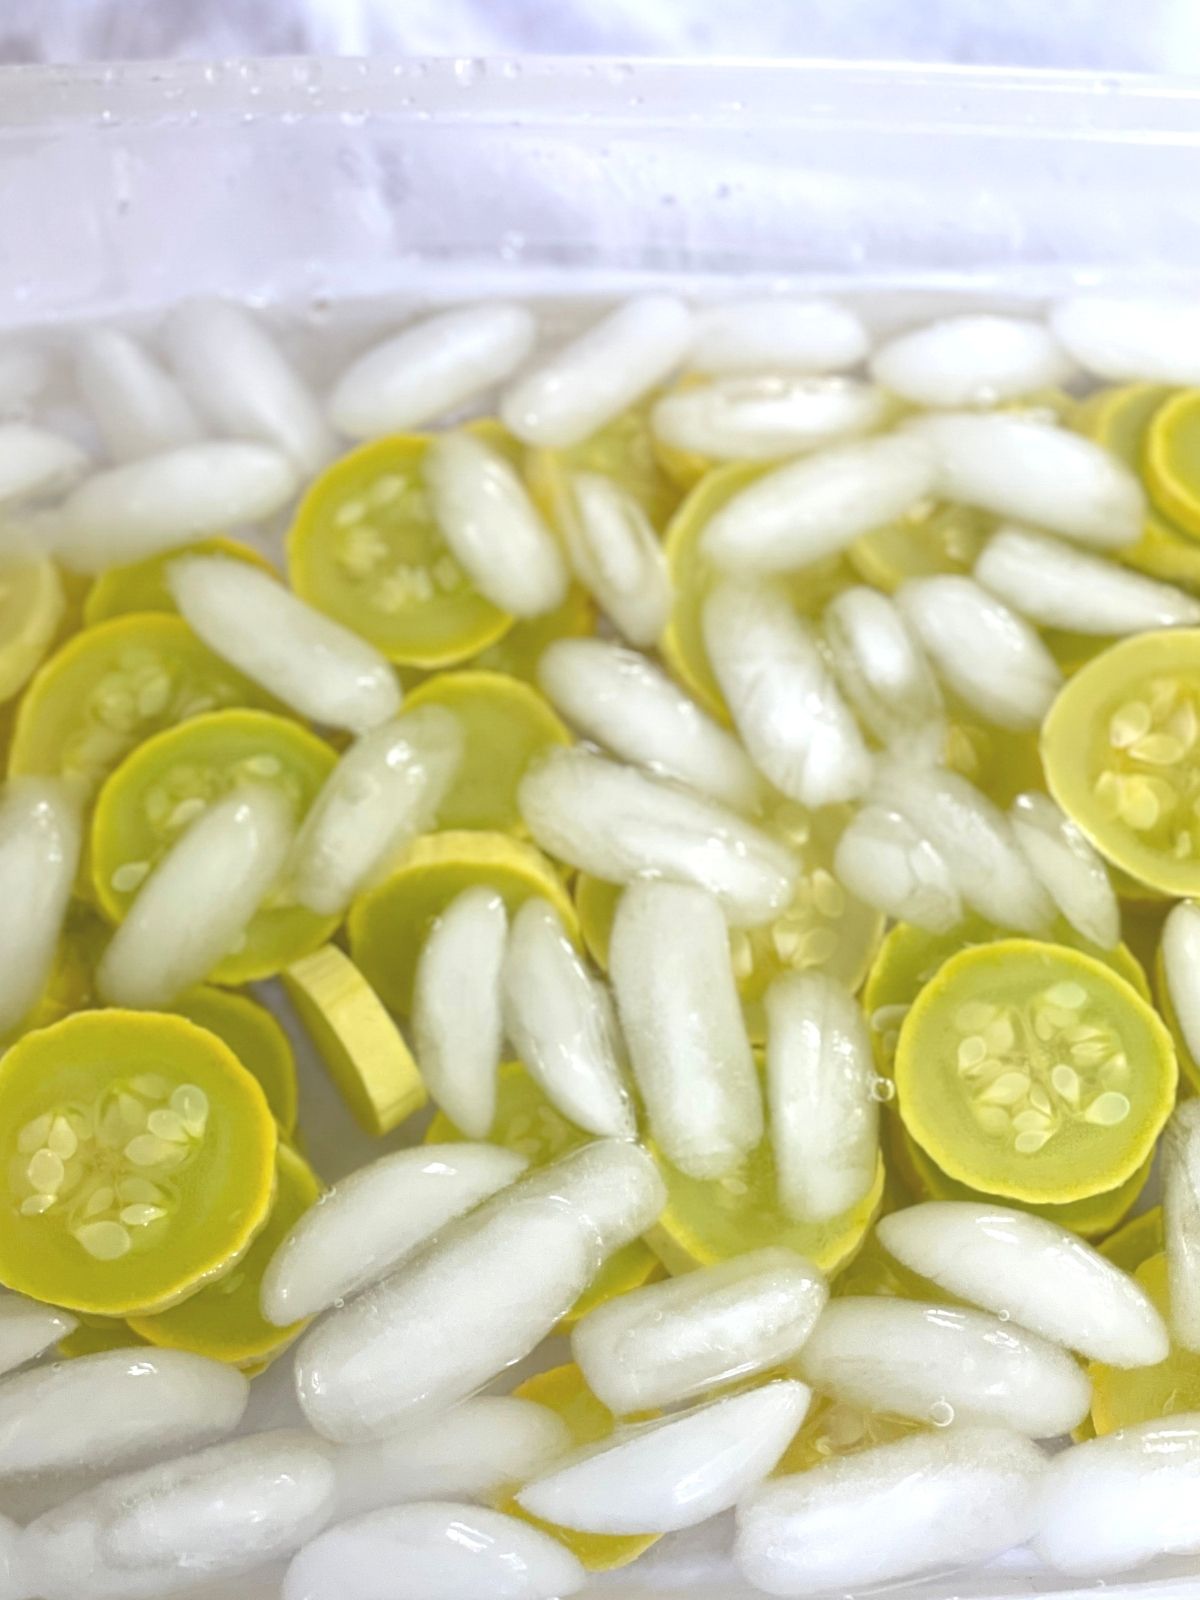
Step 5 – While the squash is blanching, prepare an ice bath to transfer the slices to after the three minutes is up.
Step 6 – If you blanched all your squash in one go, it’s ok to pour everything in the pot into a colander to drain. If you’ll be blanching more, use a slotted spoon to remove the squash slices so that you can use the same water for more batches.
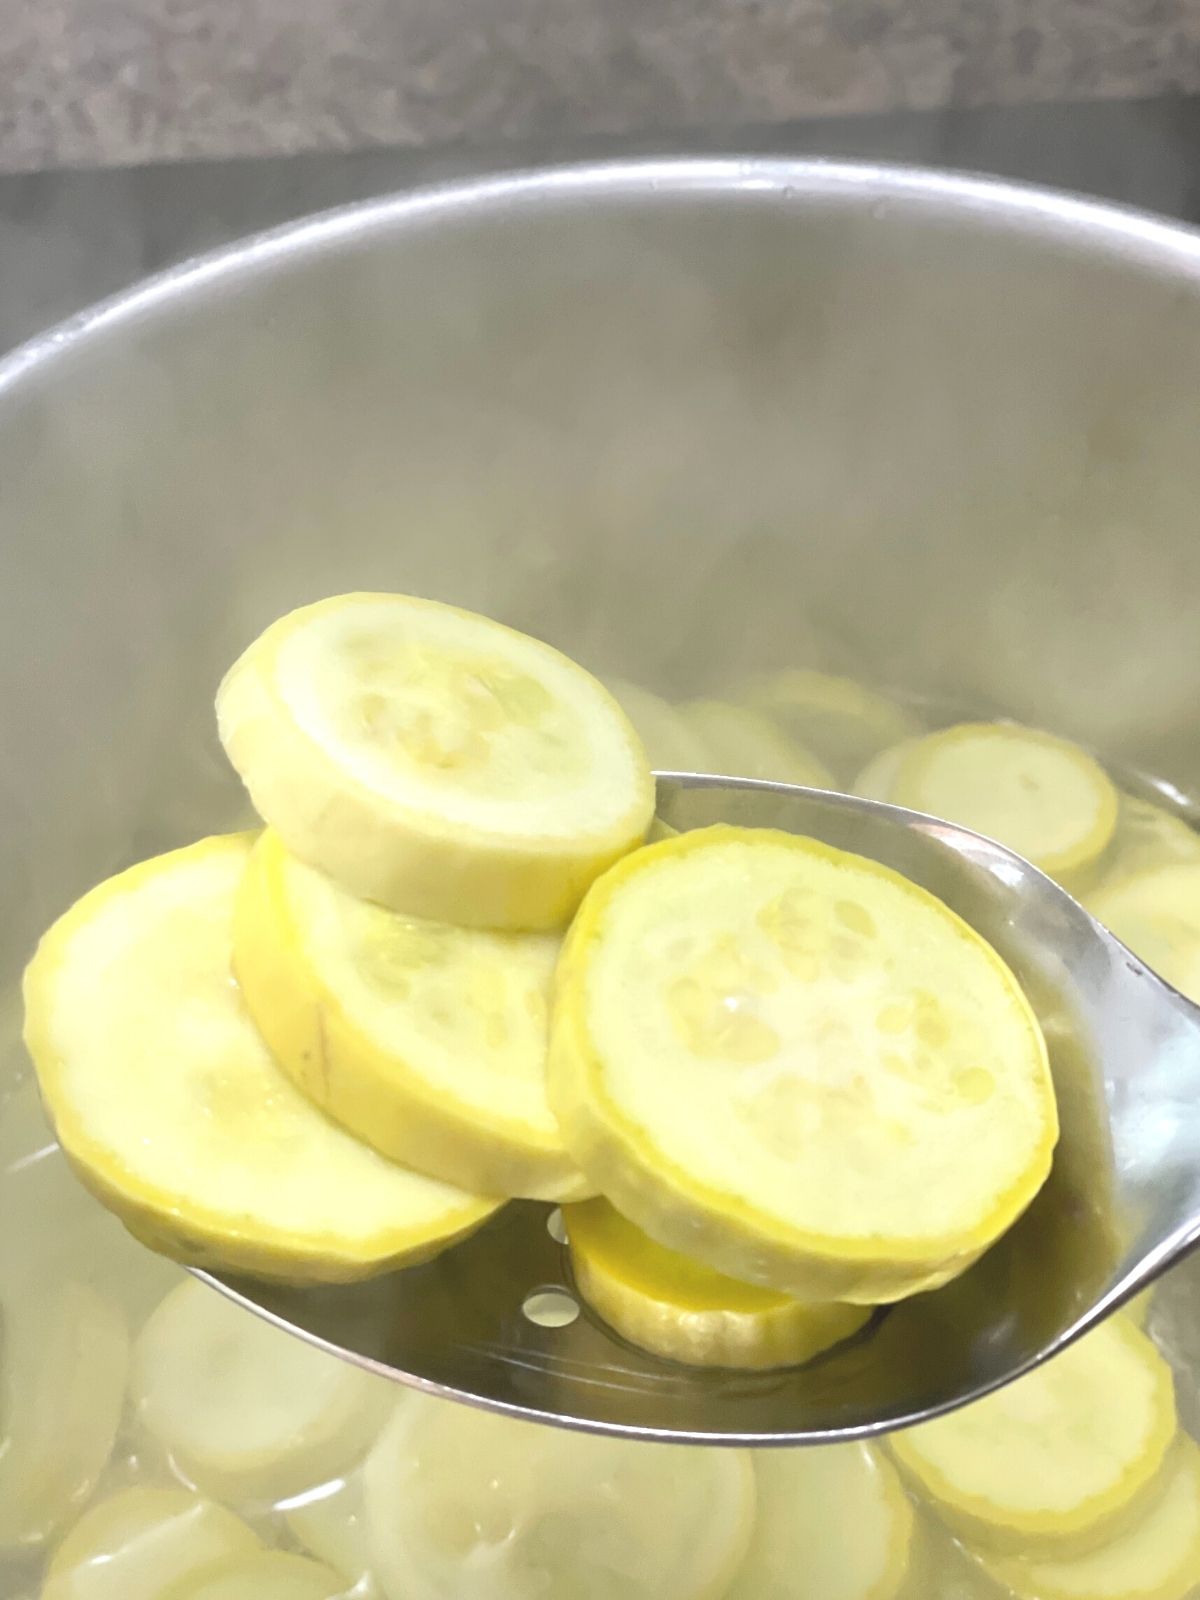
Step 7 – Place blanched squash into the prepared ice water bath to reduce the temperature and stop the cooking process.
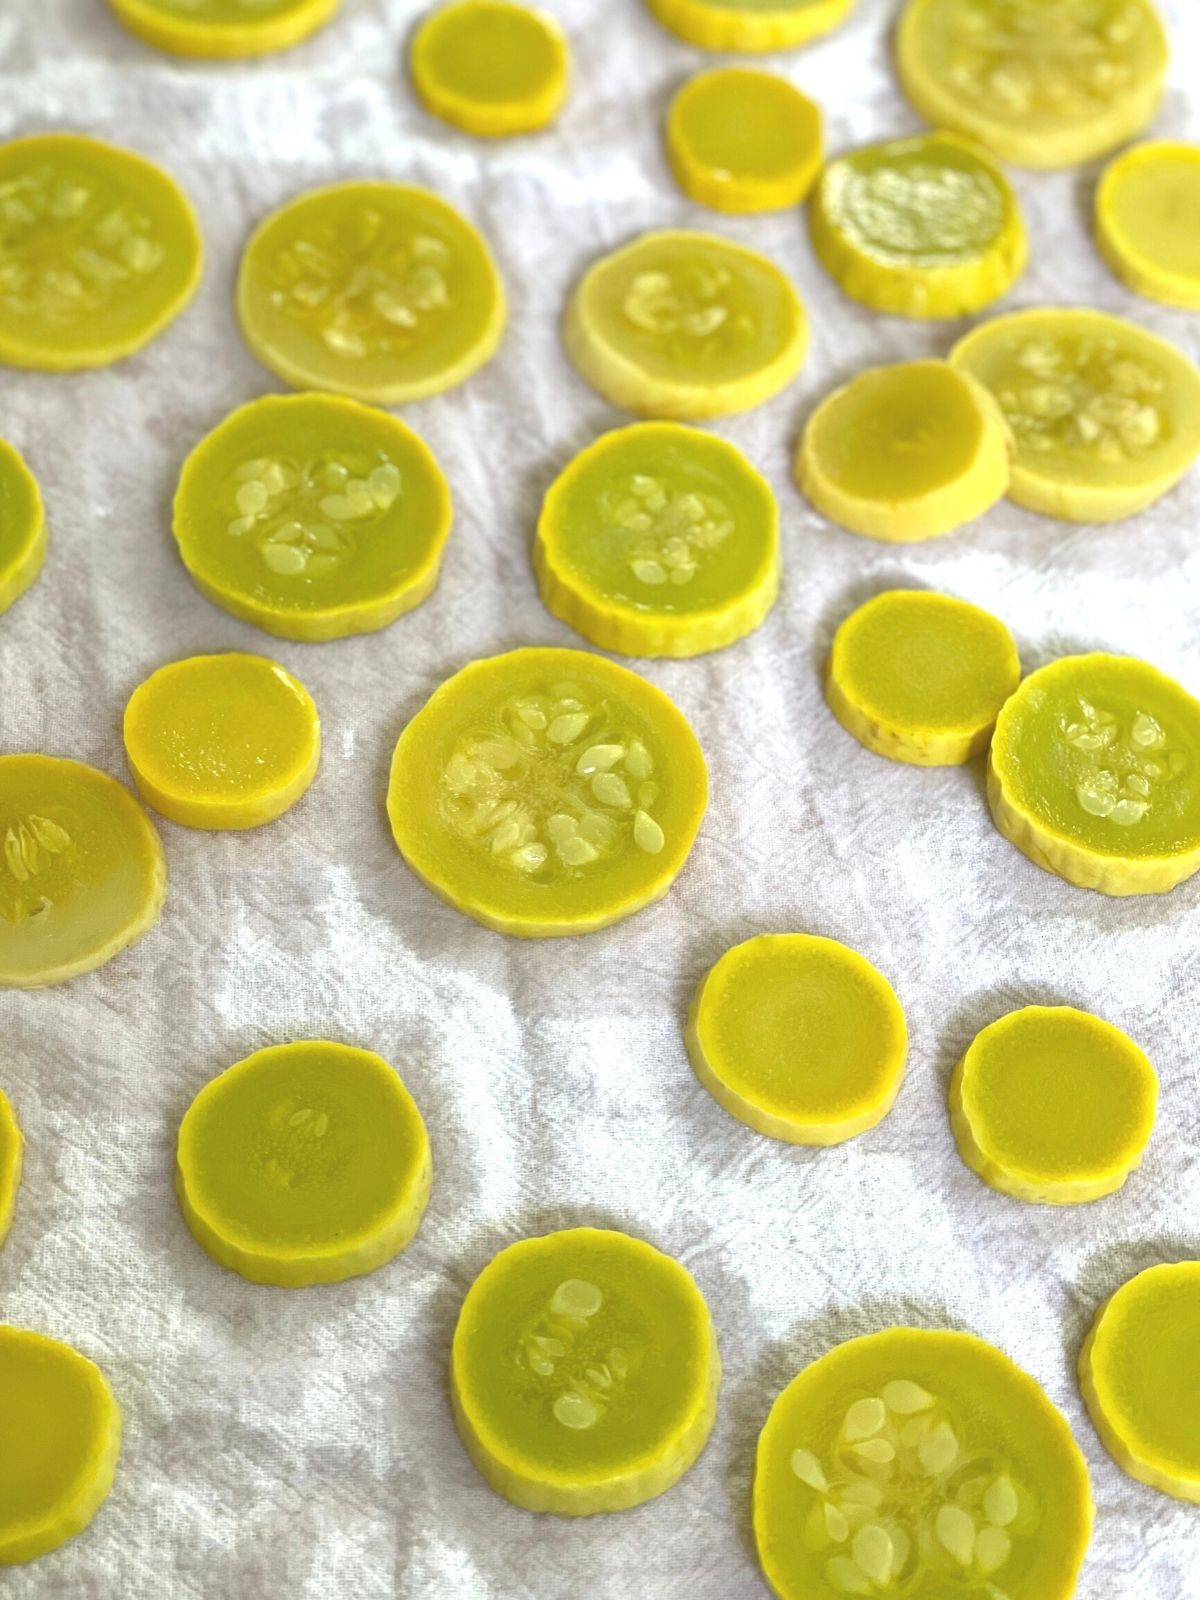
Step 8 – Place individual slices on a tea towel to drain and gently pat them dry with another tea towel on top. Note that the chartreuse color after blanching is normal. If you ask Google why your yellow squash is green, it’s going to come up with Cucumber Mosaic Virus which is a disease that affects the outside of yellow squash making them mottled with green. It doesn’t apply to the chartreuse color yellow squash can turn on the inside when heated. (And even if it did, Cucumber Mosaic Virus is harmless to humans so no worries!)
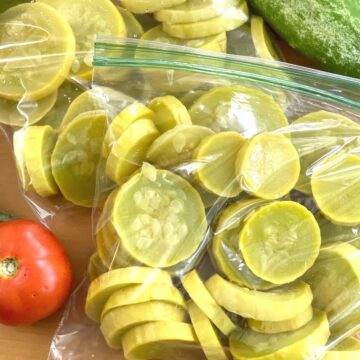
Step 9 – Once the slices are dry, place them in freezer bags and squeeze out as much air as you can. Store them flat in the freezer for up to 6 months.
Tips
- Before bagging, you can flash freeze the individual slices on a cooling rack by laying the pieces on the rack without any of them touching and place them in the freezer for 5 minutes before bagging the slices. This will prevent them from sticking together in the bag.
This is a nice option if you want to use gallon freezer bags and take out individual slices as you need them. - Squash, like any veggie, will have a mushy texture when thawed from frozen. This is fine as long as you’re using it in a cooking recipe that requires baking, stewing, roasting, sauteeing, or pan-frying. Just don’t expect to thaw your squash and have something nice and crisp to dip in Ranch dressing.
- If you have a vacuum sealer and can use vacuum bags, you’ll be able to store squash in the freezer for longer without degradation or freezer burn.
Squash Recipes
Now that you have a stockpile of squash to use, here are some recipes you might find useful.
Gluten Free Summer Squash Bread
How to Freeze Butternut Squash
How To Freeze Squash
Equipment
- Pot for boiling
- Freezer bags
- Tea towels, cheese cloth, or cloth napkins
Ingredients
- summer squash
- water
- ice
Instructions
- Trom the ends off each summer squash and slice into ¼" thick slices.
- Boil water in a large pot.
- Add sliced squash and boil, uncovered for 3 minutes to blanch.
- While the squash is blanching prepare an ice bath. Once three minutes is up, drain the squash and transfer it to the ice bath.
- Drain squash and lay out on tea towels to dry.
- Place the dry slices in a freezer bag and squeeze out as much air as possible.
- Store in the freezer for up to 6 months.


What's on your mind?