Since we started using Young Living Essential Oils almost a year ago, my collection has grown abundantly. I never gave much thought to organizing essential oils until the quantity finally demanded that I get my oils off the kitchen counter (and classified by color and alphabetized ;).) Here are three ways organize your essential oils depending on how many you have.

Organizing Essential Oils
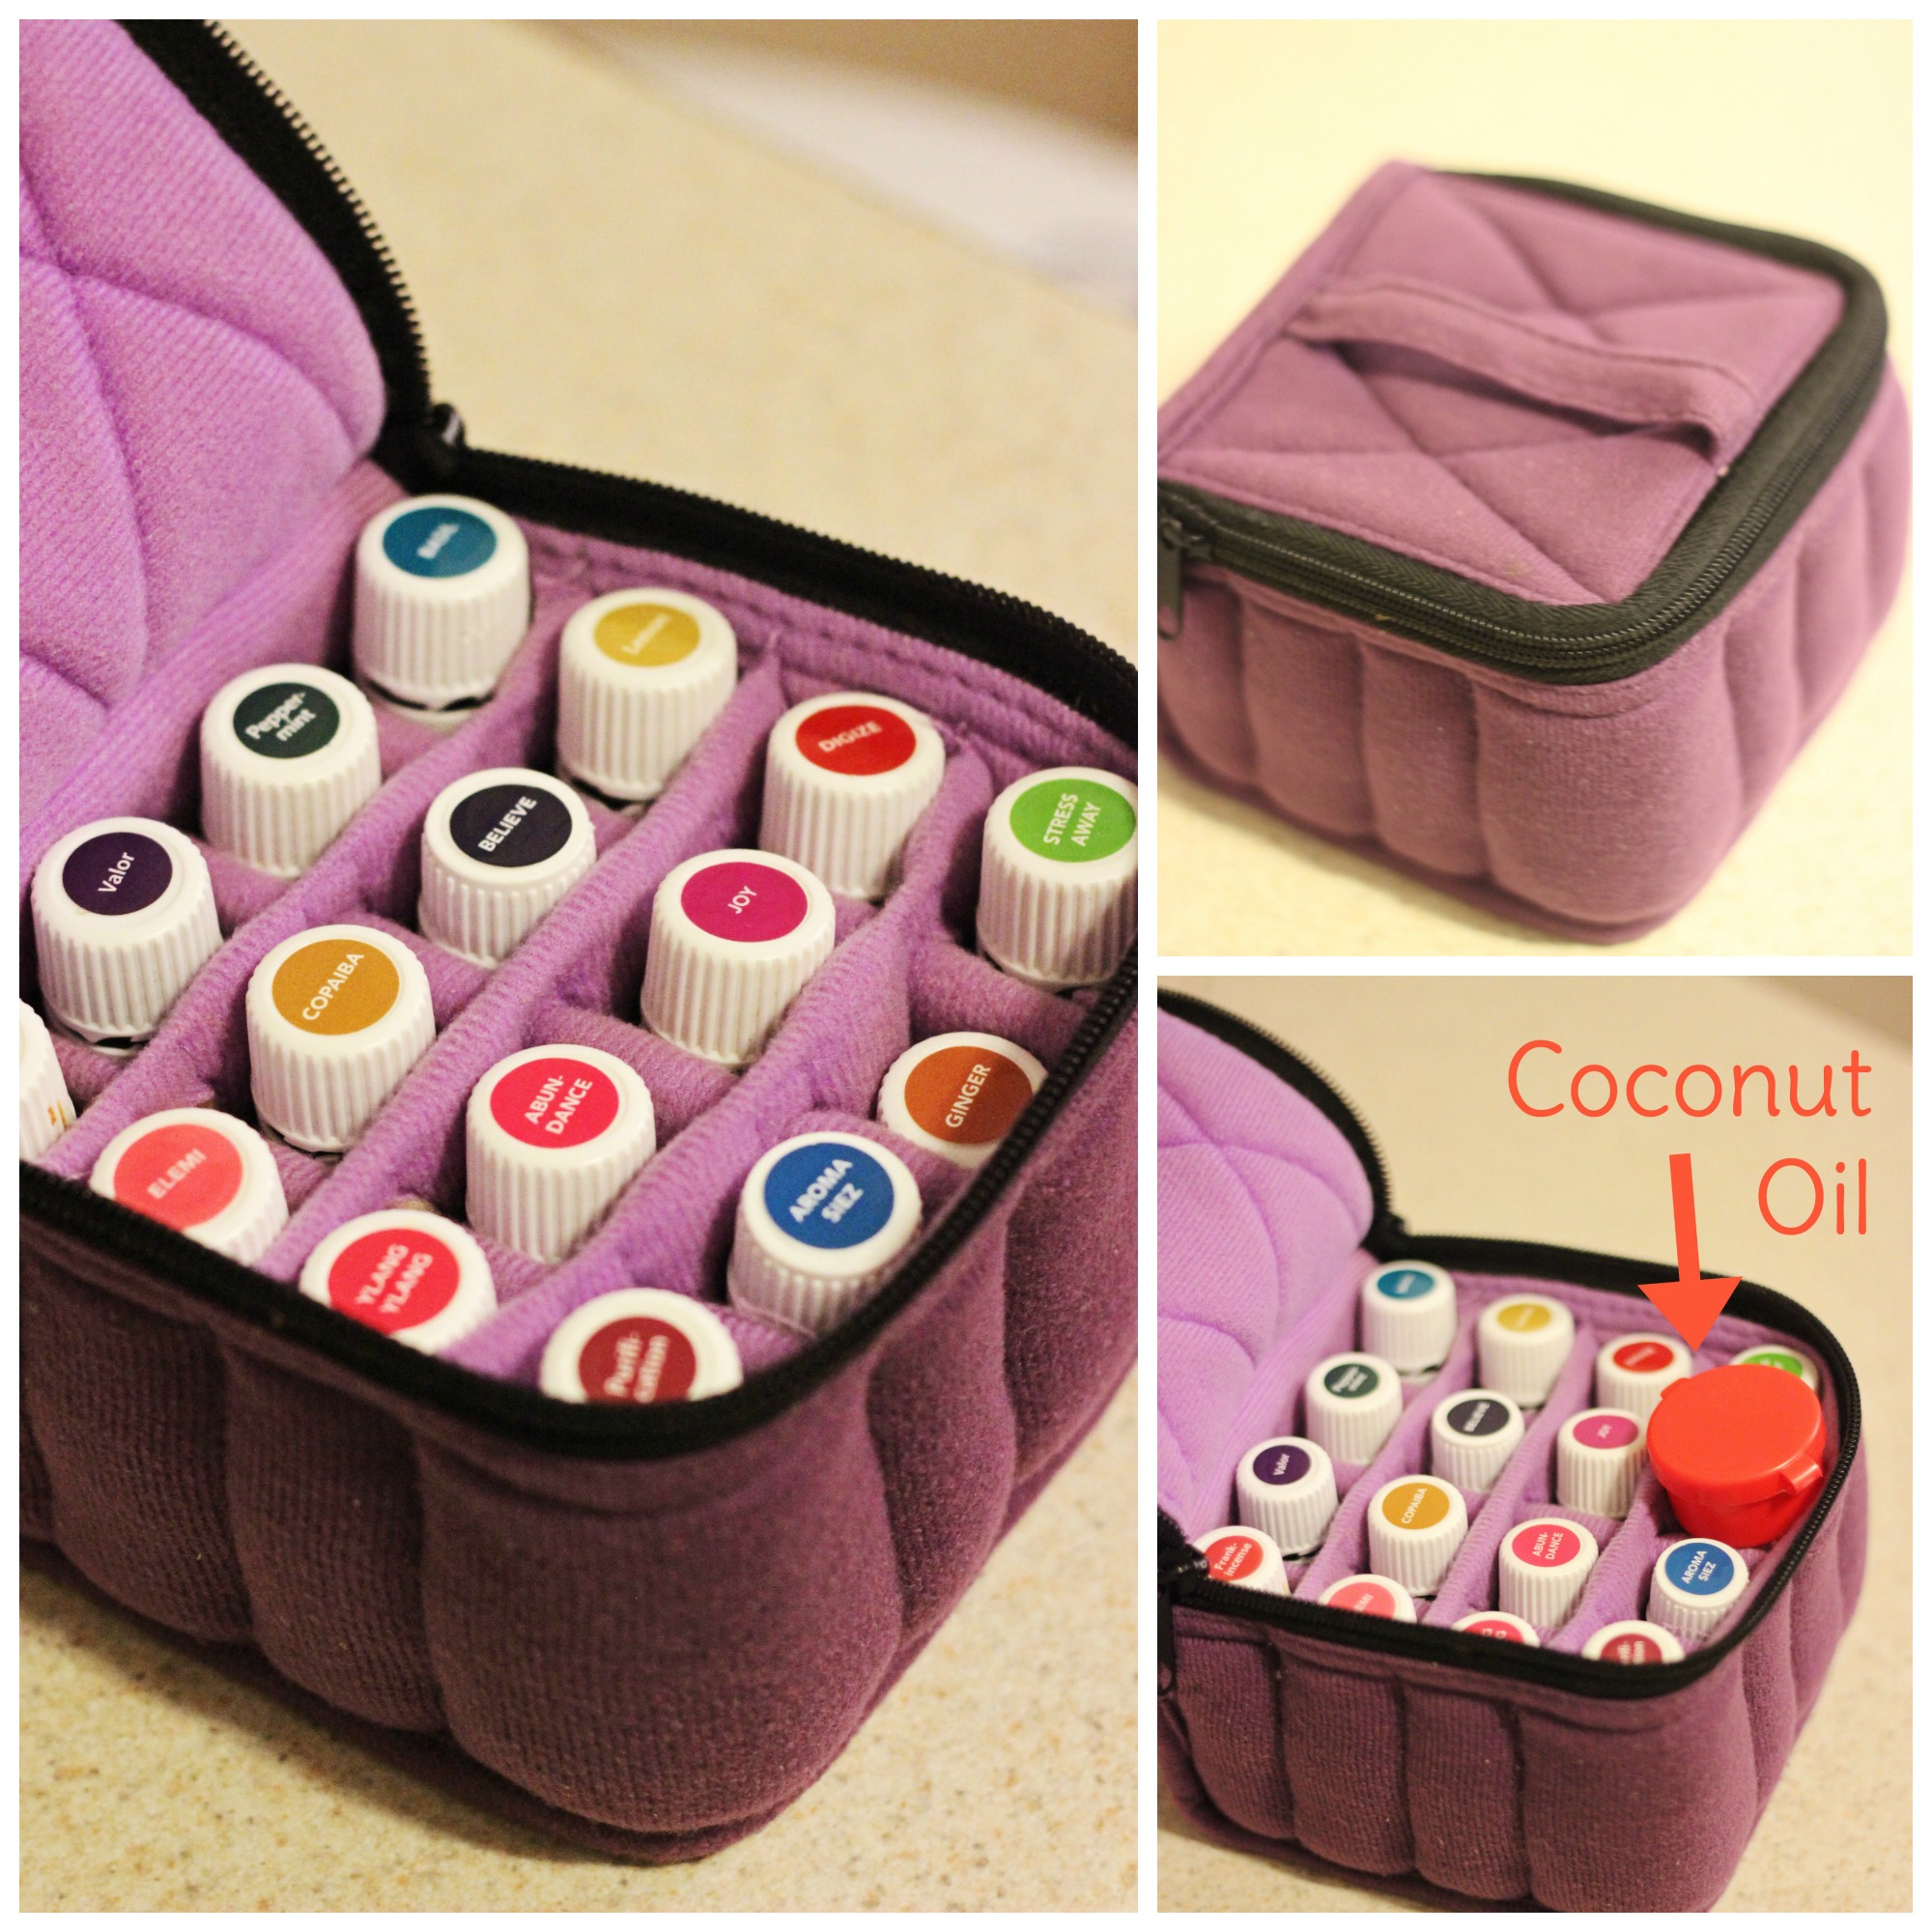
1. Essential Oil Carrying Case – This is how I started out and it kept my oils organized well for the first few months of my journey with Young Living. I’m glad I still have it because it’s perfect for taking oils on the go. I can even fit a little container of carrier oil on the top before zipping it up. It holds 16 5ml or 15ml bottles and is available in a larger size that holds 30 bottles.
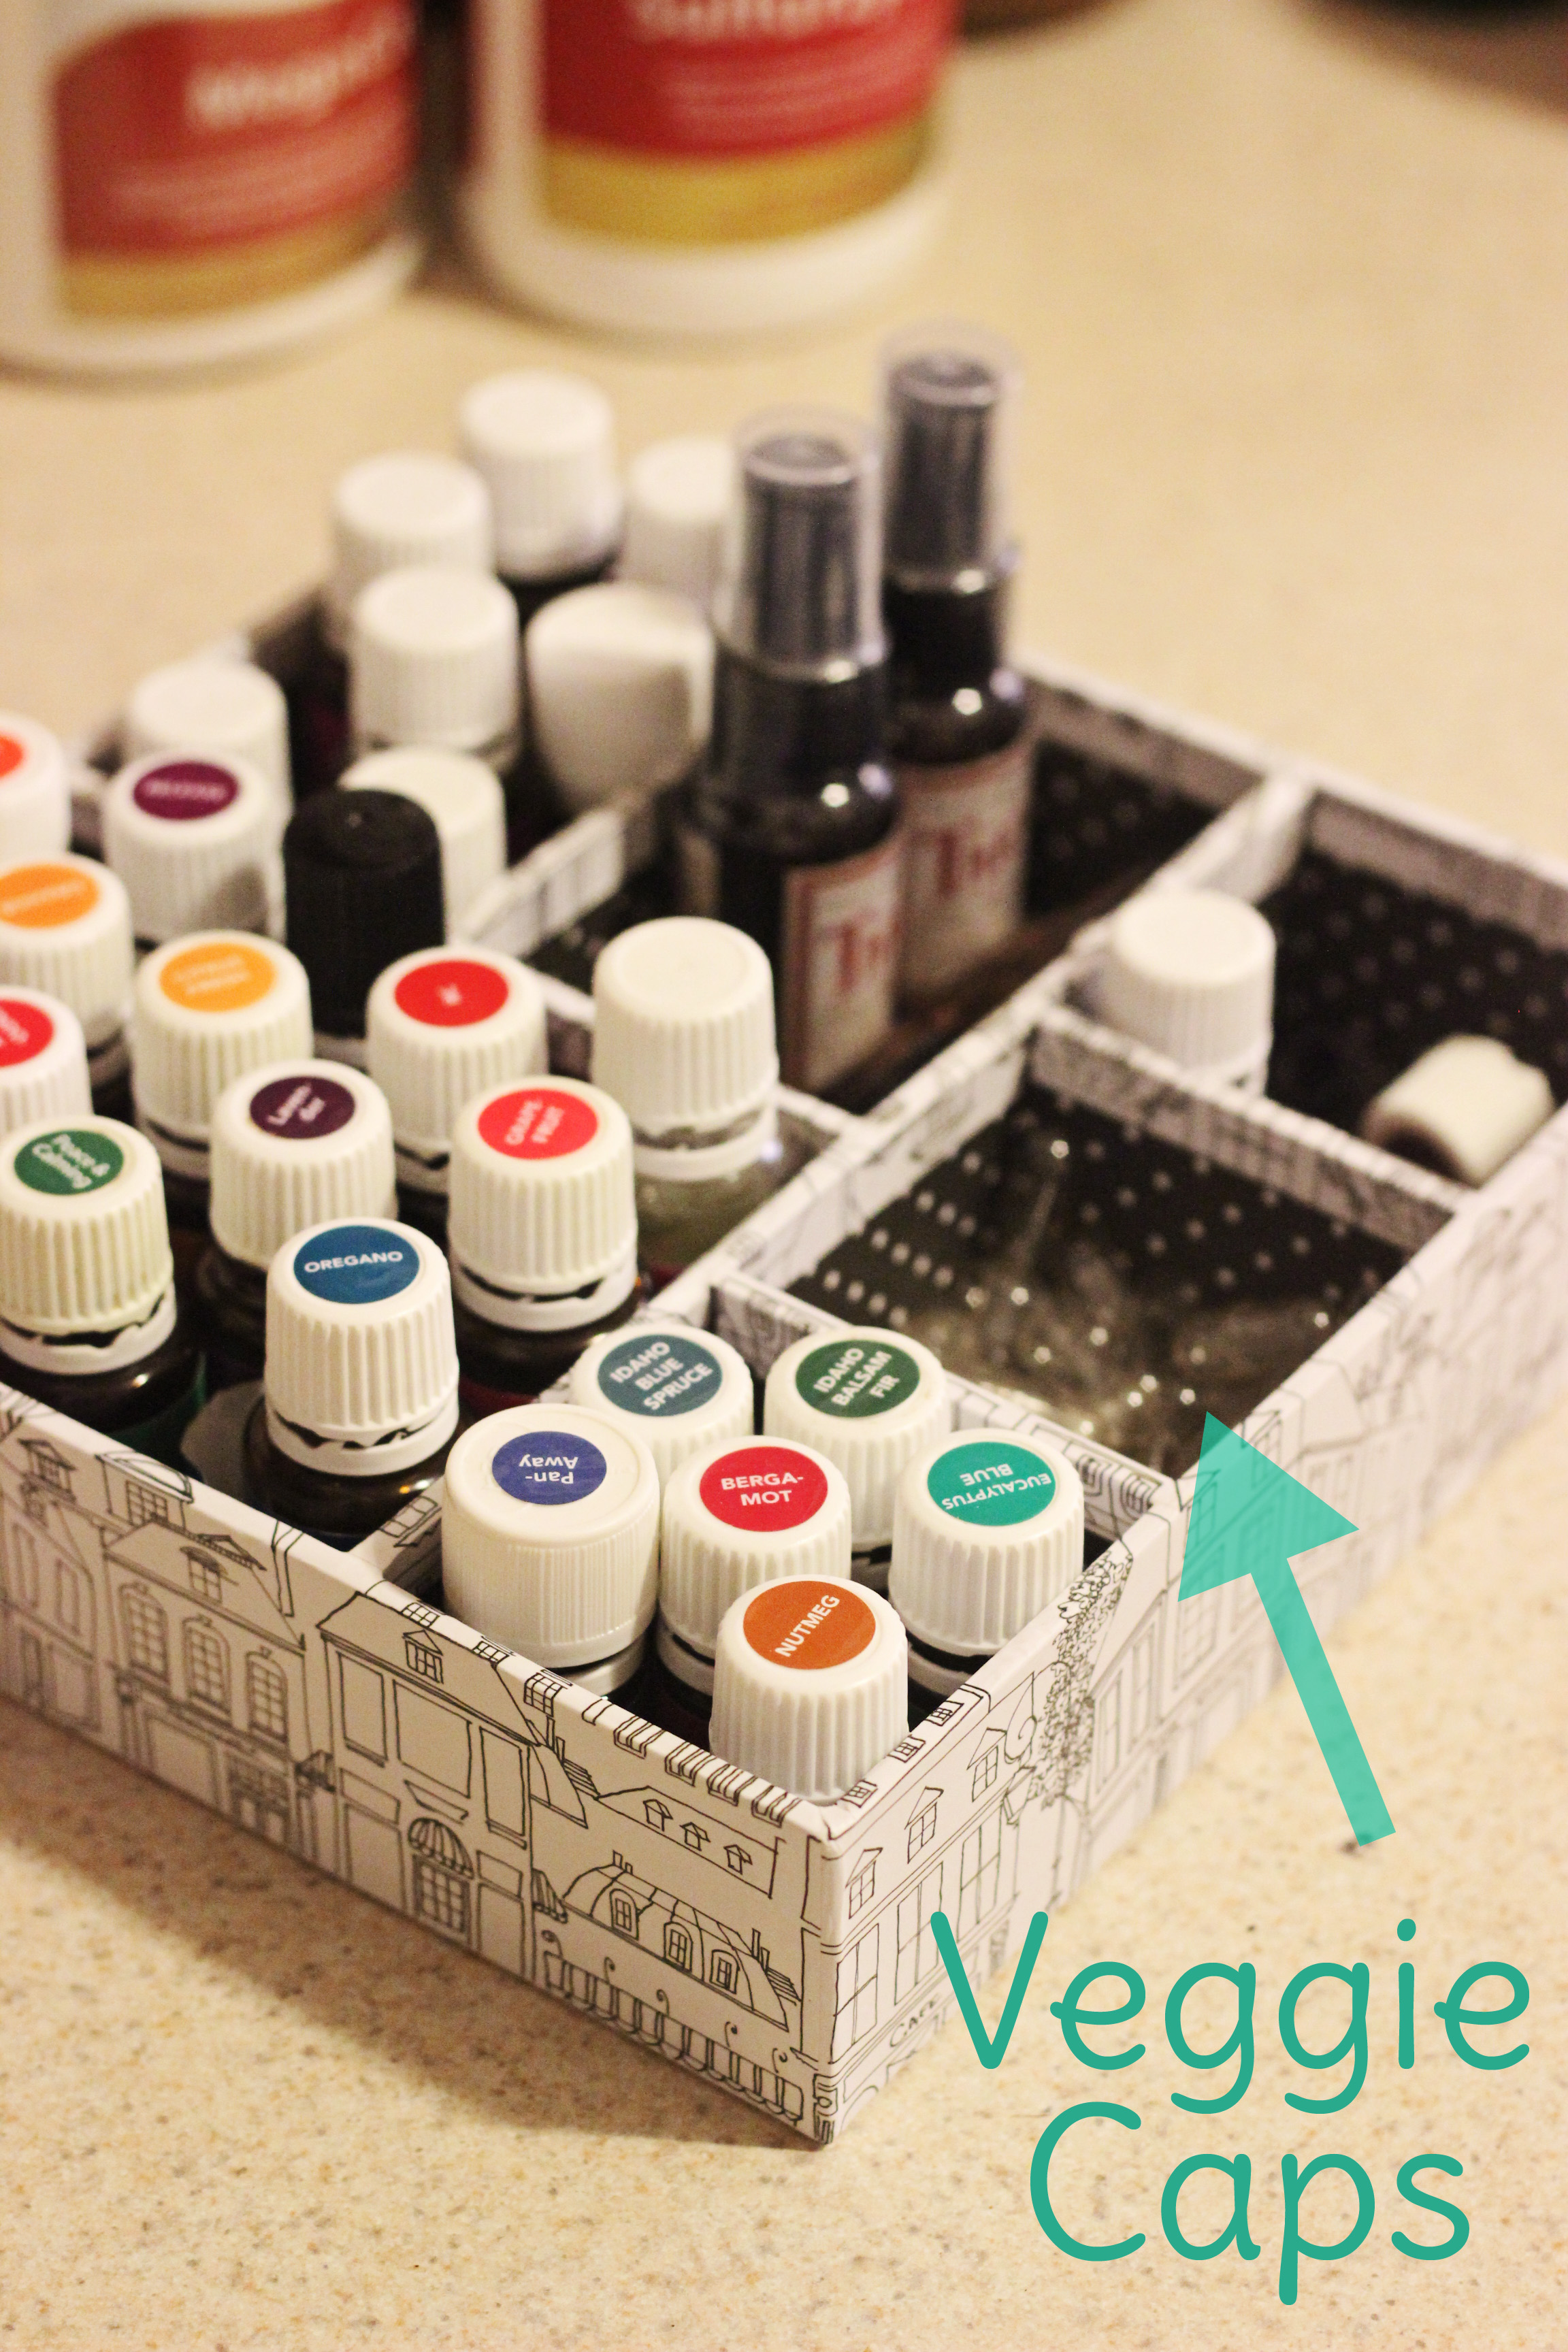
2. Desk Organizer Tray – Once my collection started growing, I’d keep the oils I liked to take with me in their carrying case in my purse and the rest of them in a desk organizer tray. Mine is a simple cardboard organizer that cost around $4 at Ross. It’s great for keeping vegetable capsules
handy too for when you need to take not-so-great-tasting oils internally (Young Living only! Do not take health food store essential oils internally!) In the spring and fall, we take a lot of Lavender, Lemon, Peppermint capsules and it’s convenient to keep them out like this.
3. Nail Polish Wall Rack Organizer – This is the Big Kahuna of storage and organization options. It will hold over 100 bottles of essential oil! It’s actually a Nail Polish Wall Rack Organizer and works brilliantly for Young Living Essential oil bottles. It comes already assembled and took Hubs 5 minutes to hang it in our kitchen.
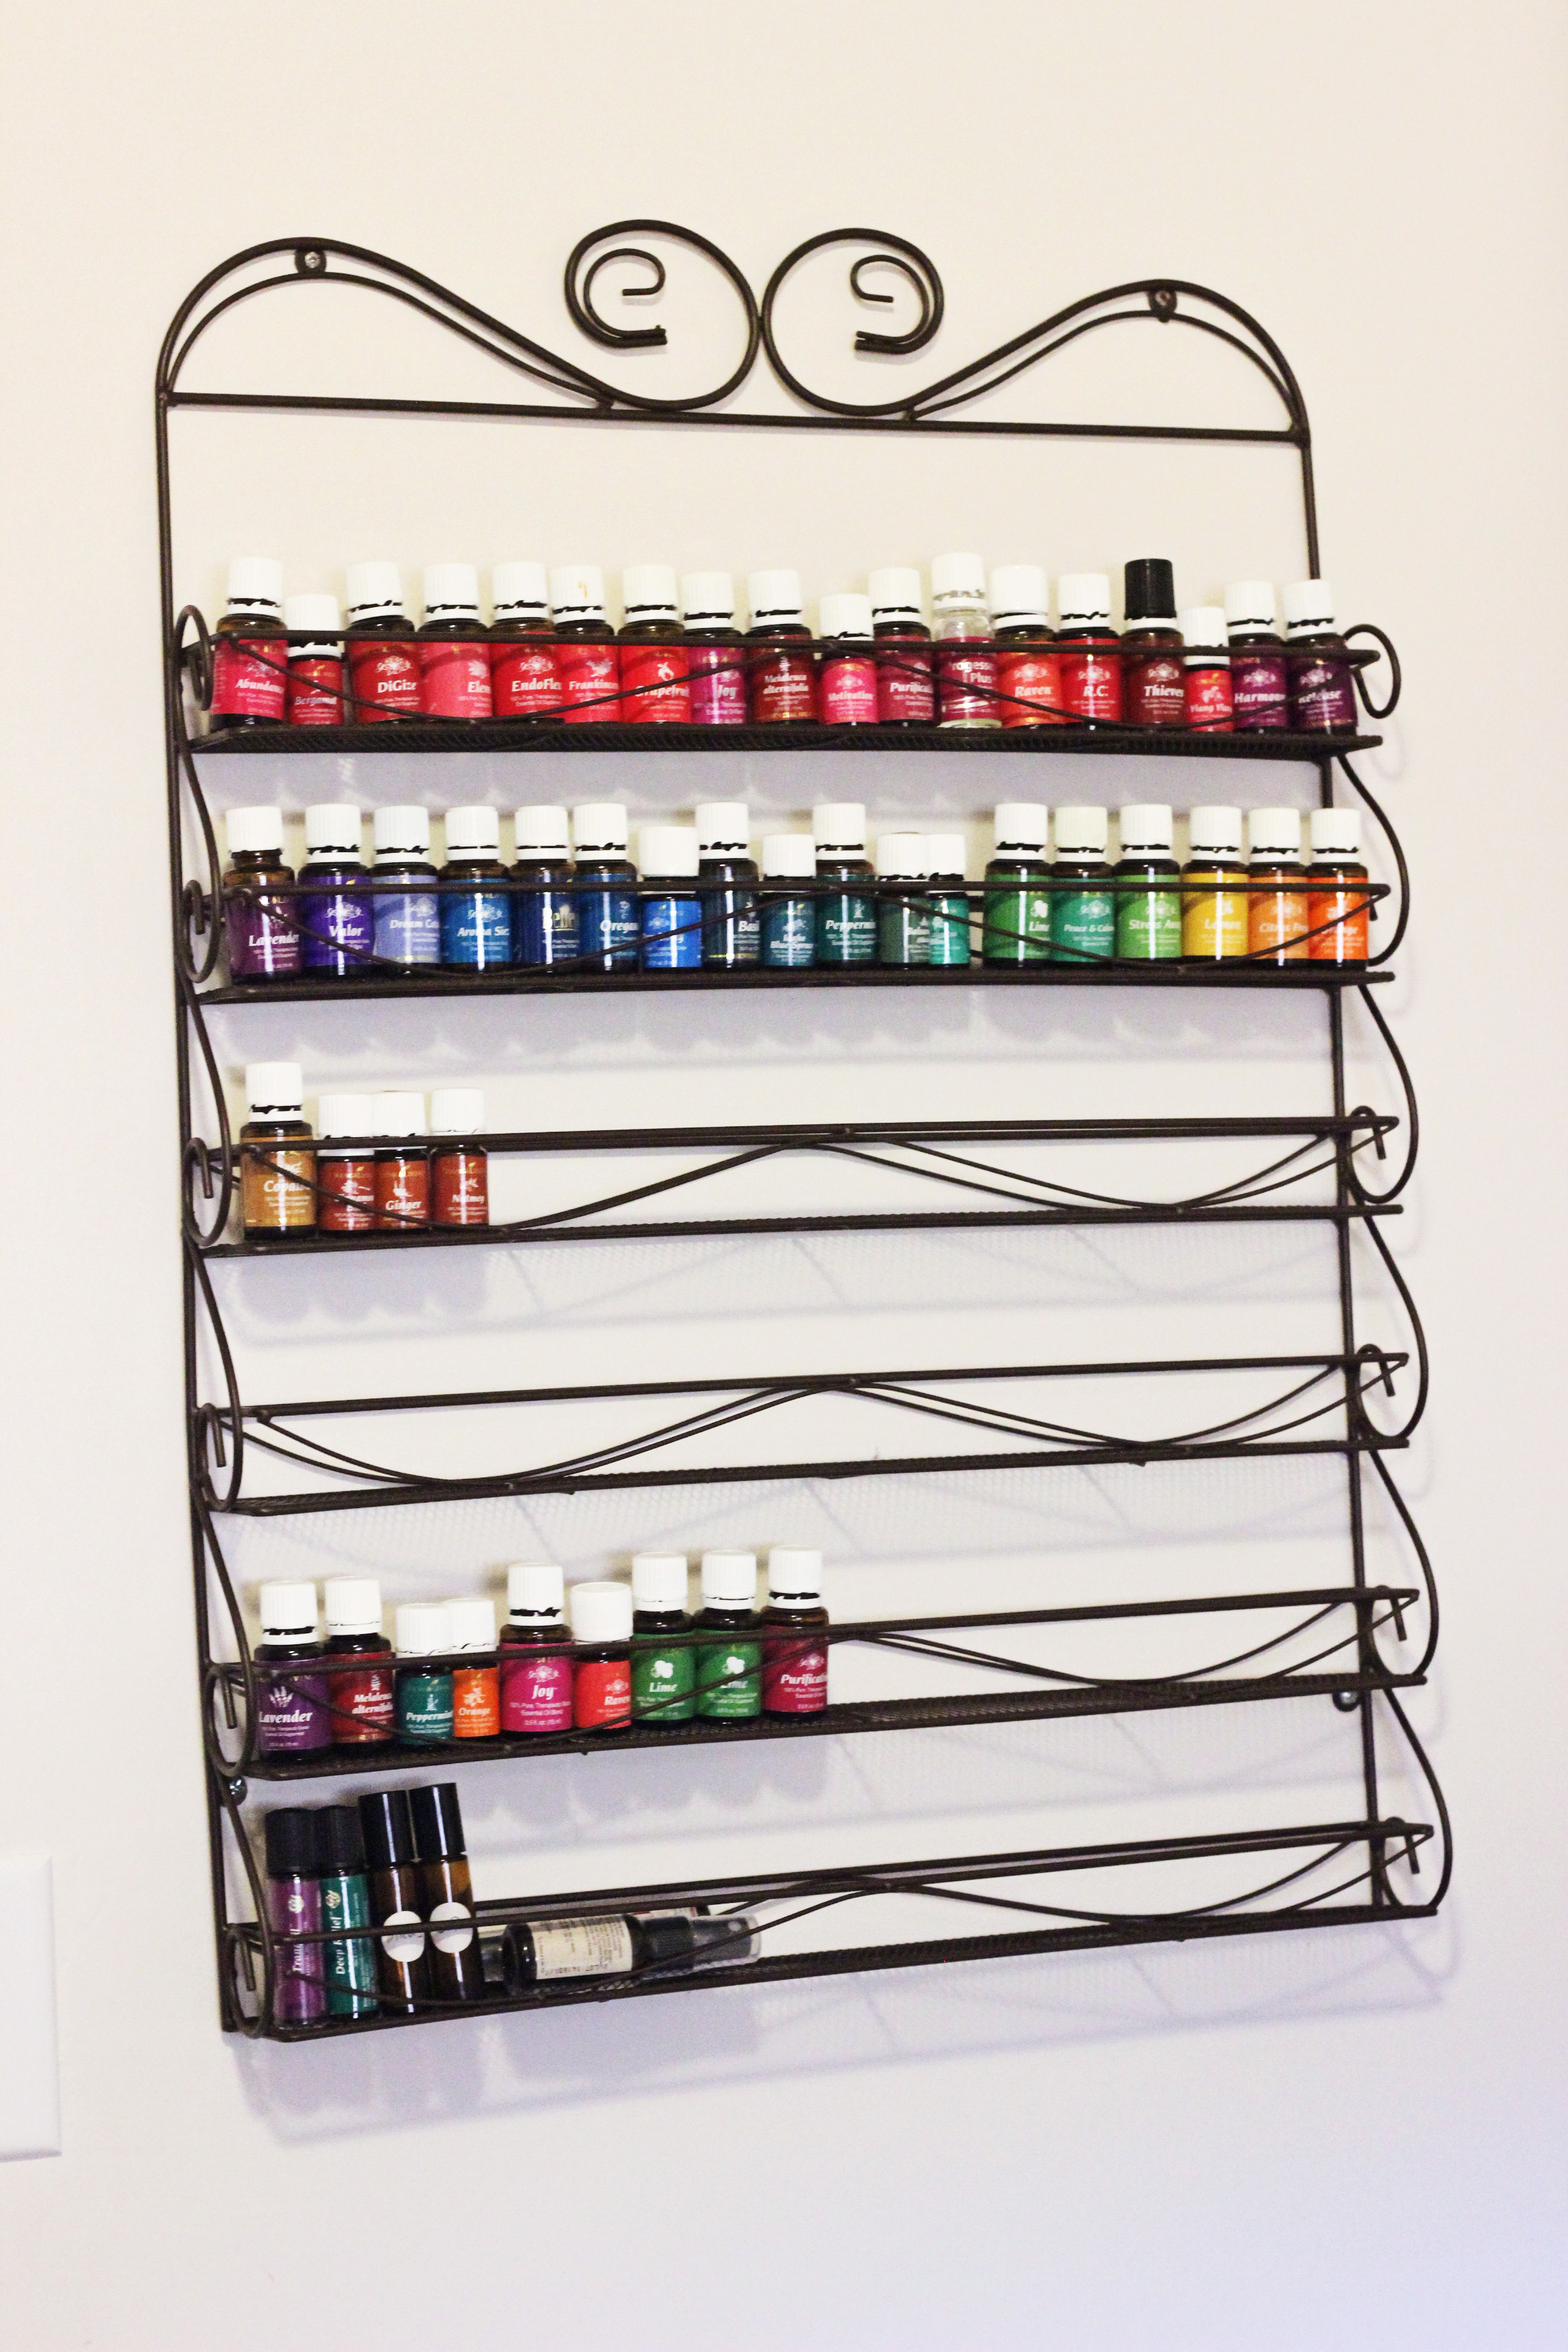
I love the aesthetic value as well. All the colors look so cheerful in the kitchen!
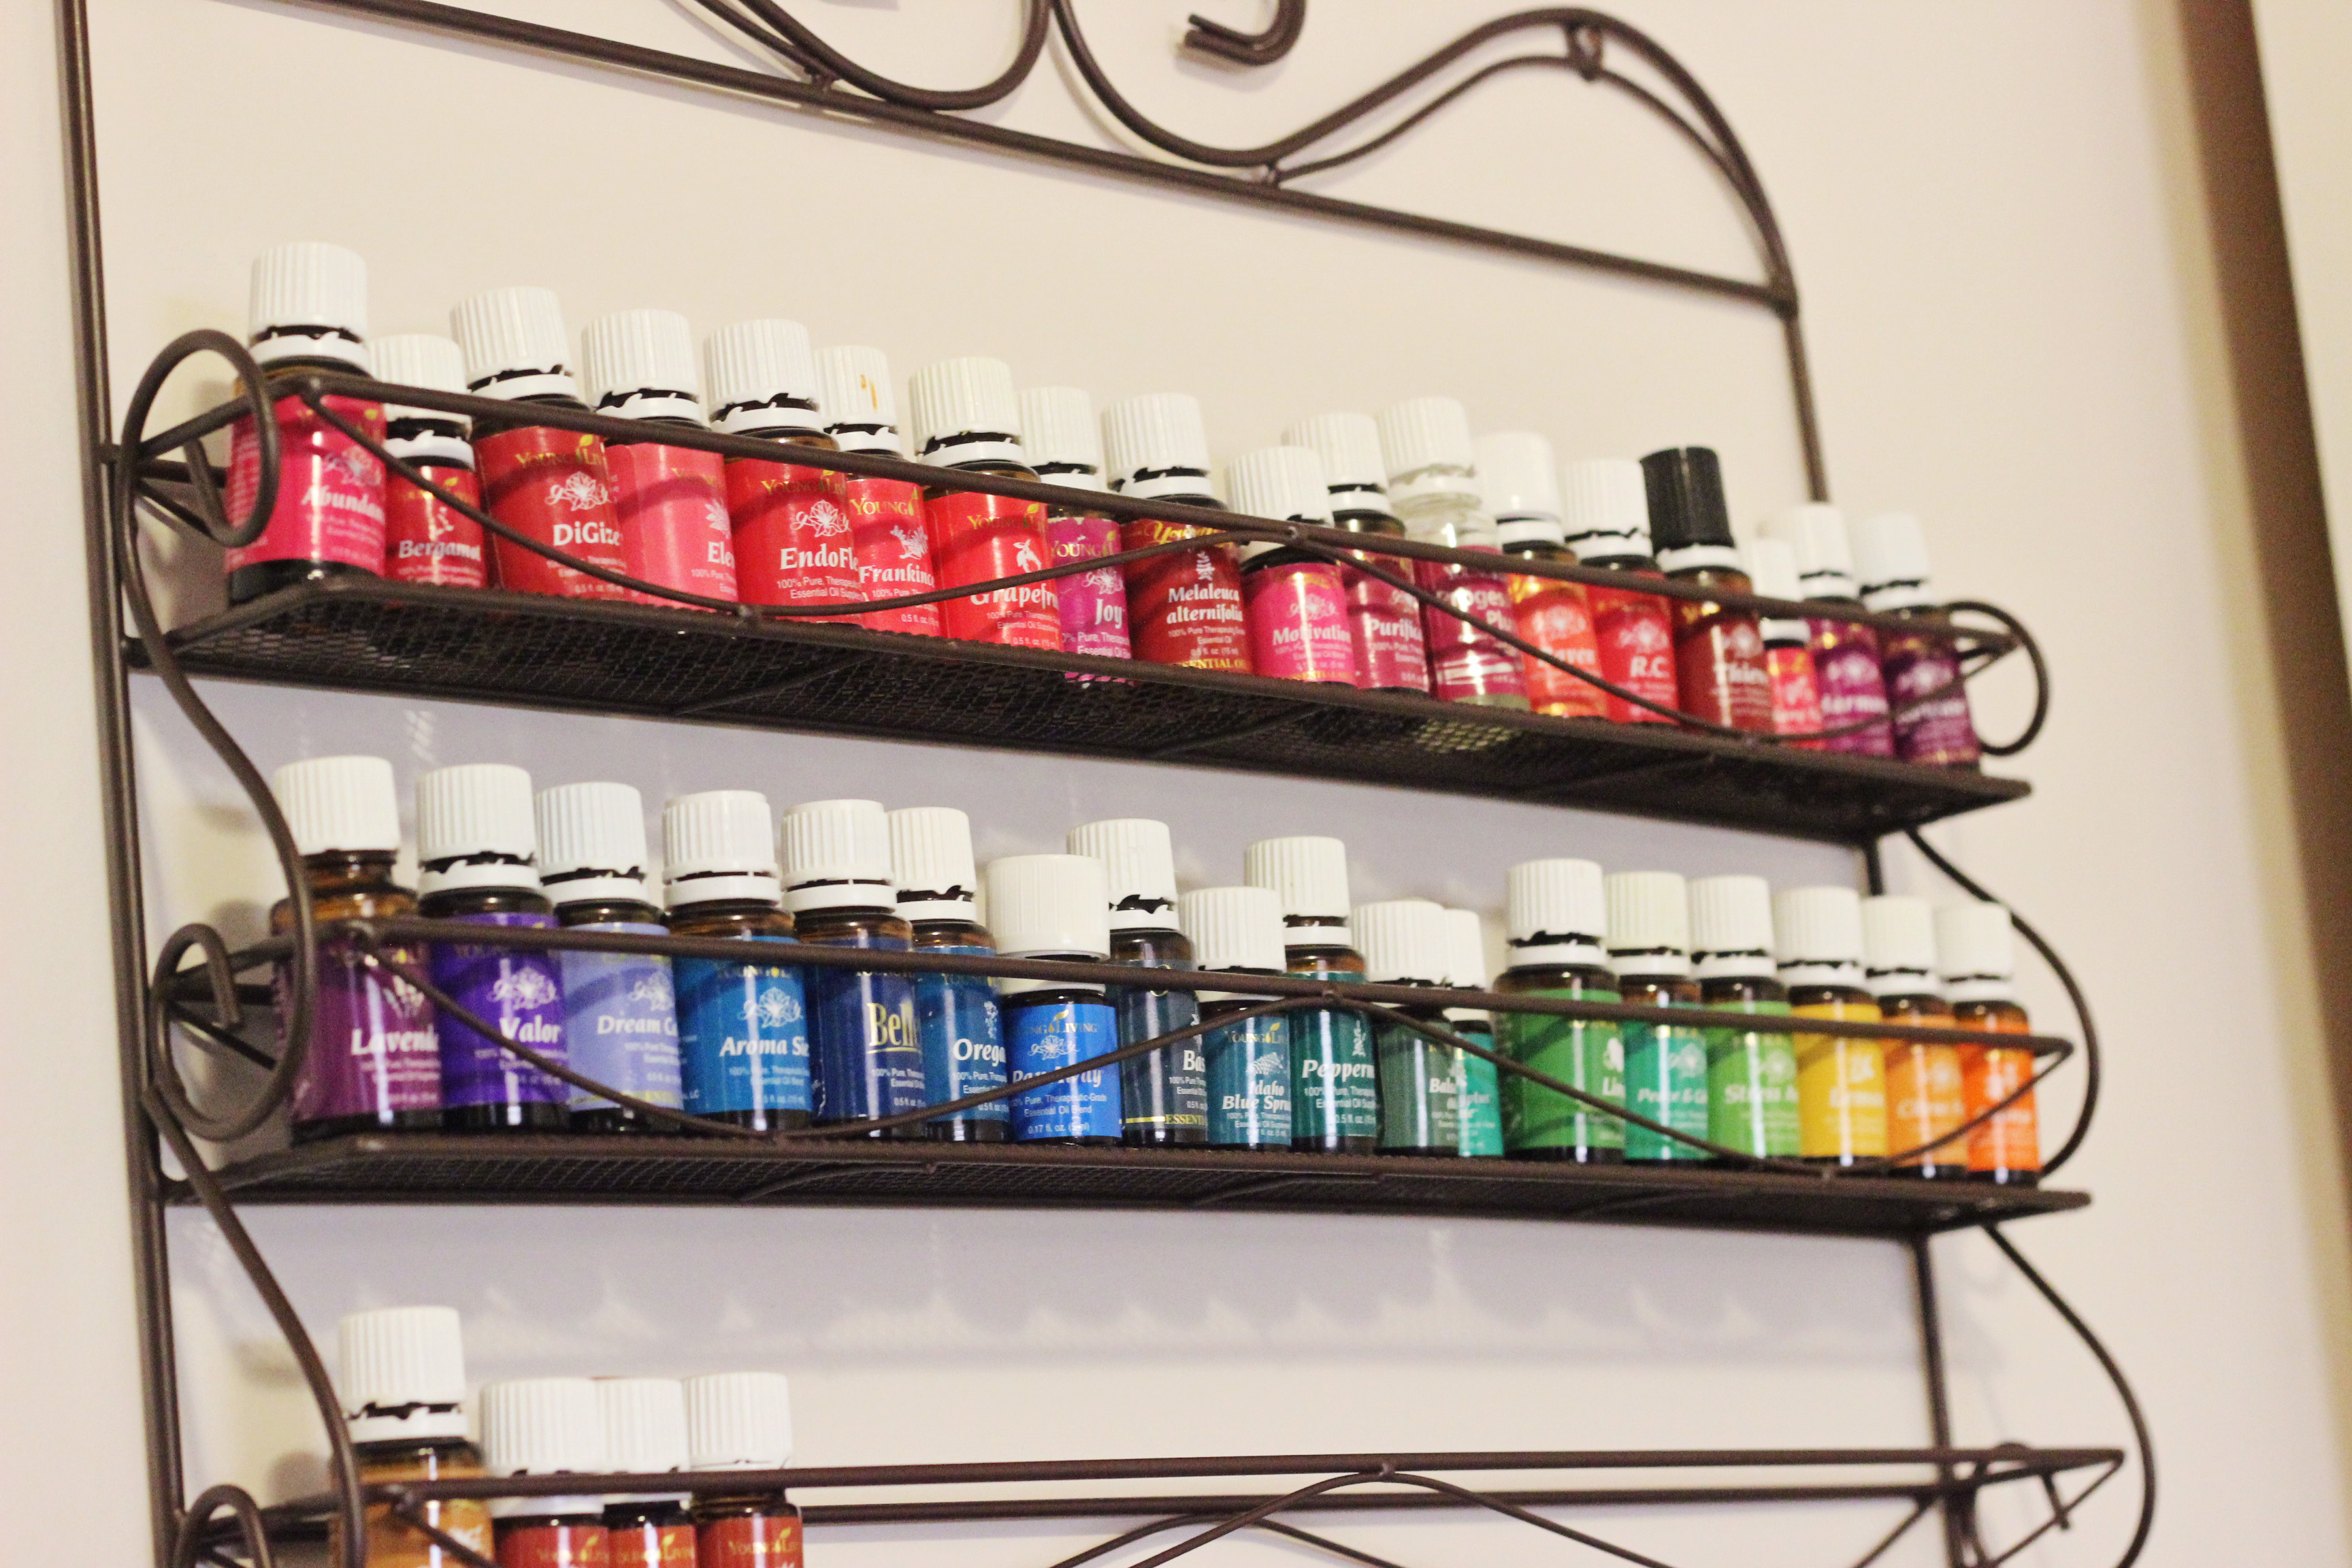
I can even sneak a few roller ball bottles in there too.

Are you ready to start your journey with essential oils? I’ve never met anyone who regretted it!
What's on your mind?